Introduction
When I first started this project, I must admit I was a bit lost. The idea of remixing 3D files into something new seemed both exciting and daunting. However, I soon found my inspiration and realized that this project was not just an academic exercise but an opportunity to create something functional and personal. In this reflection, I will take you through my journey of remixing 3D files and how each step, from ideation to 3D printing, influenced the outcome.
The Idea Generation
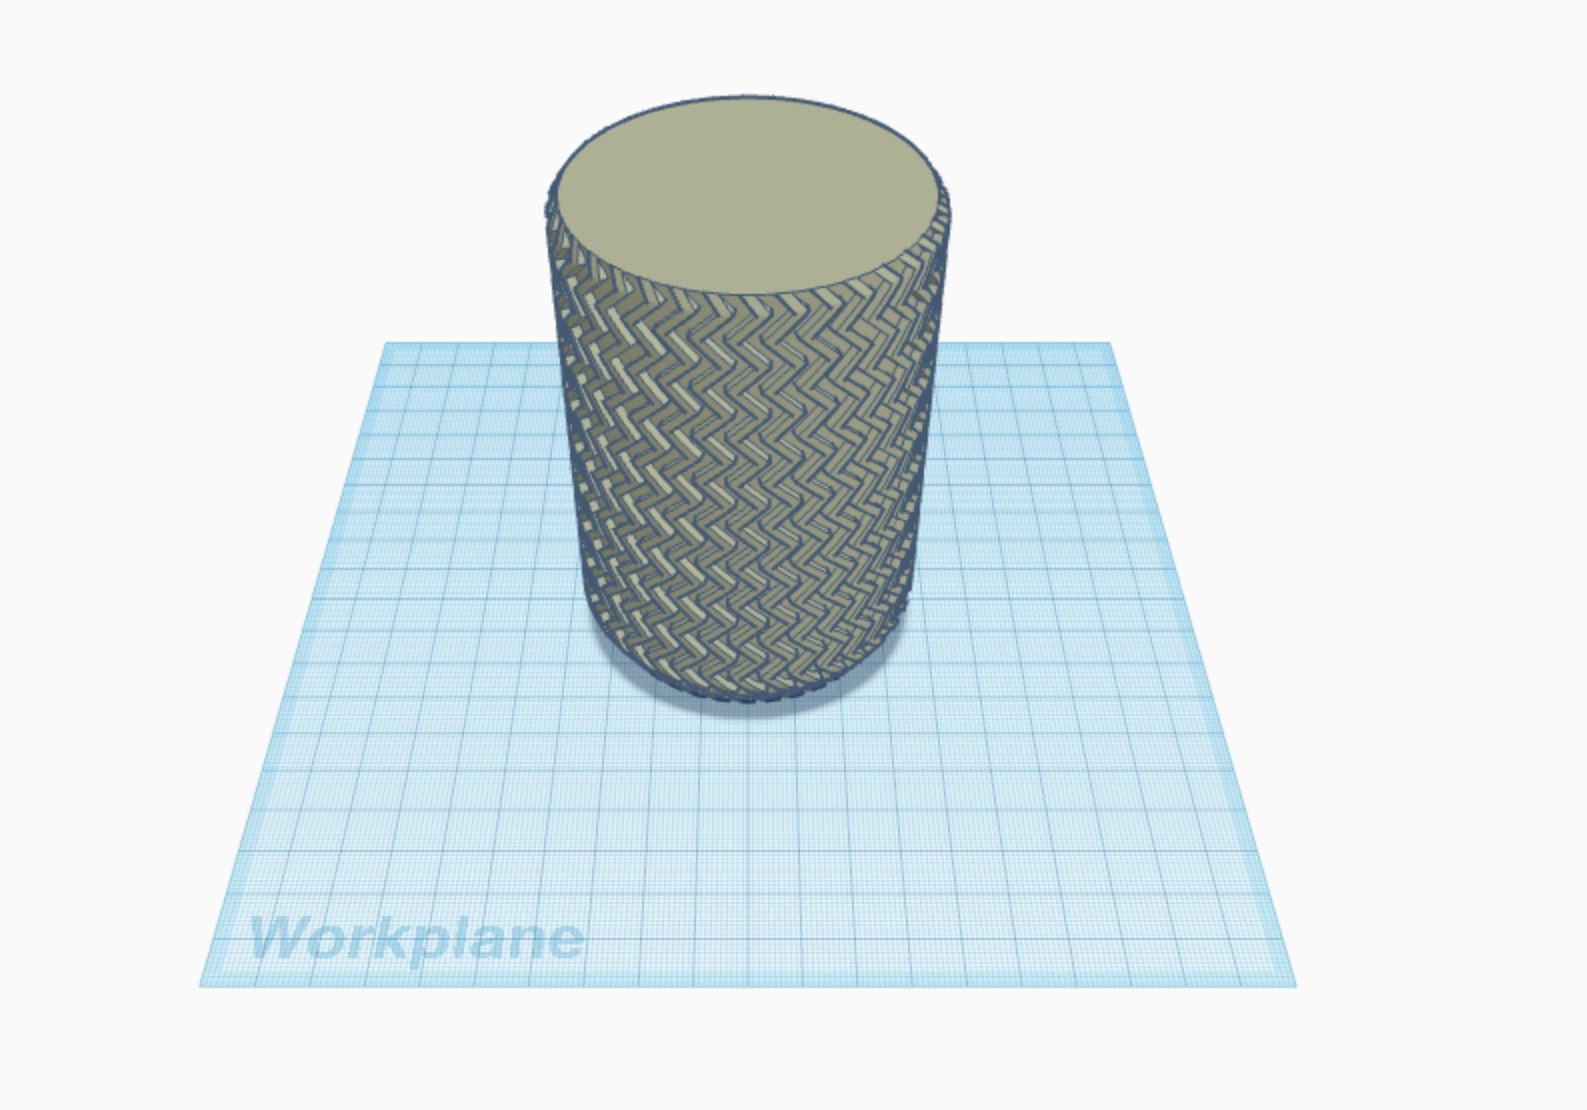
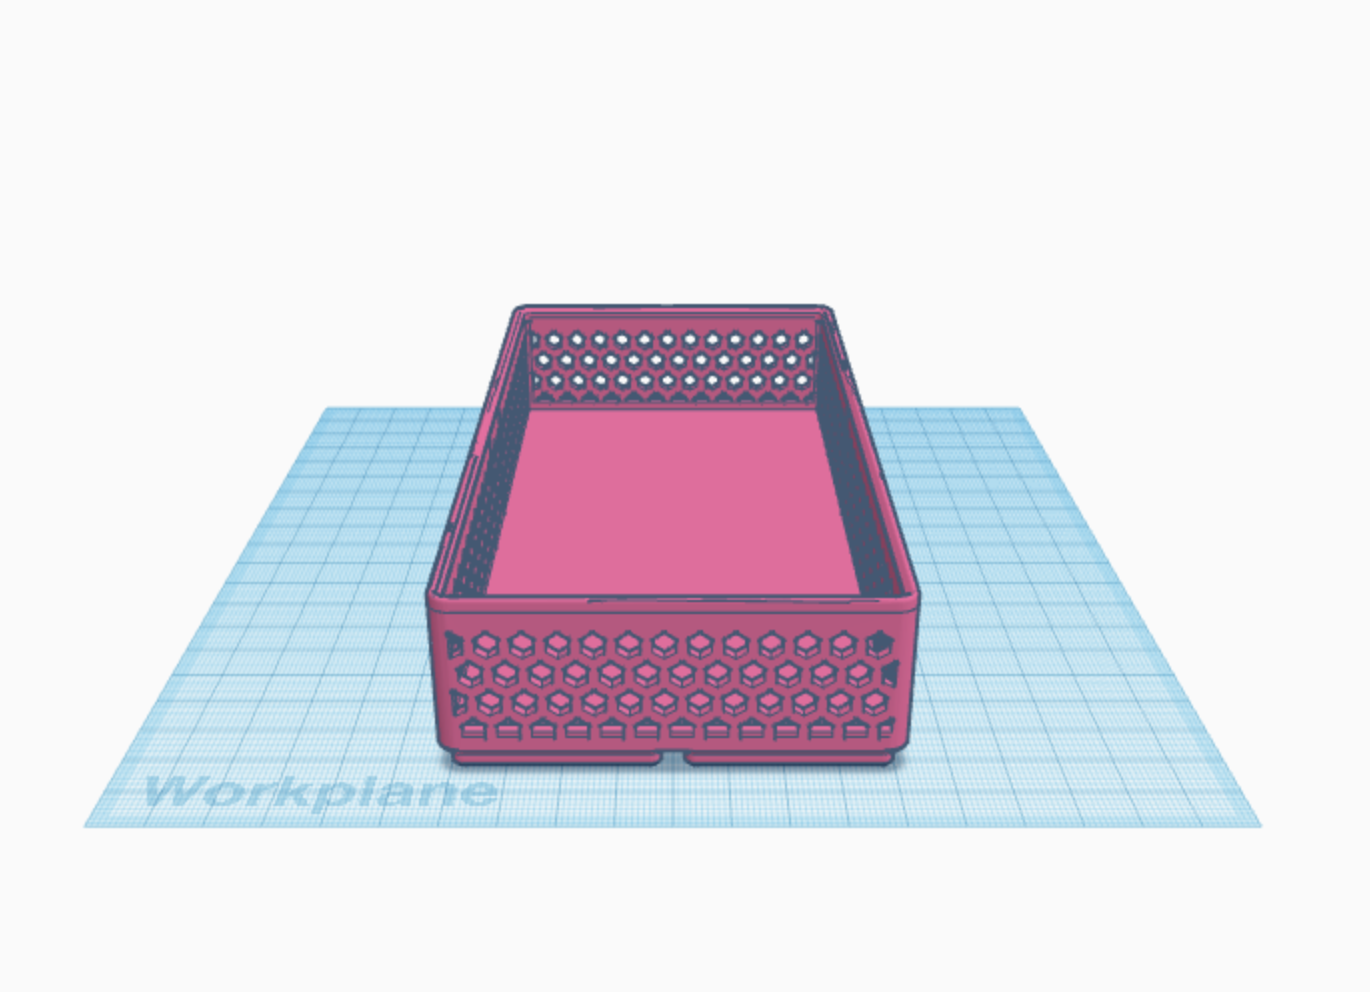
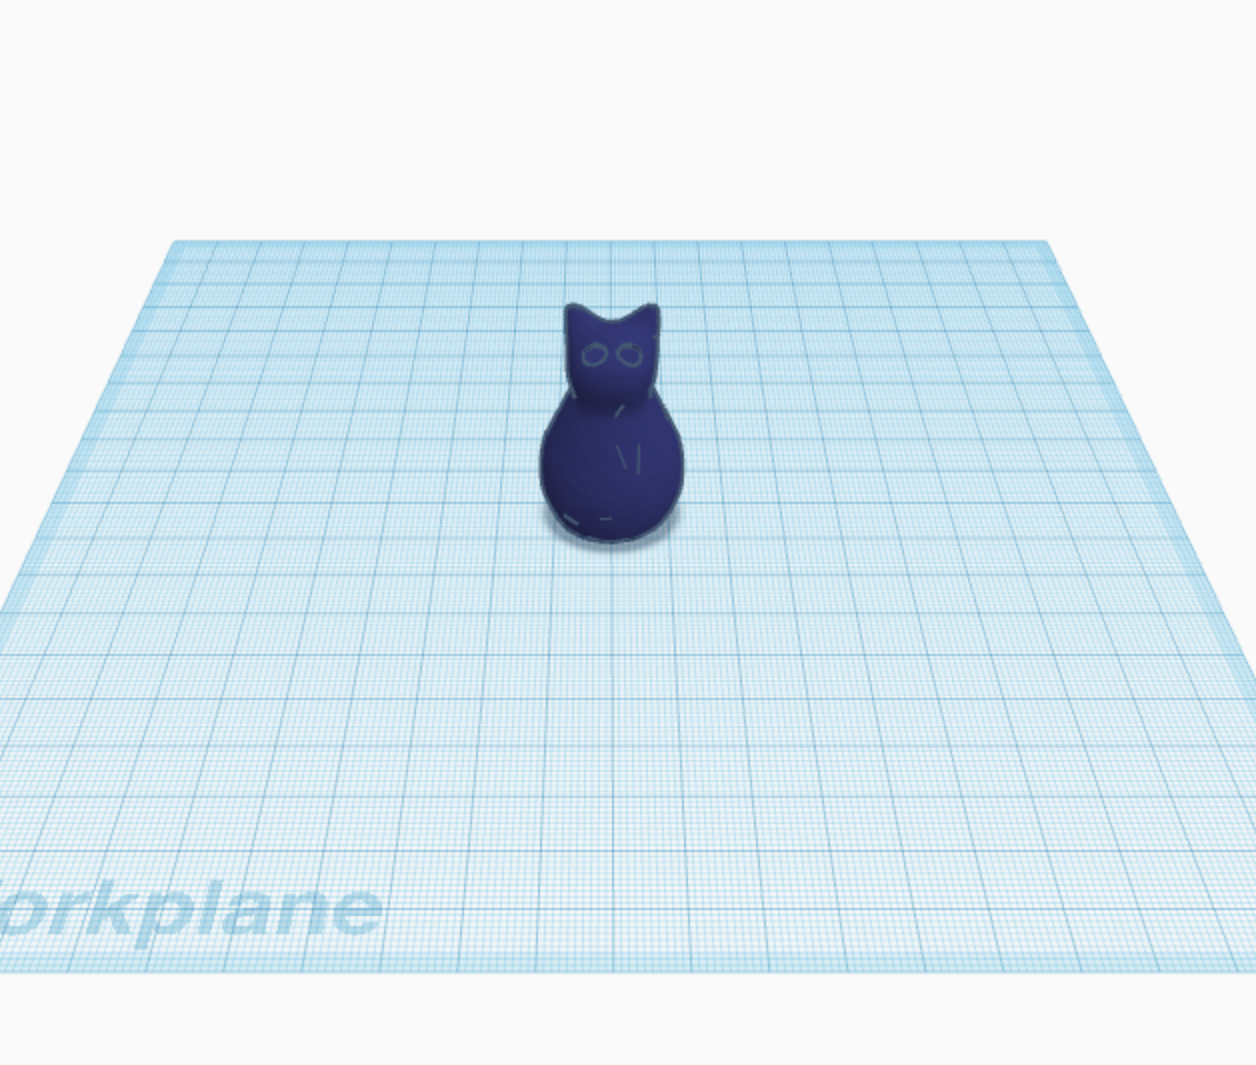
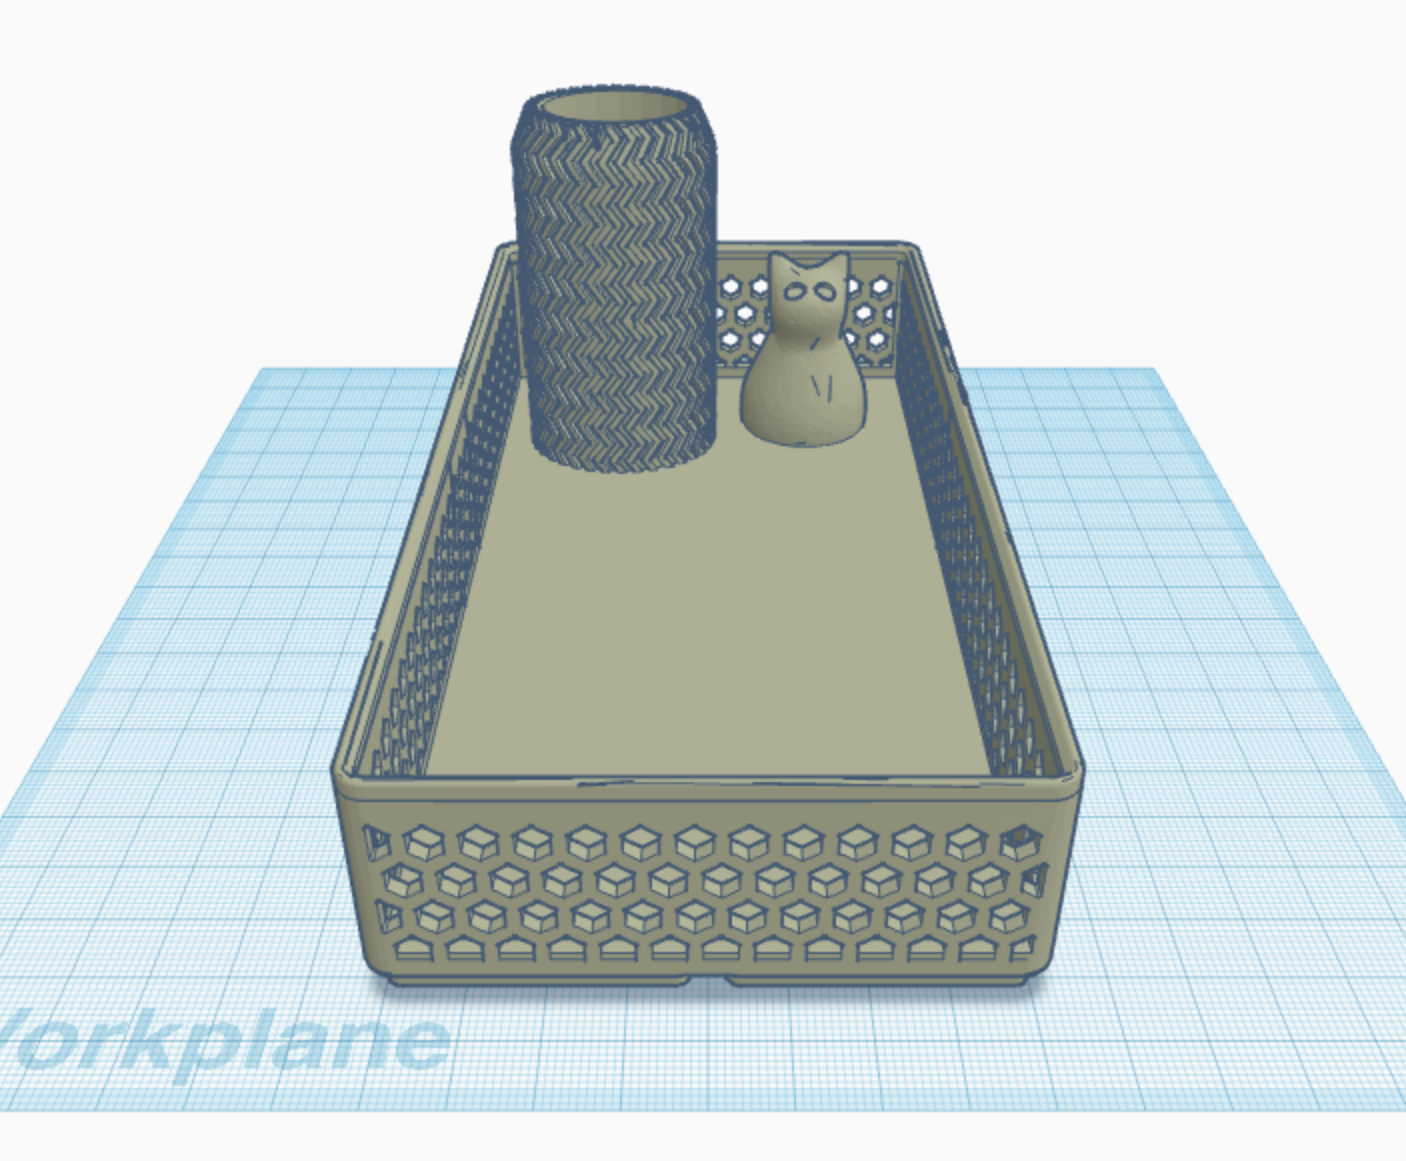
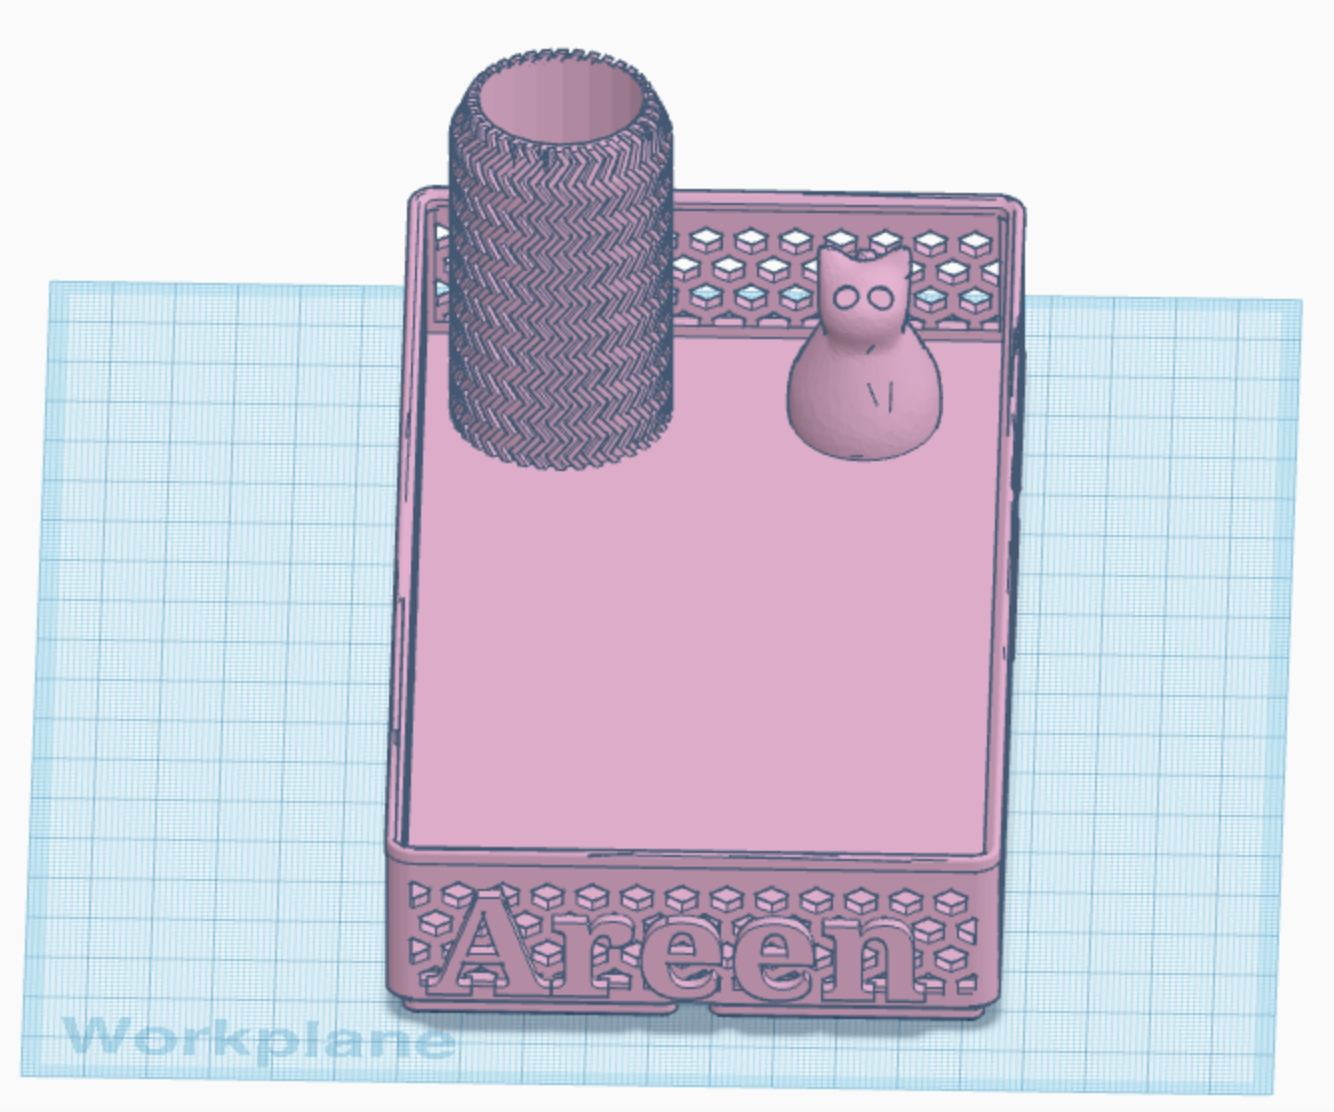
The first challenge was figuring out what to make. As I browsed through online resources, my love for stationery and cats pointed me in the right direction. I stumbled upon three intriguing 3D designs on Thingiverse: a small basket, a tiny cat figurine, and a pencil holder. The idea formed in my mind like pieces of a puzzle waiting to be connected.
The Planning Stage
Before diving into the digital realm, I took a moment to sketch out my idea on paper. Documenting this initial concept in my lab notes turned out to be a wise decision. It helped me visualize the end product and served as a reference point throughout the project.
Remixing with Tinkercad
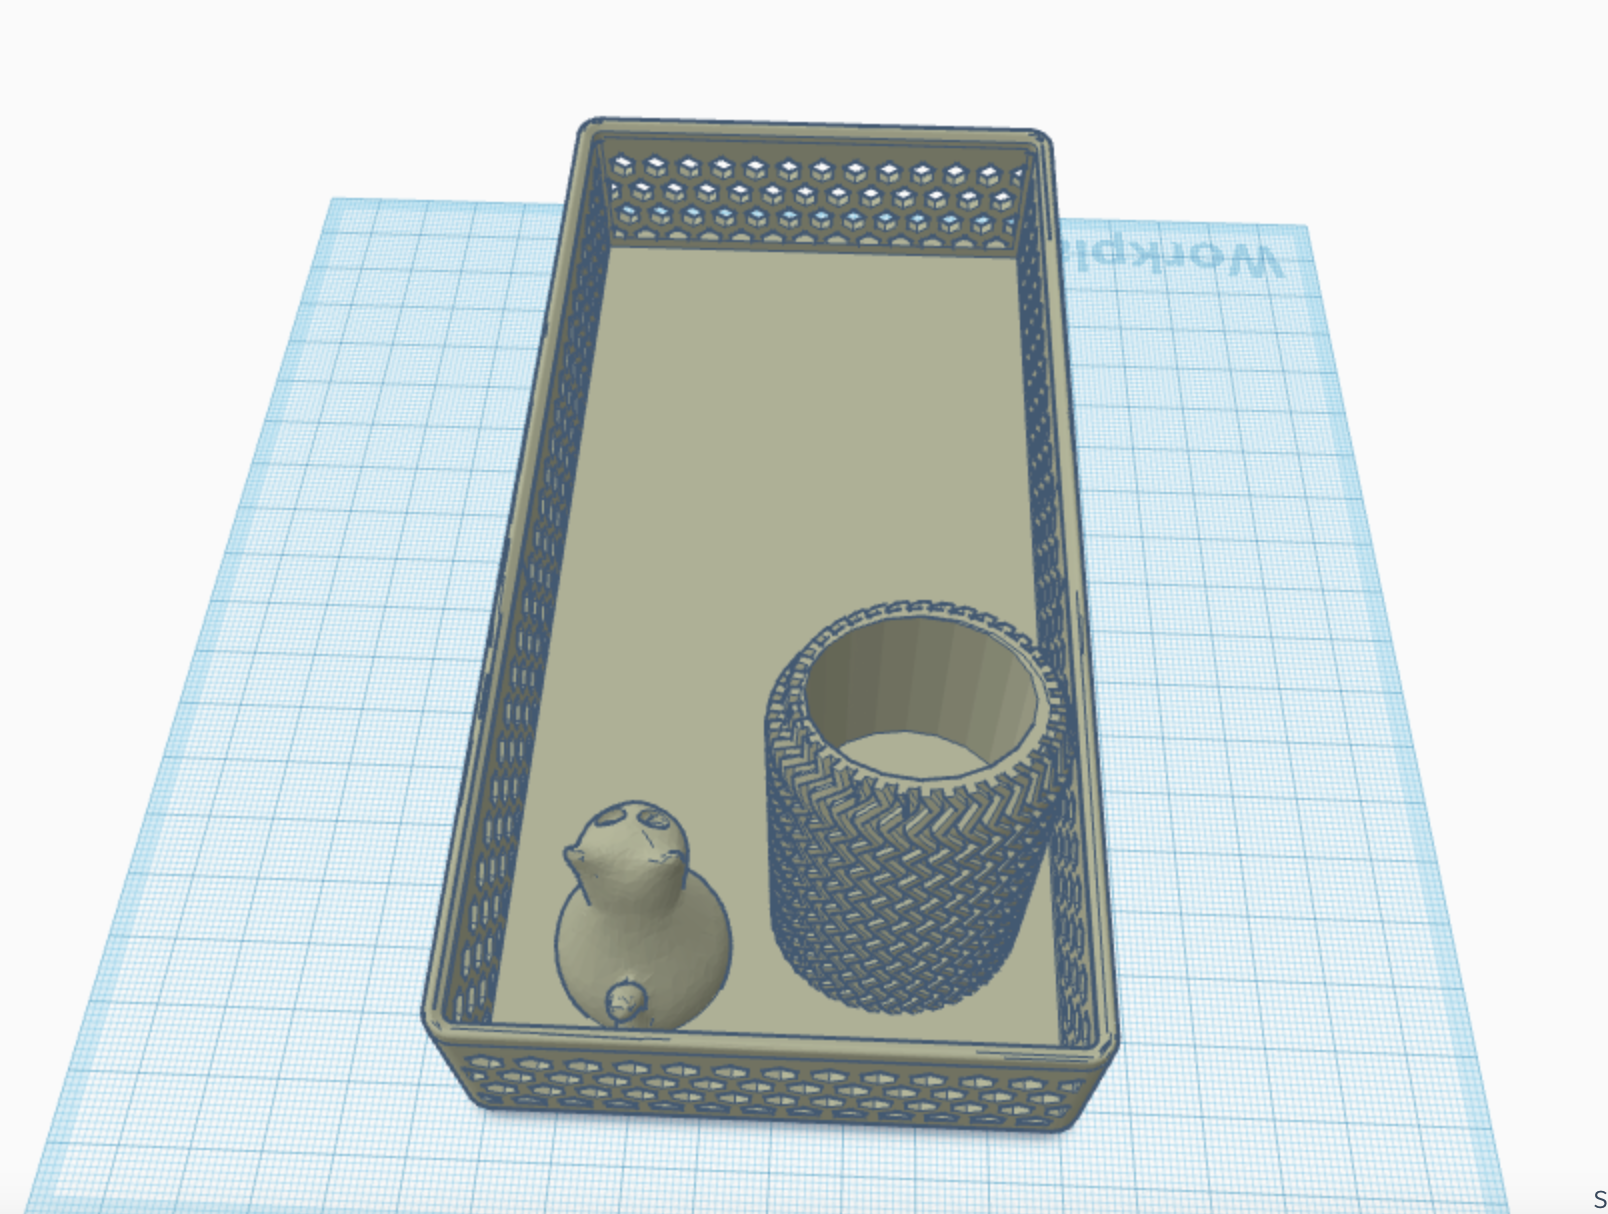
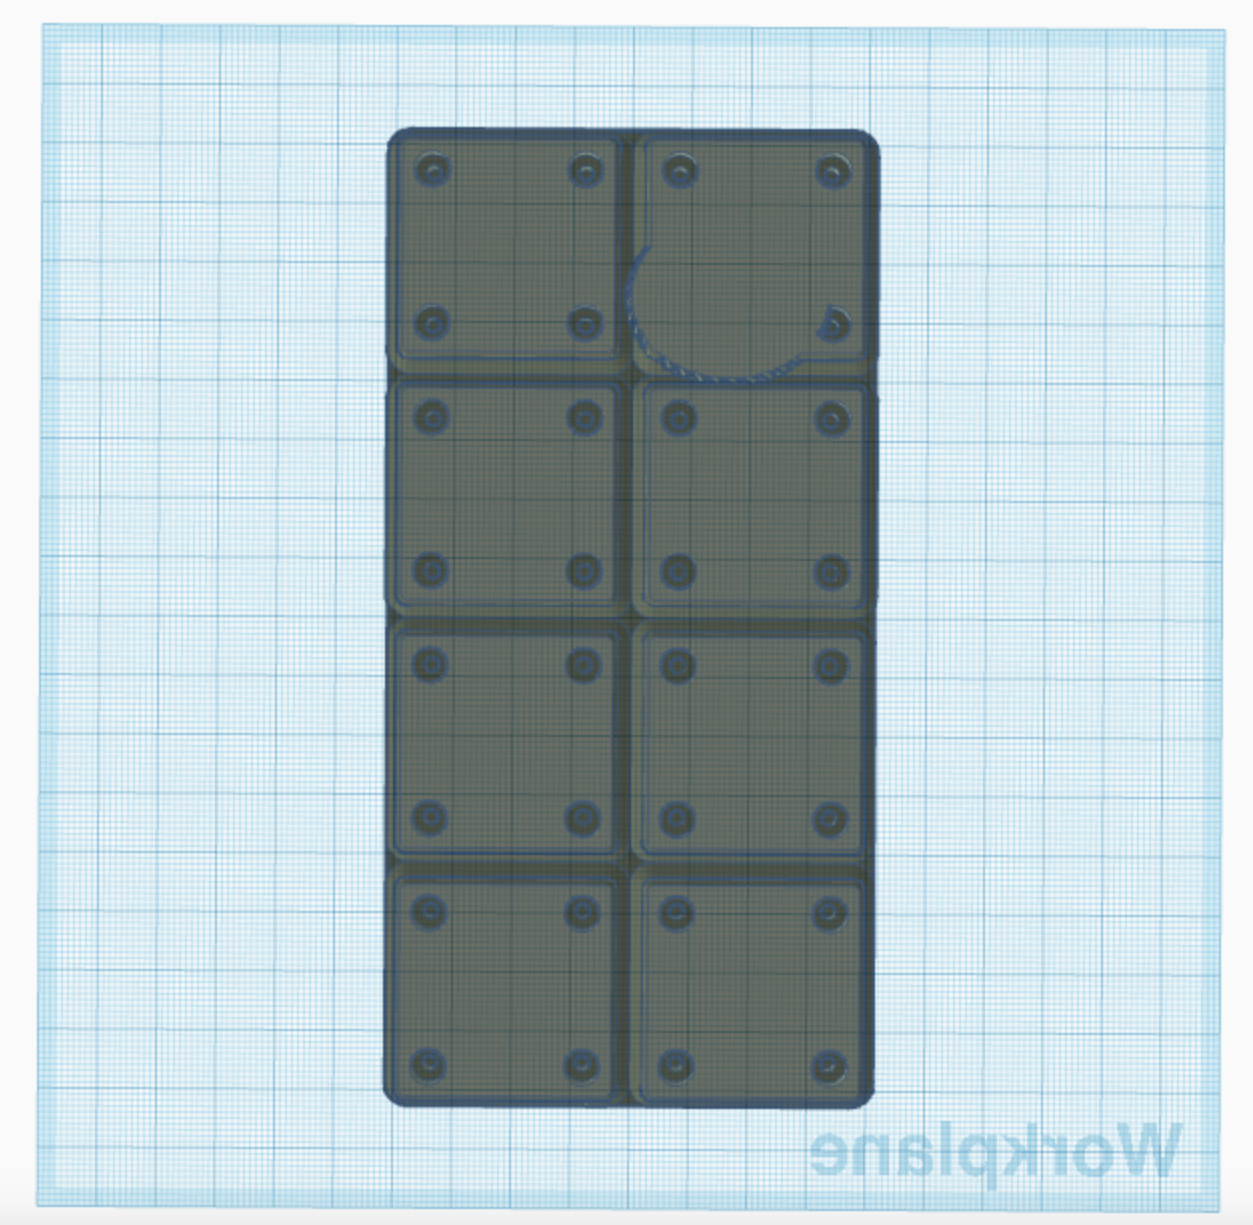
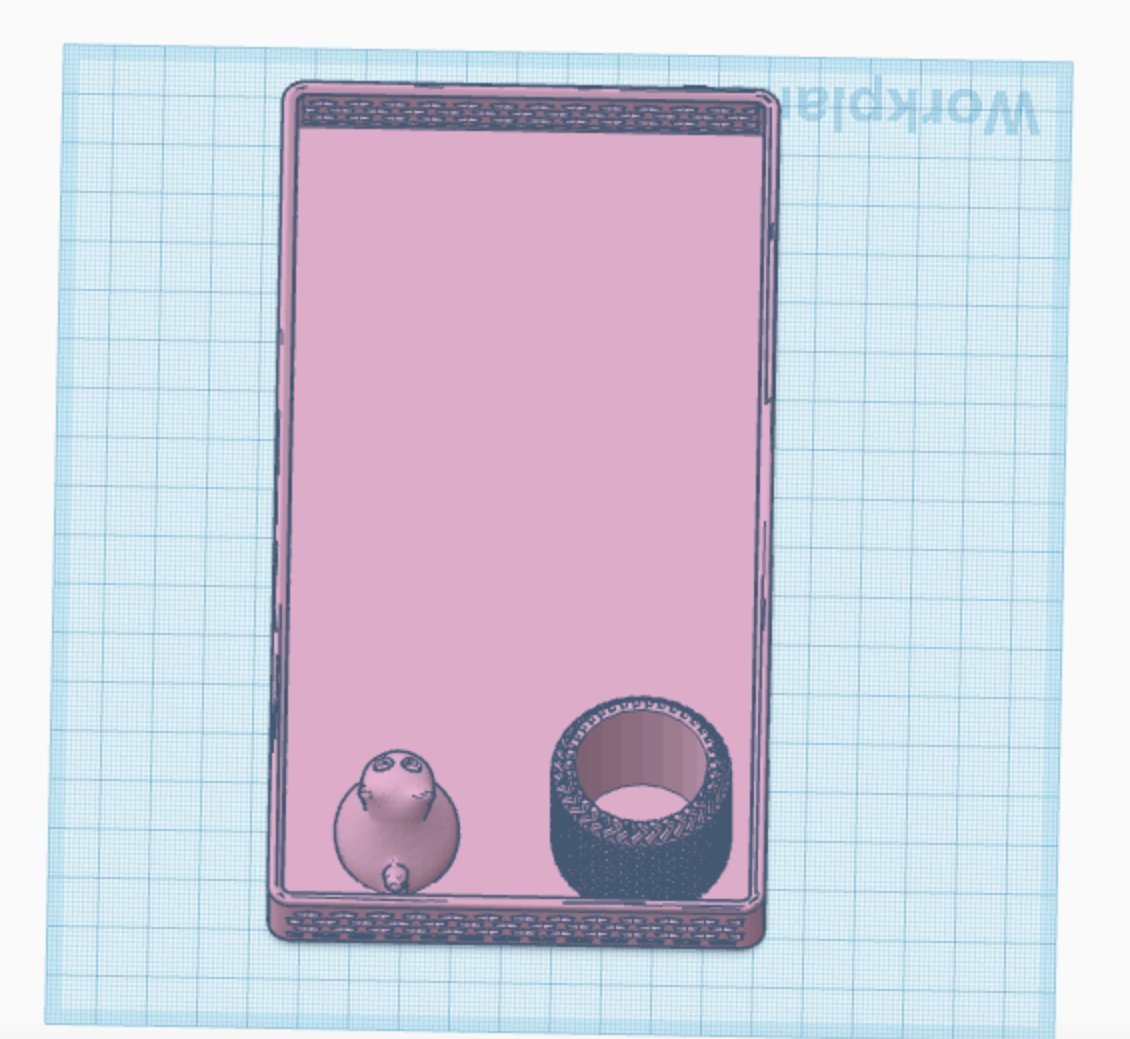
I used Tinkercad as my CAD tool, and this is where the real fun began. Combining these three distinct elements required a fair bit of creativity and problem-solving. However, there was a small hiccup. The pencil holder didn't quite match its online depiction, lacking the hole I expected. This required adjustments in Tinkercad to ensure that it served its intended purpose.
The 3D Printing Journey
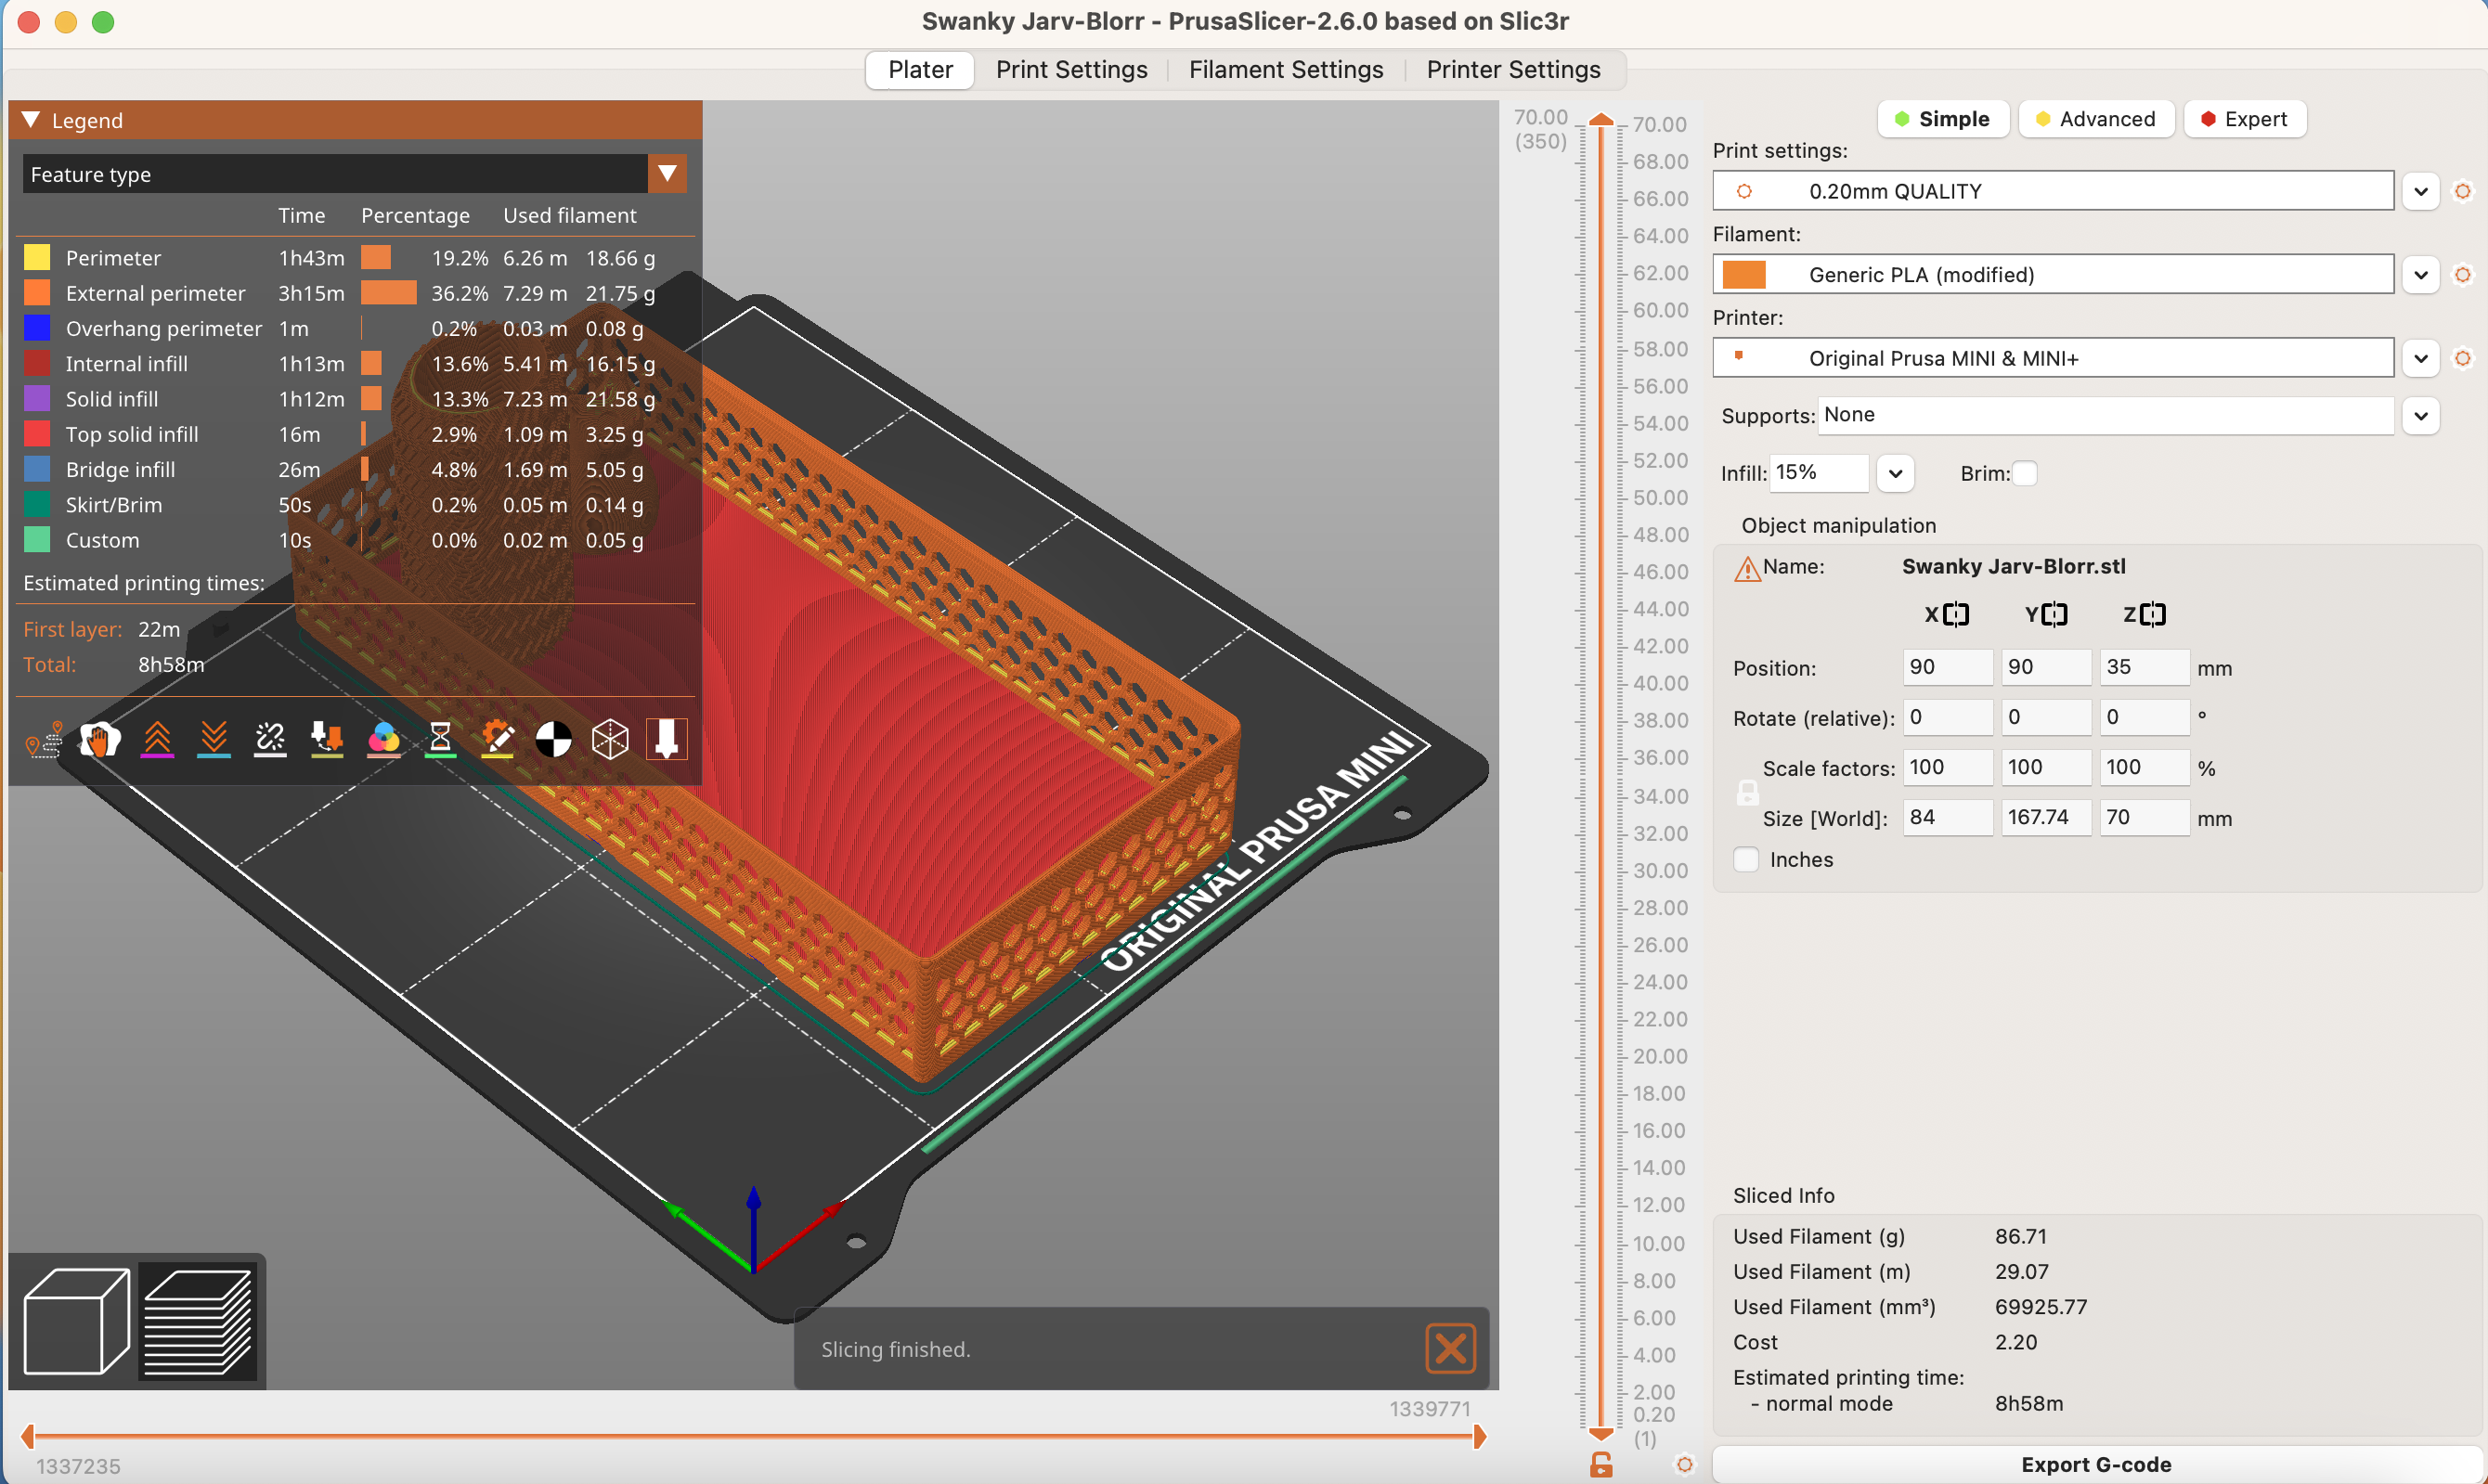
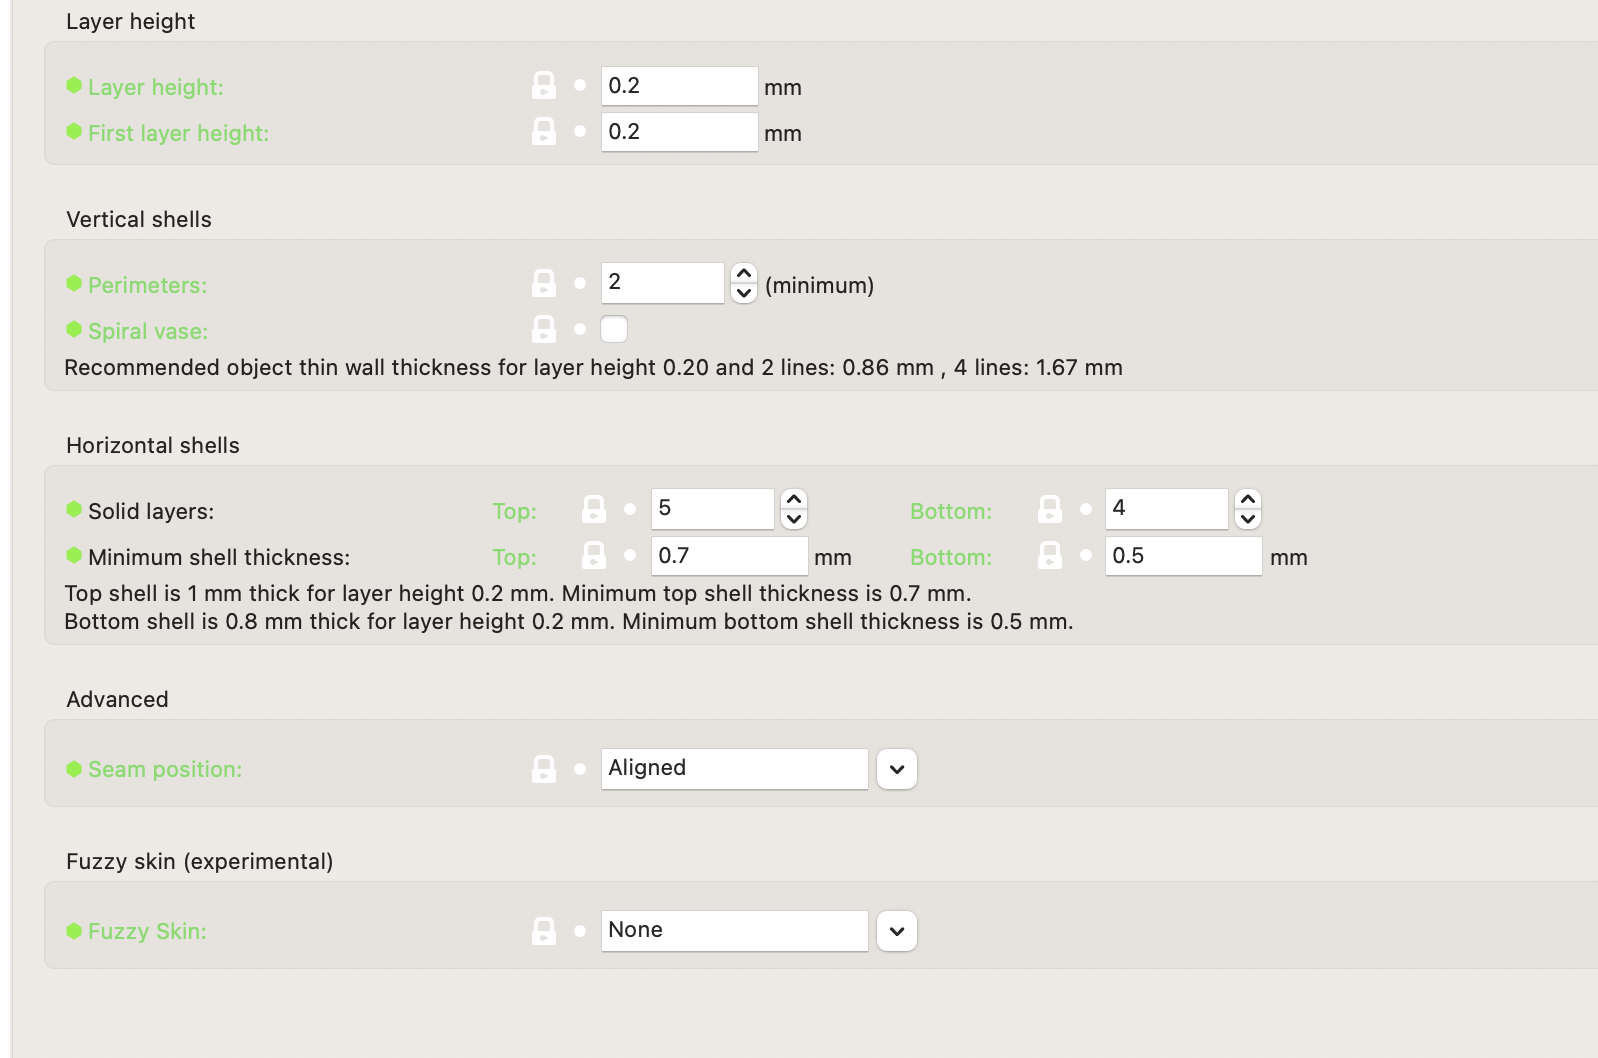
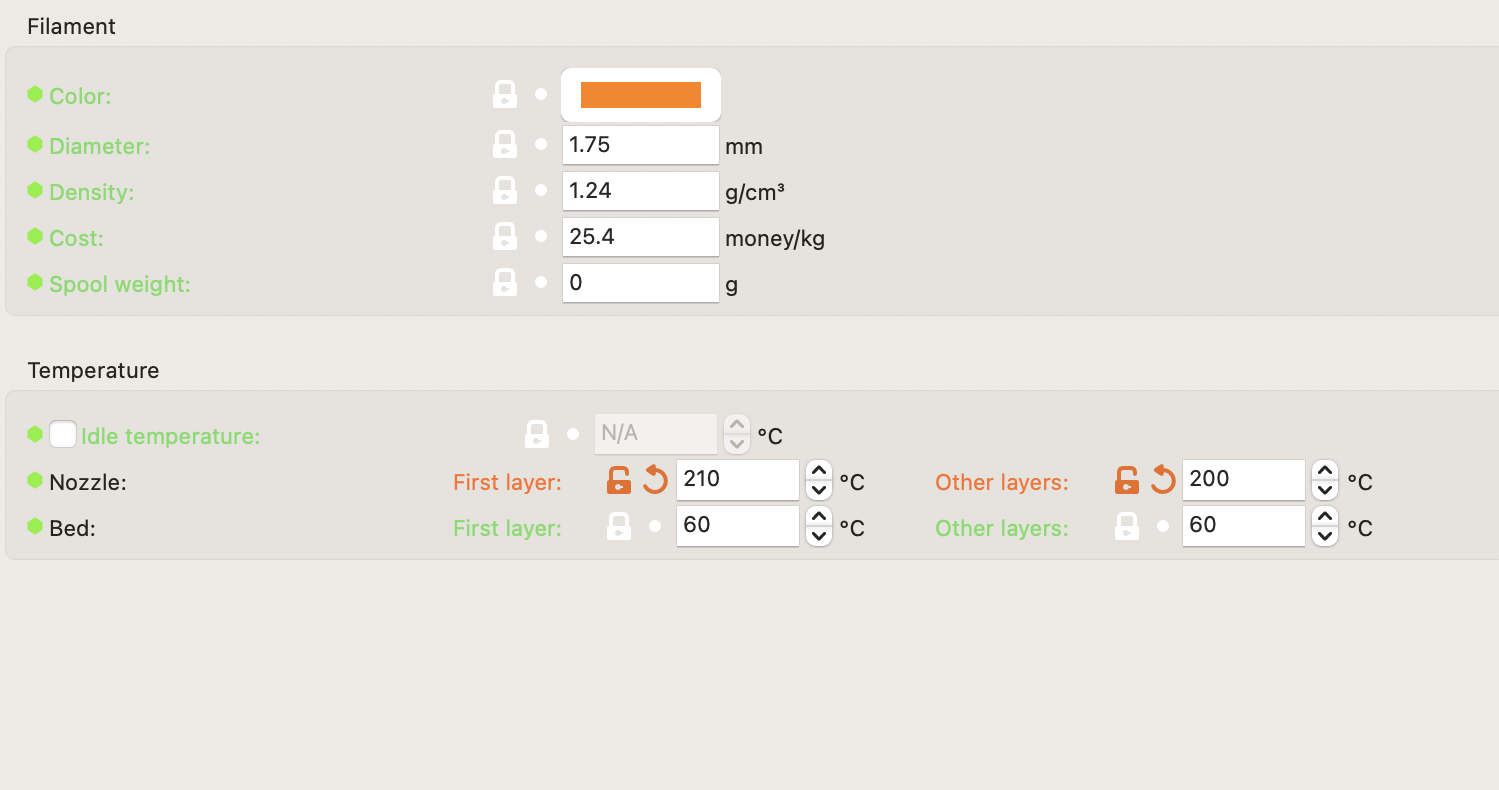
With my design ready, I moved on to the 3D printing phase. I chose to print my creation using PLA material on a Prusa MINI+ 3D Printer. To optimize the print, I made a slight tweak to the filament temperature settings, lowering the first layer temperature to 210°C and the subsequent layers to 200°C. The estimated print time was approximately 9 hours.
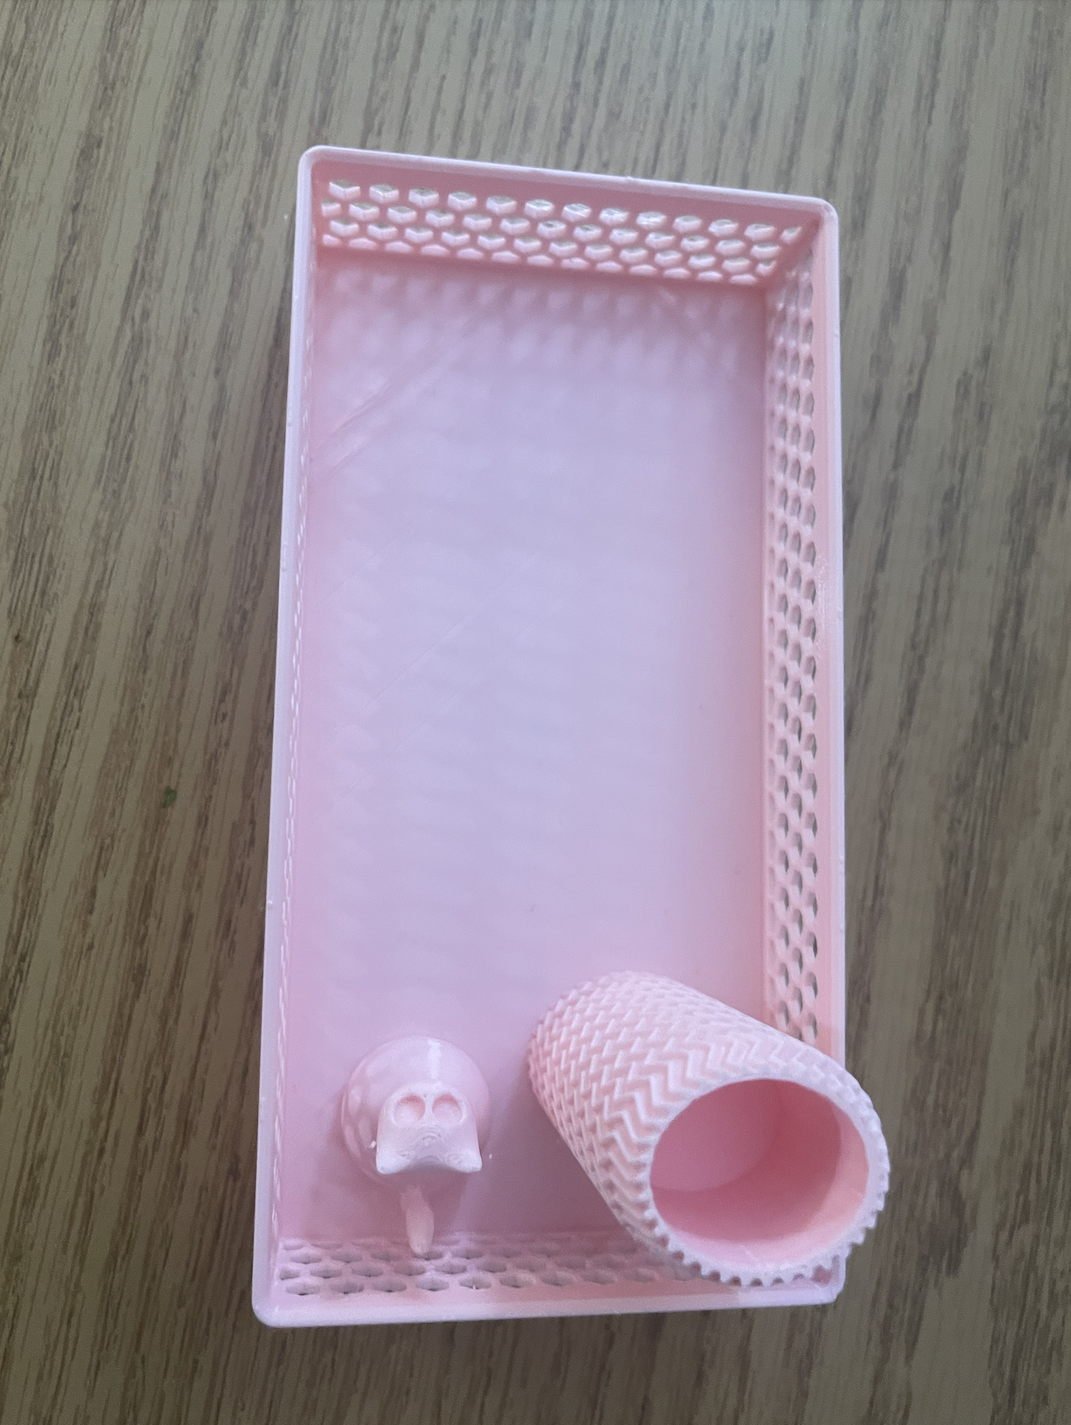
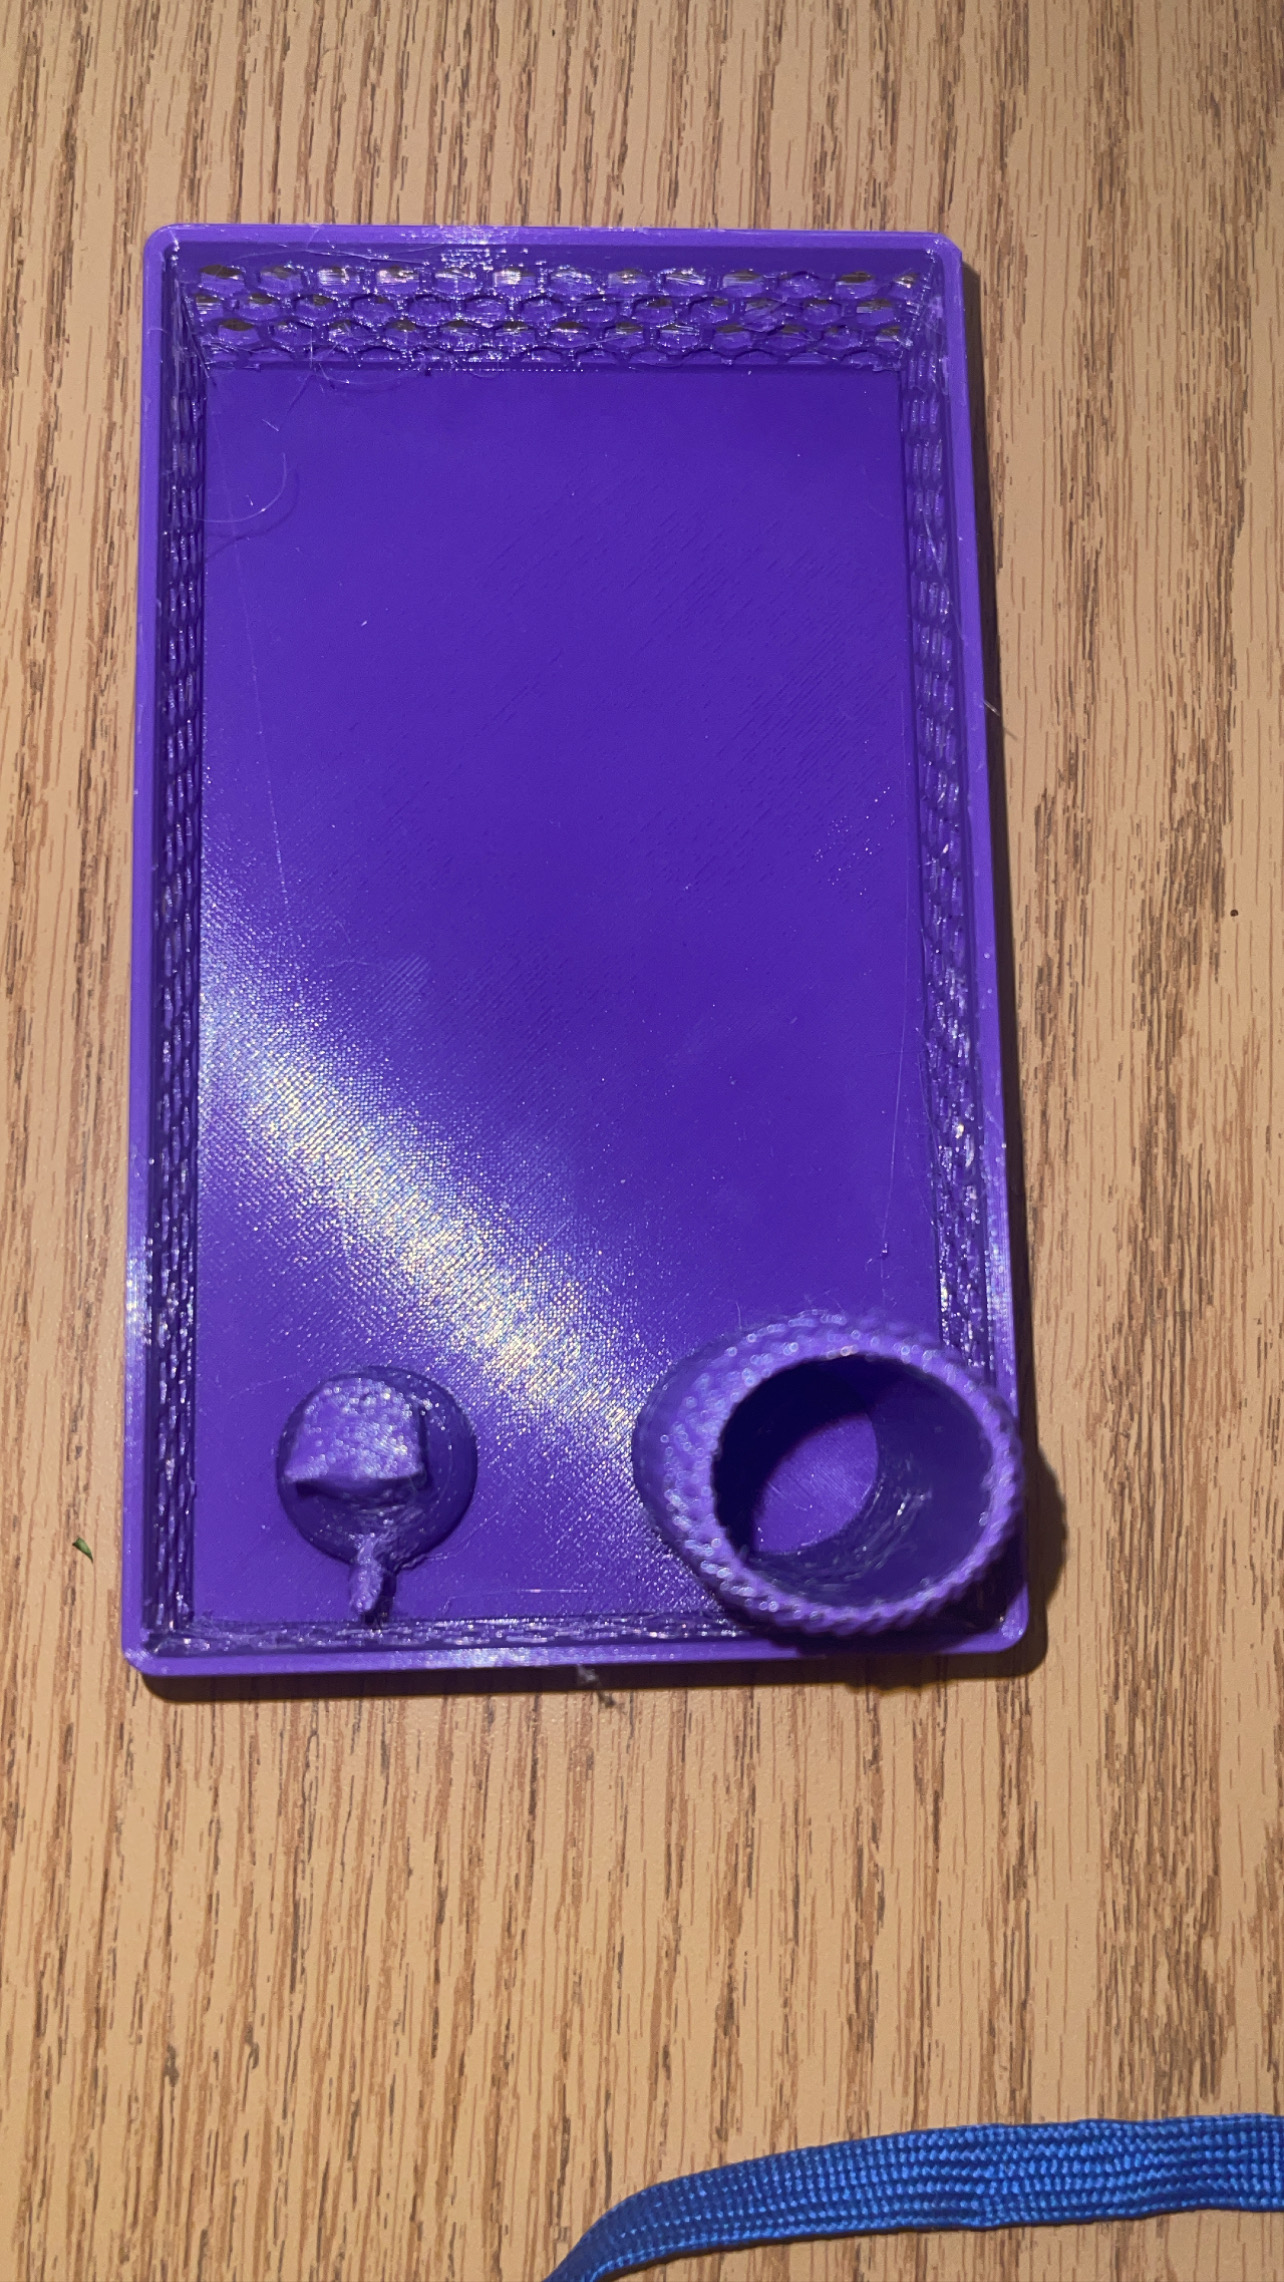
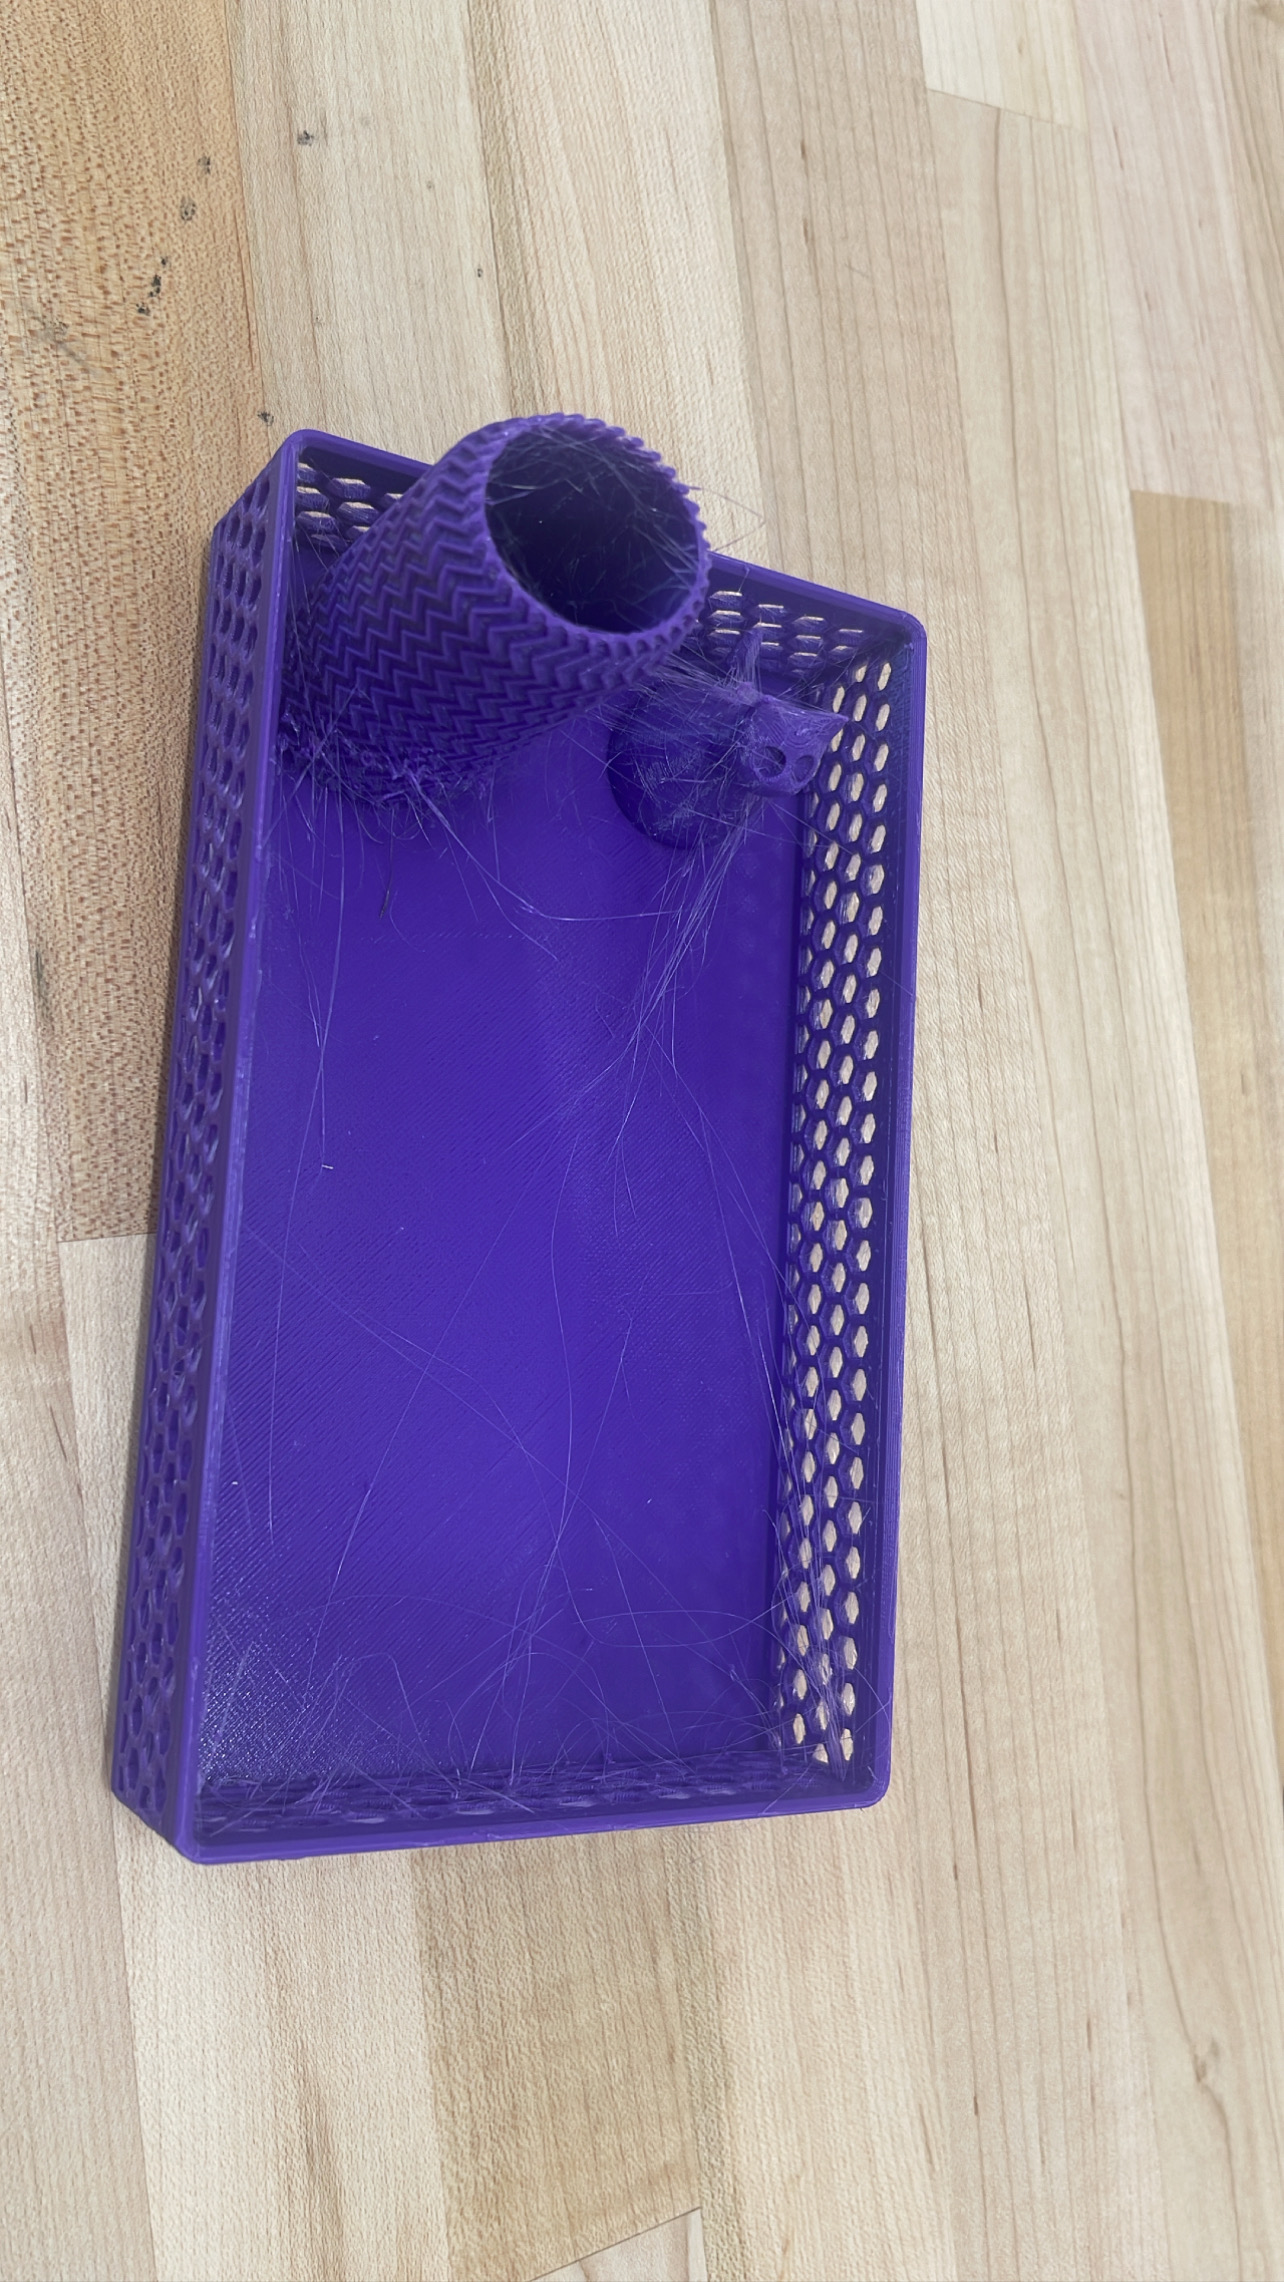
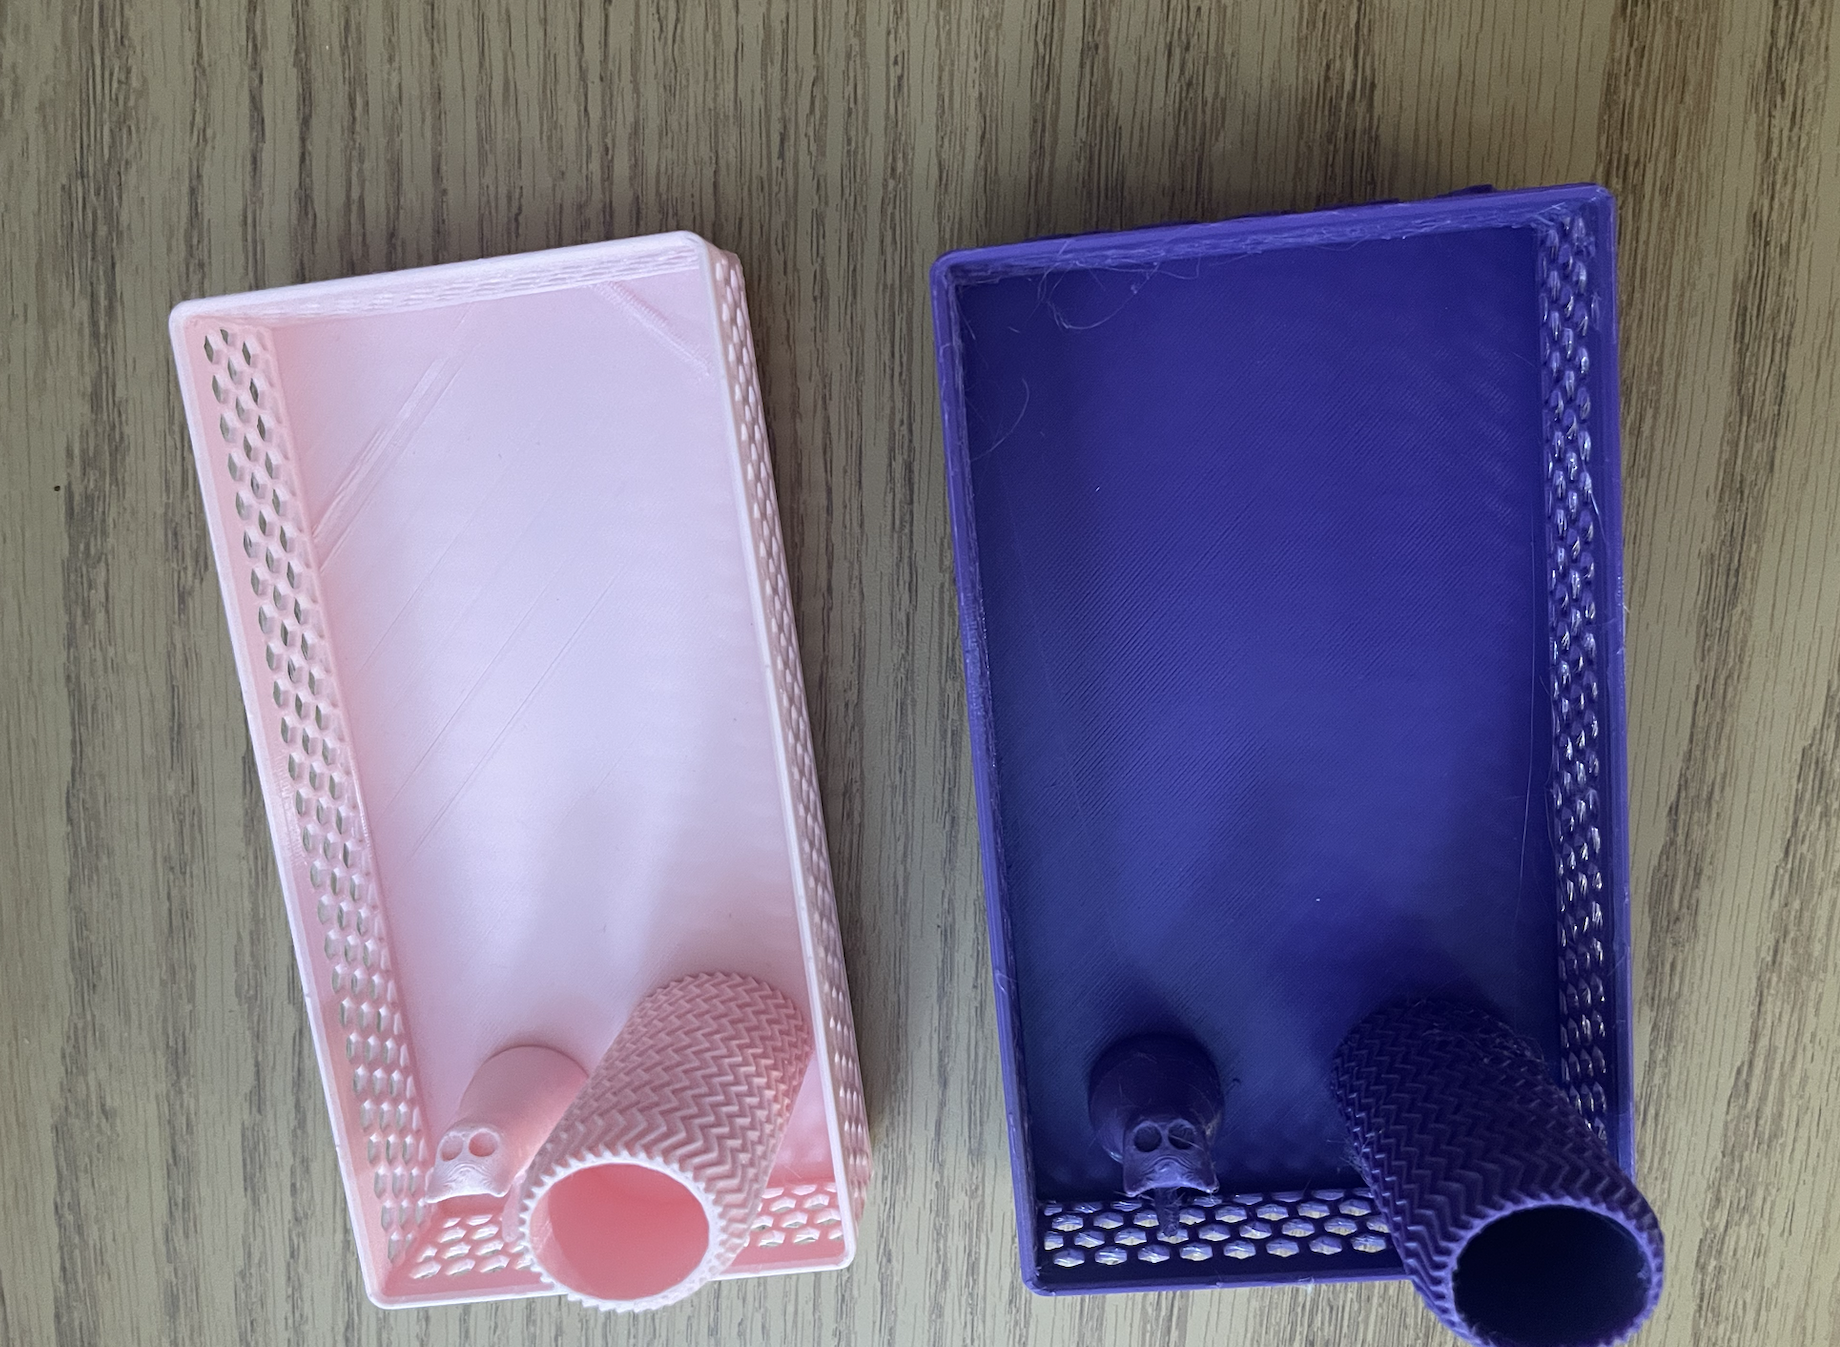
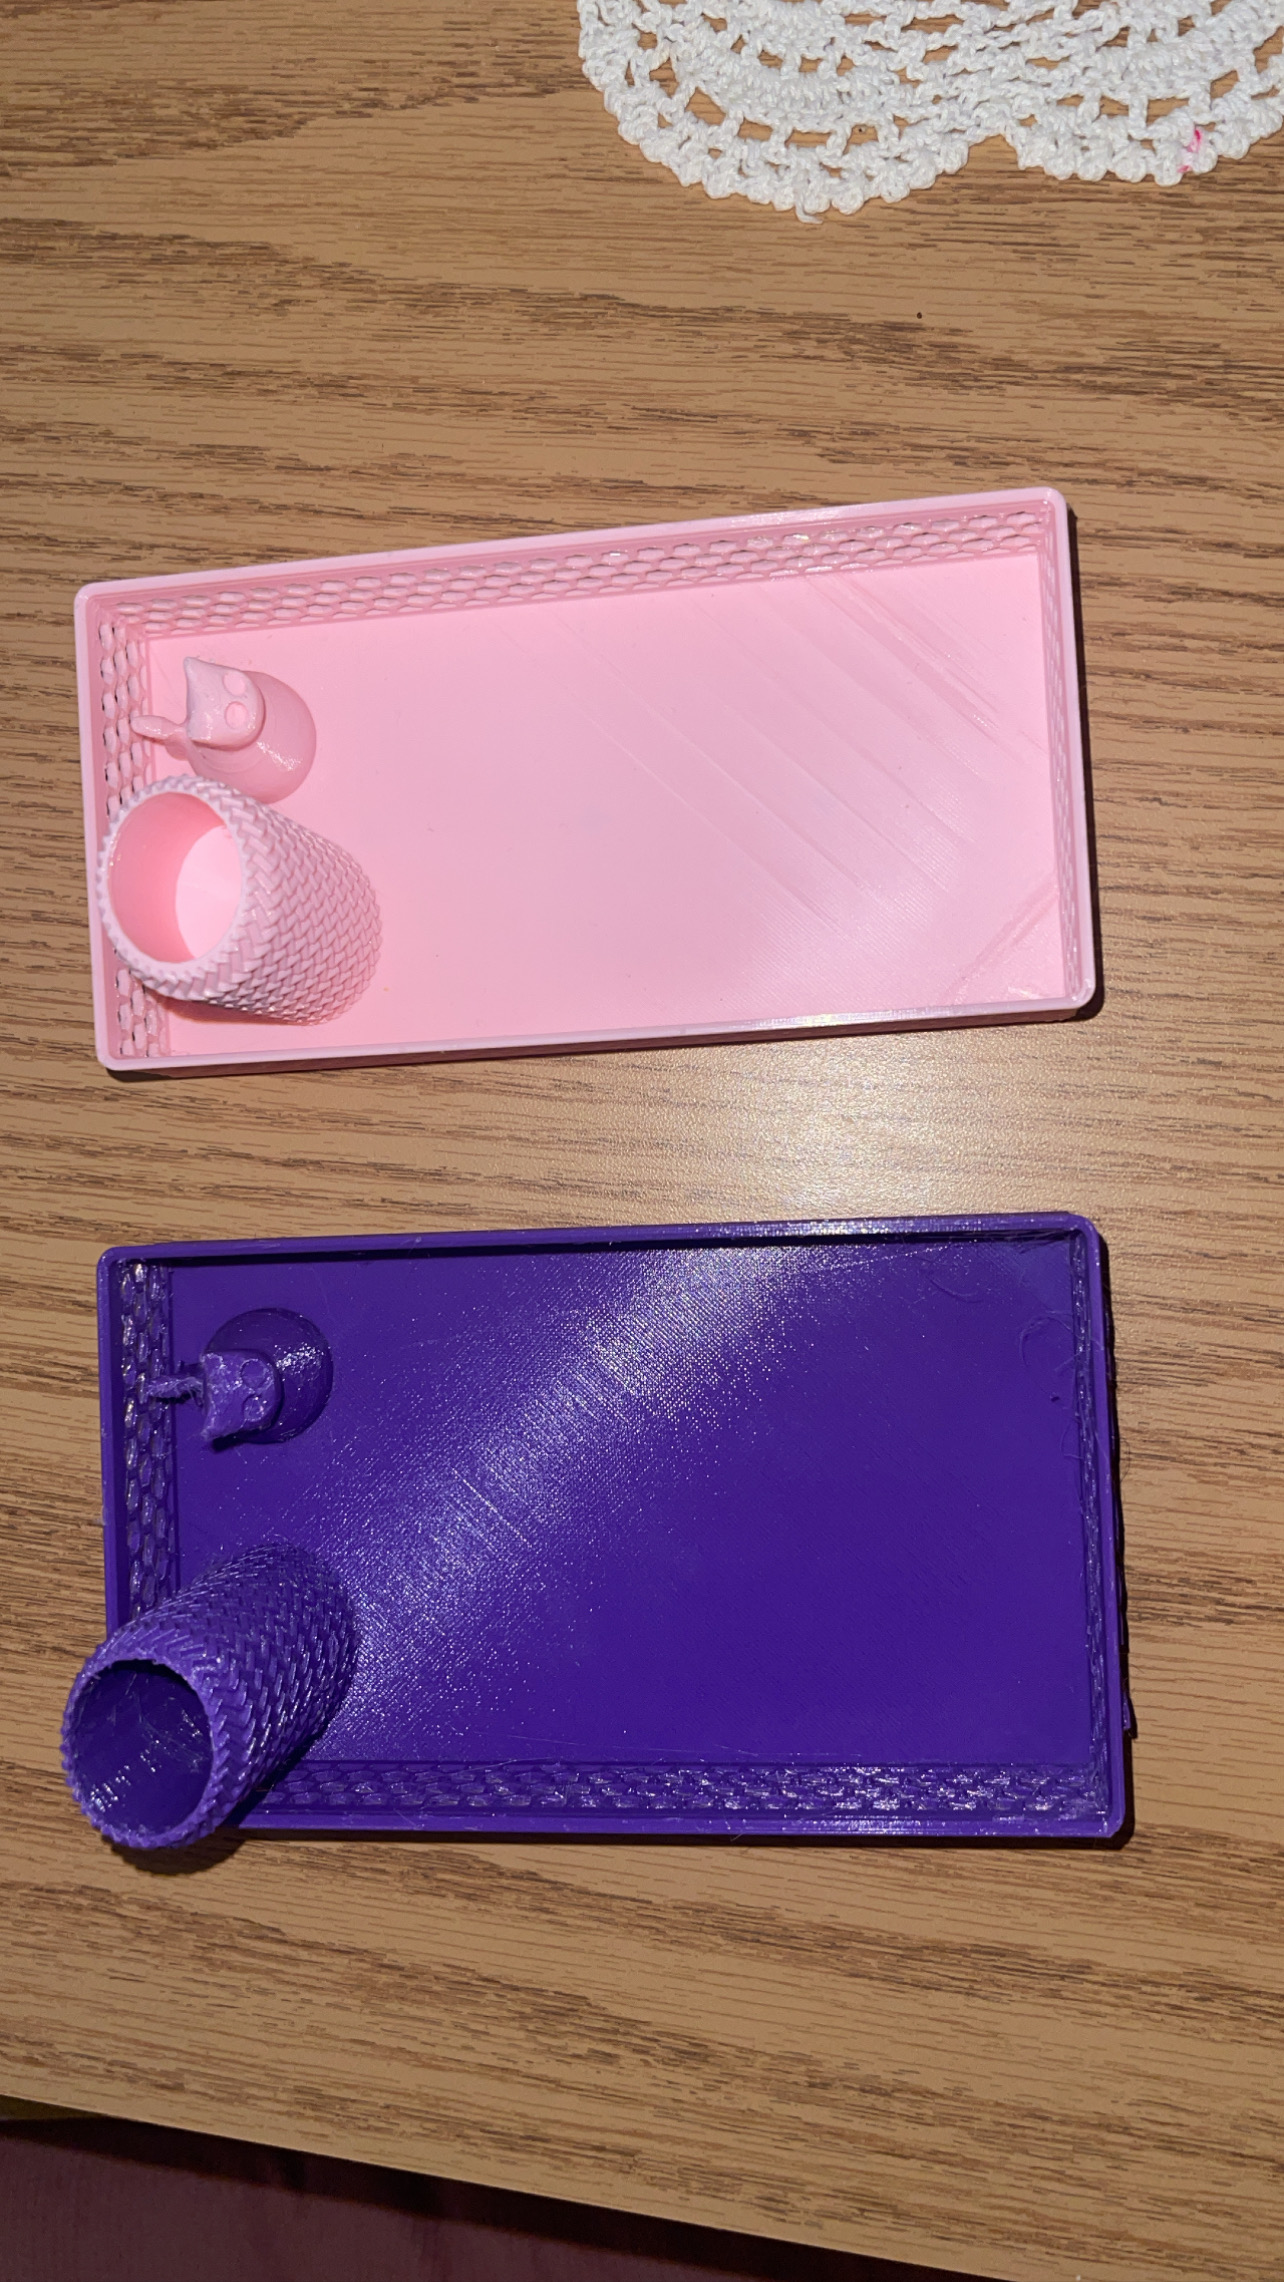
Upon completion of the first print, I noticed an oversight. The placement of the pencil holder in the desk basket was not as I had intended, and the hole in the pencil holder didn't align properly. This mistake reminded me of the importance of meticulous planning and checking my design from all angles. However, I viewed this as an opportunity for improvement.
Imperfections and Optimizing
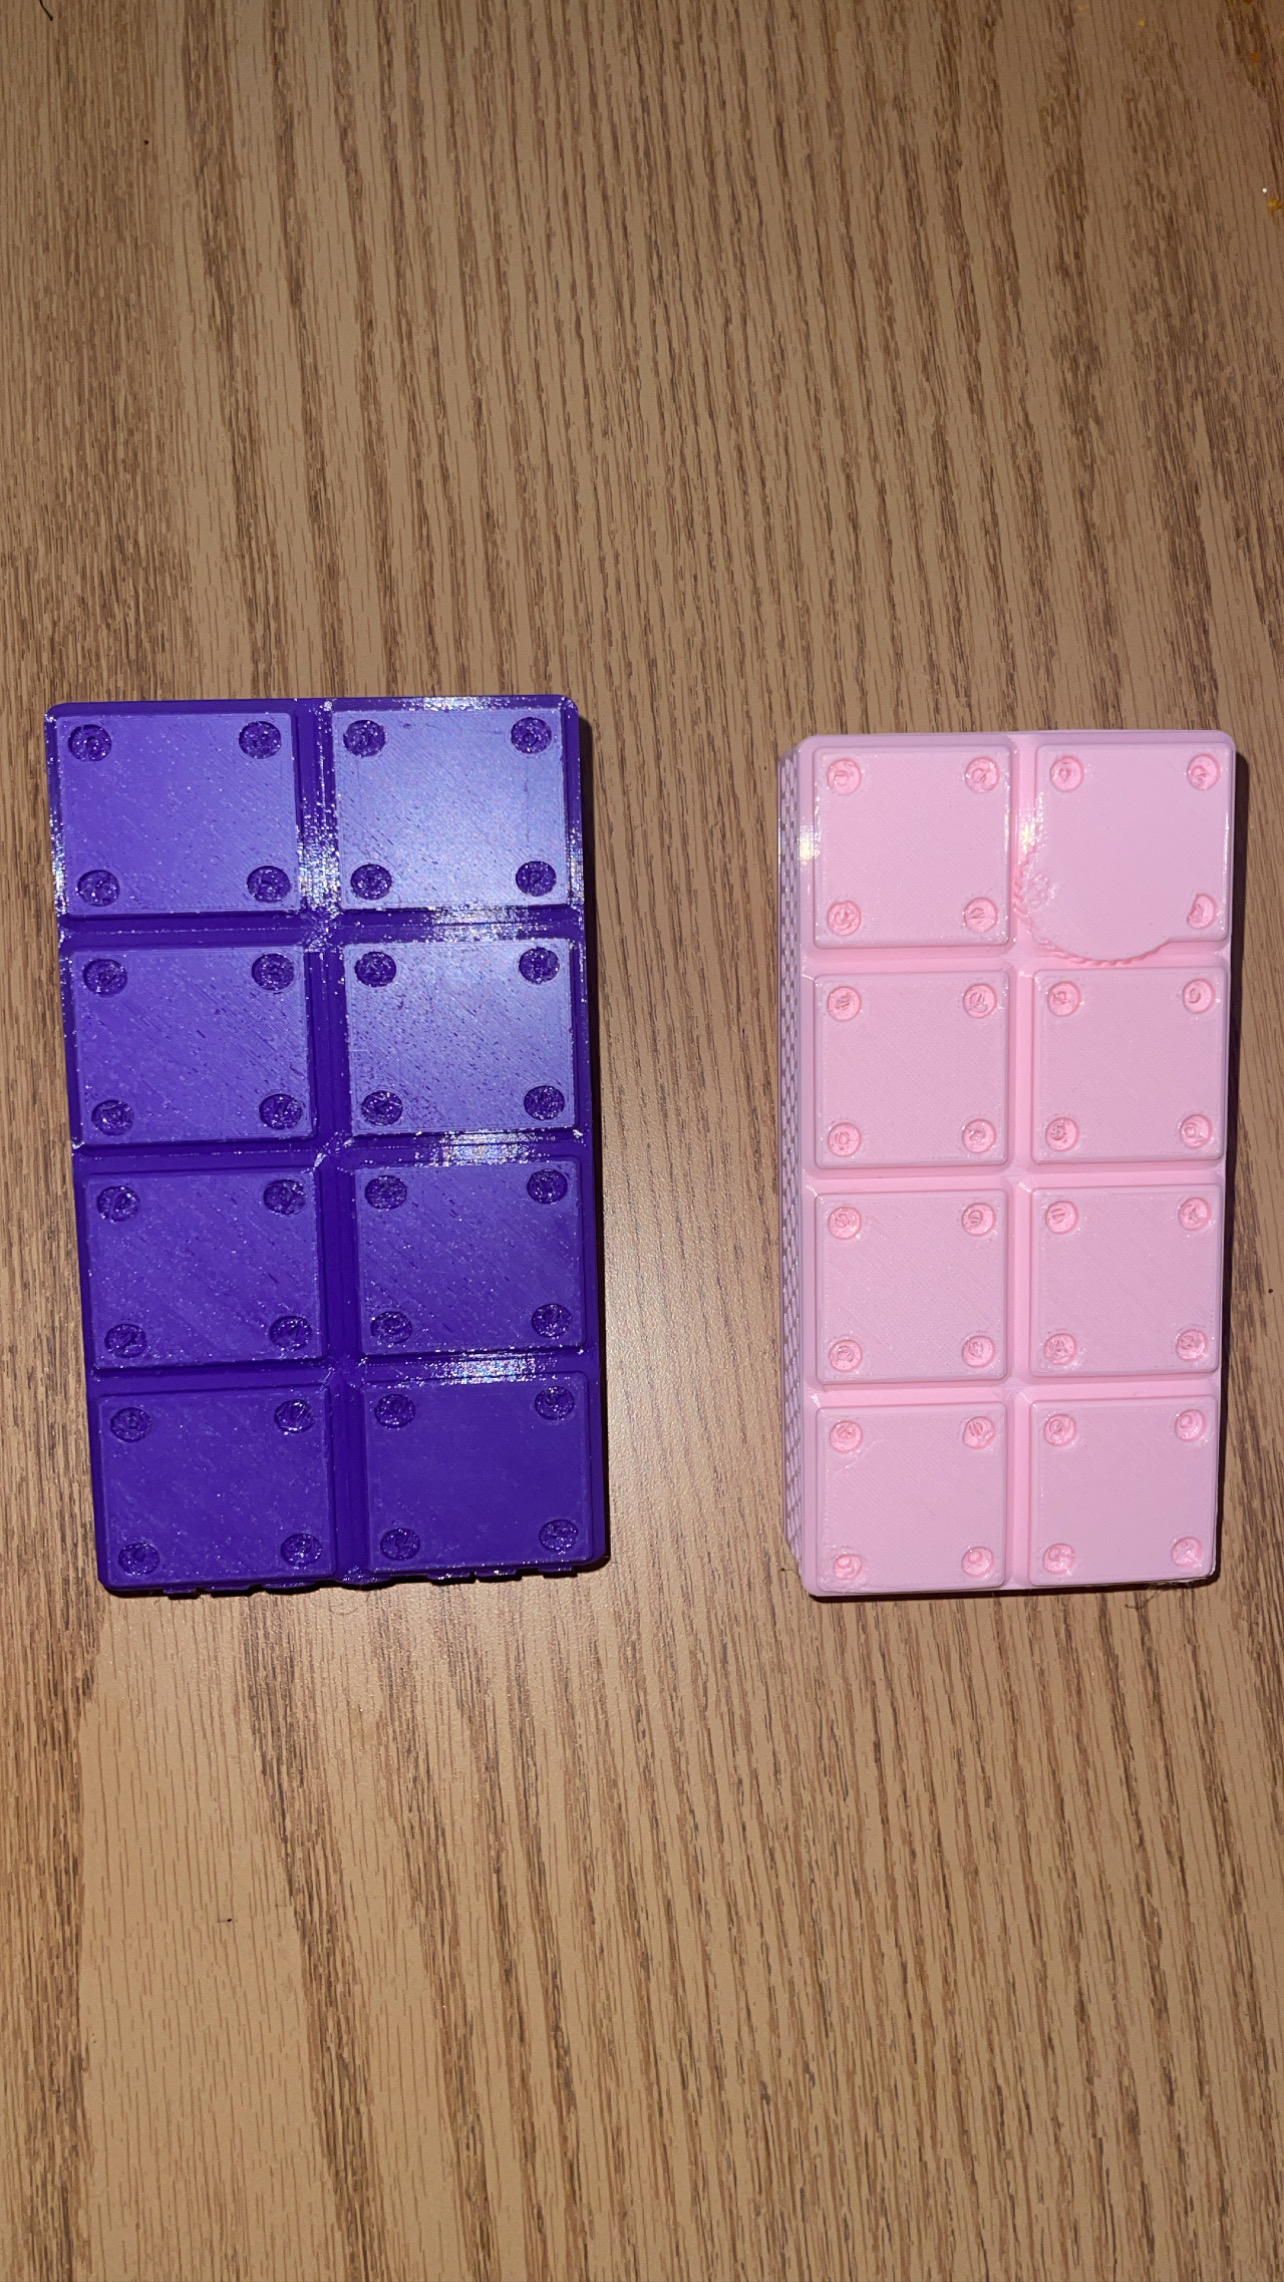
Determined to make my desk accessory truly functional and aesthetically pleasing, I returned to Tinkercad to correct my mistakes. I also decided to personalize the project by adding my name to the desk basket. This time, I ensured that the hole and placements of the elements were spot on.
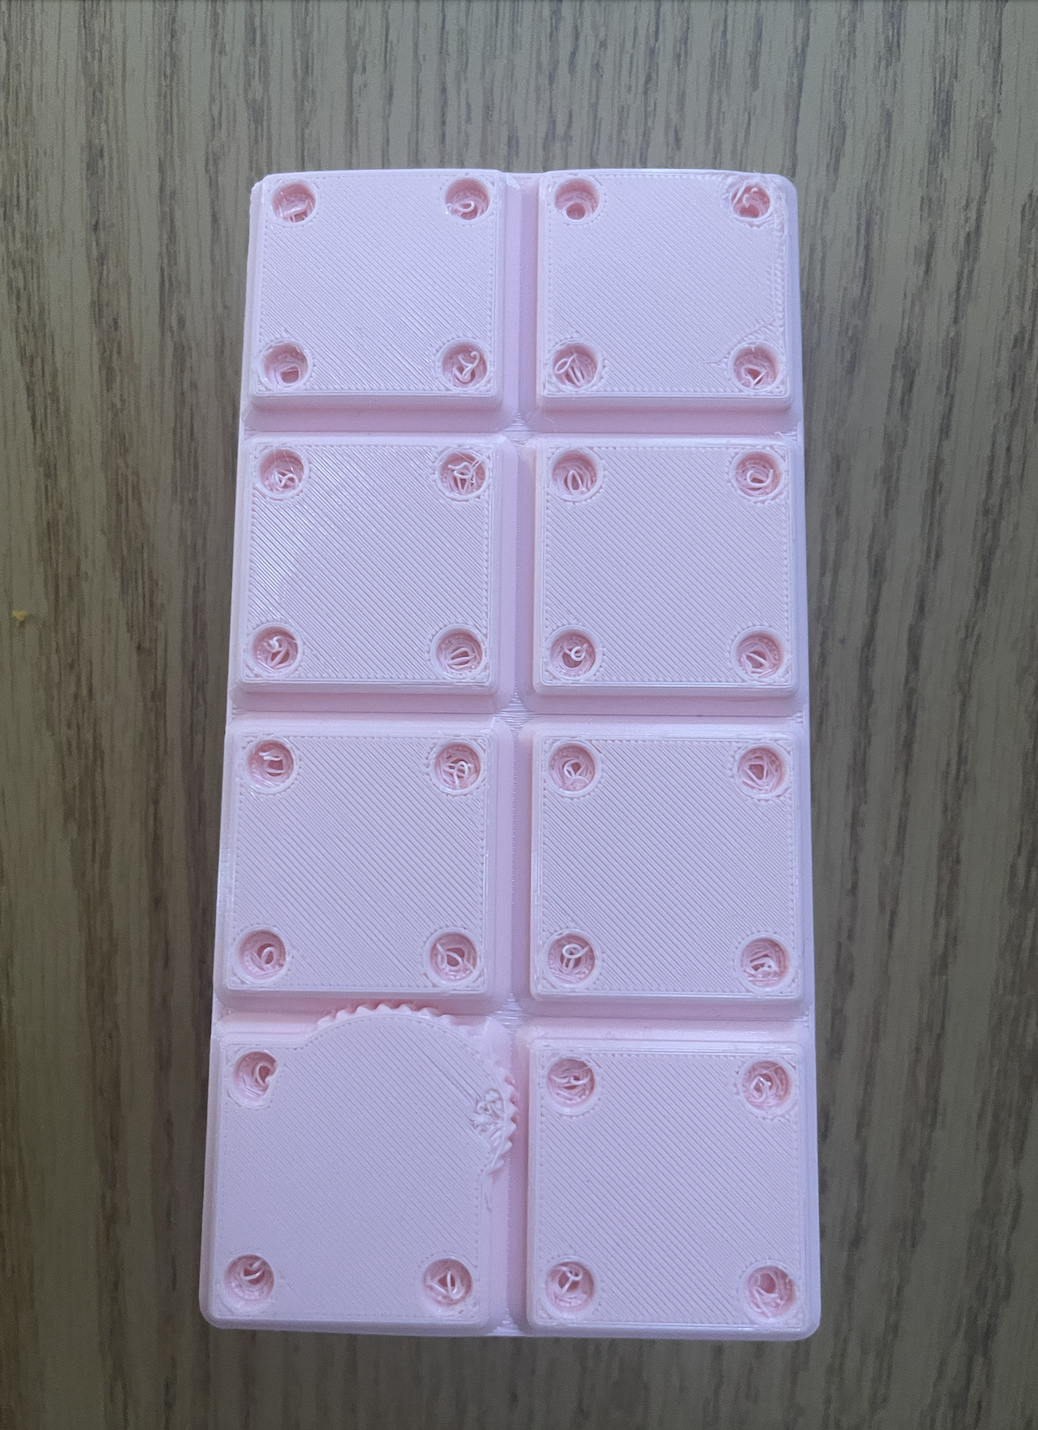
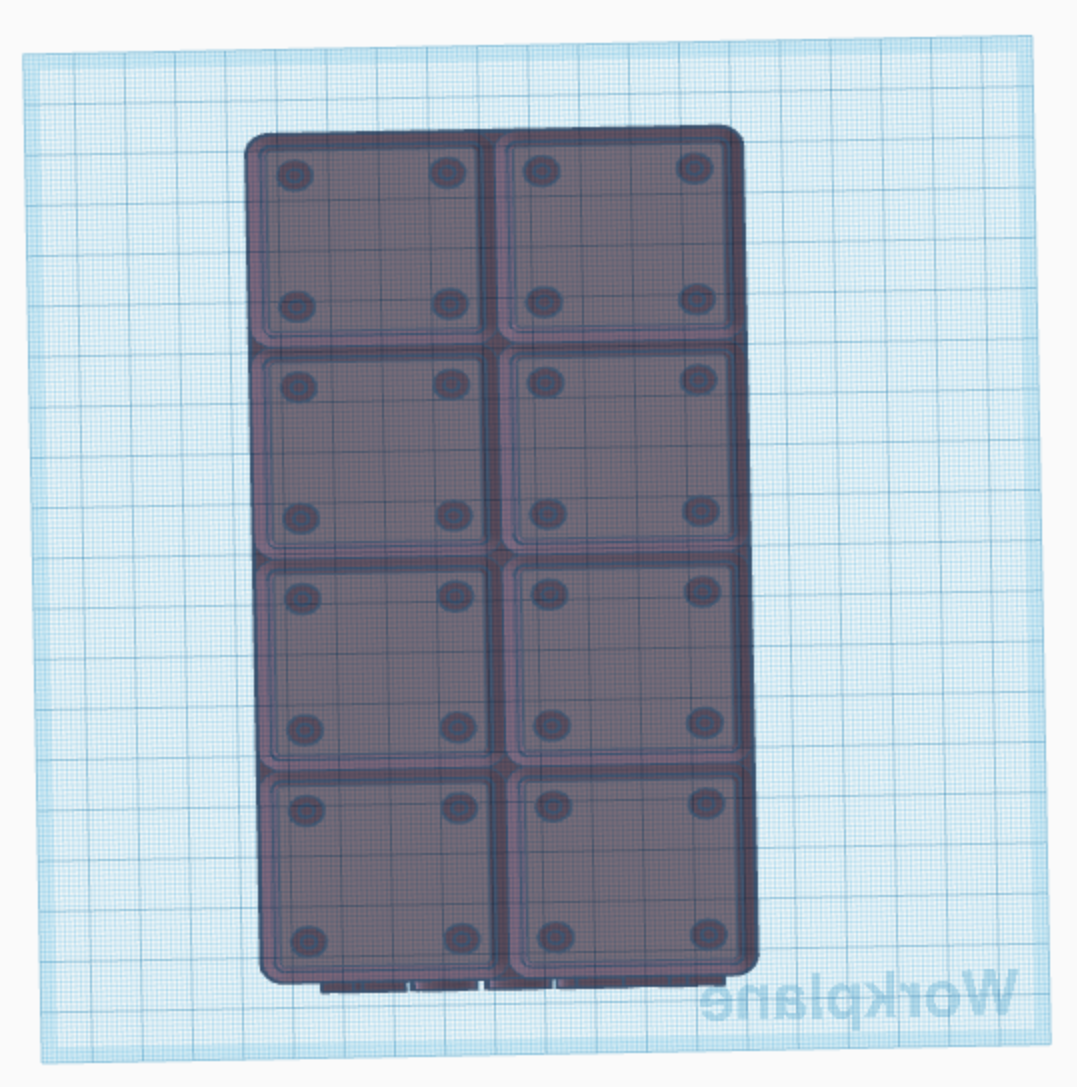
As I prepared to print the optimized design, a new challenge emerged. Prusa Slicer warned me that my new design required support. To address this, I selected the "For support enforcers only" option, keeping the filament and print settings unchanged. The estimated print time was slightly longer, at around 10 hours.
The Final Product
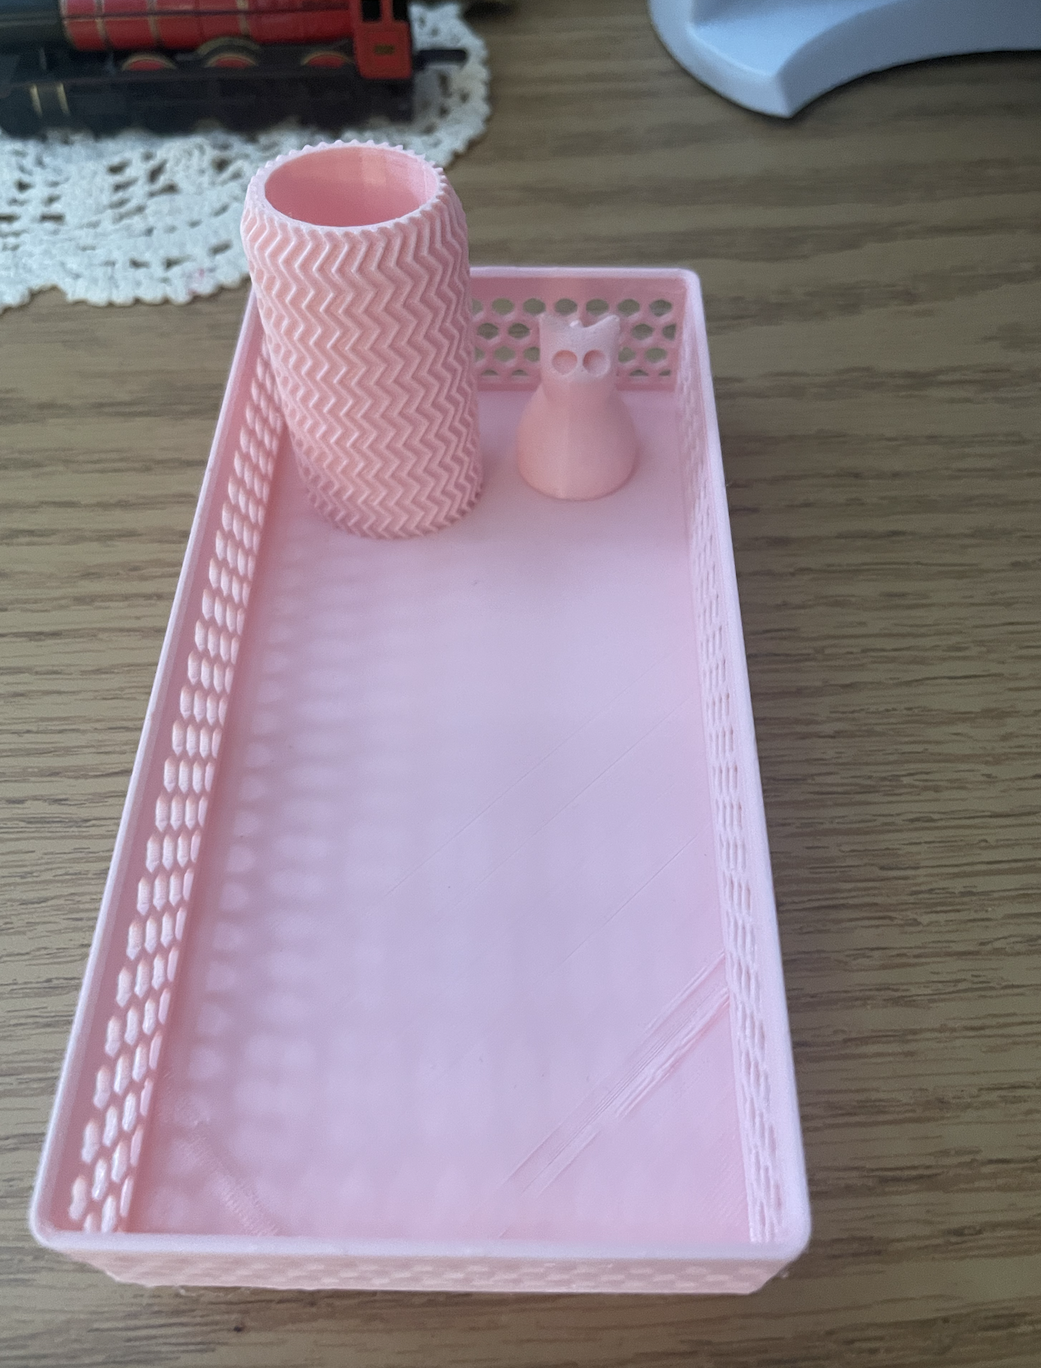
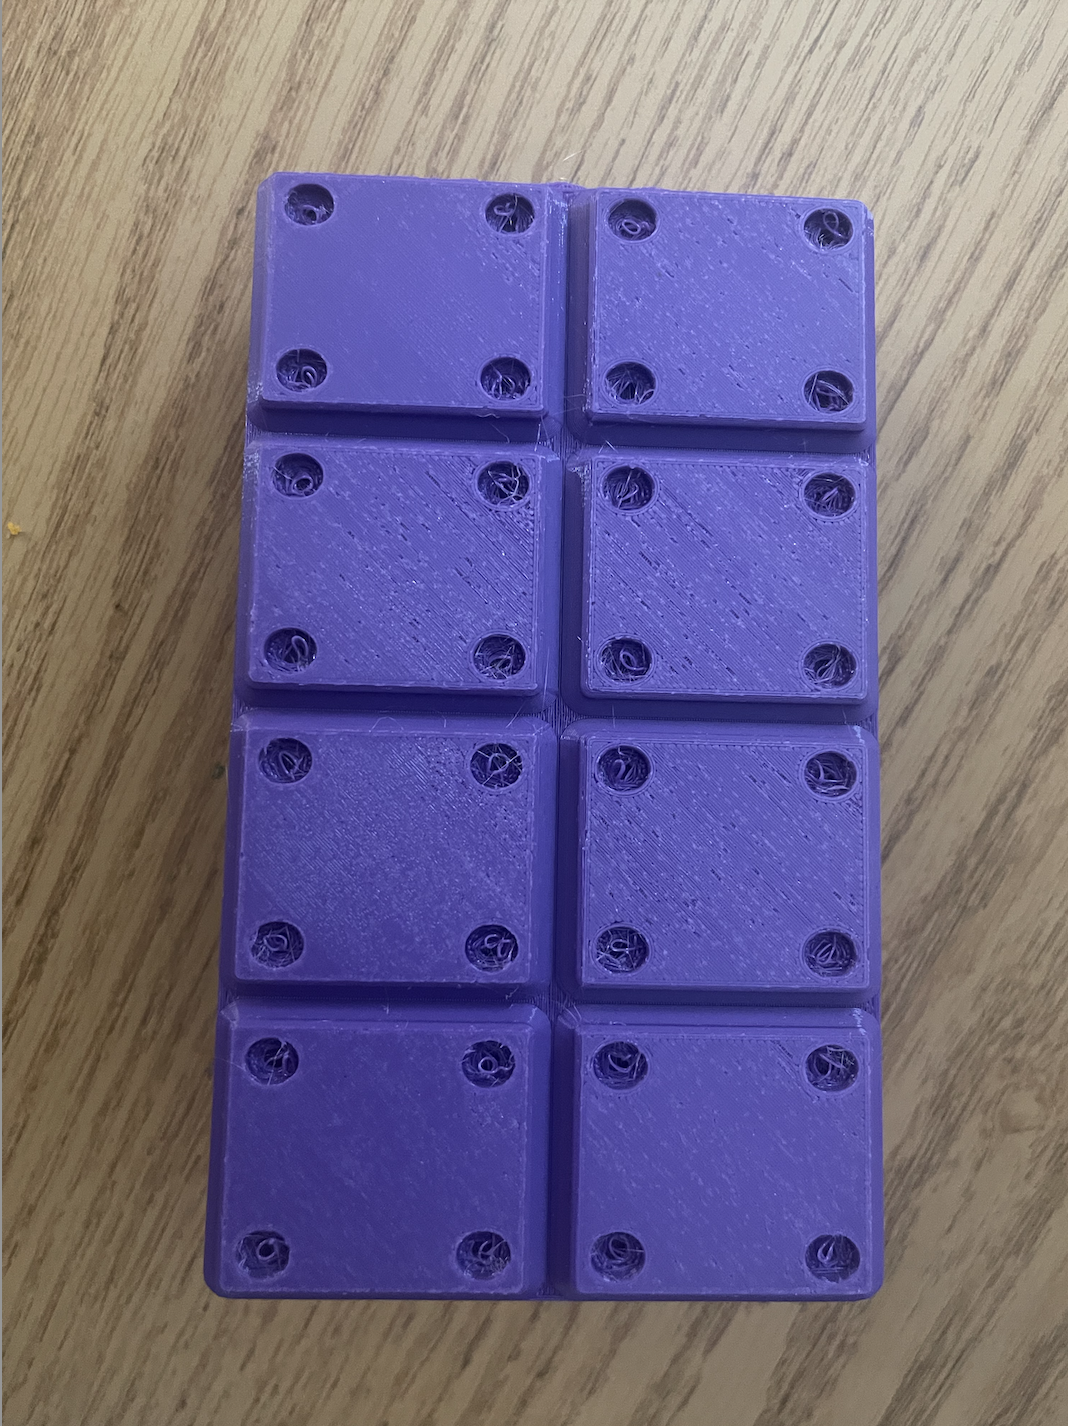
The result of my efforts was a desk accessory that perfectly combined my love for stationery and cats. While there was some minor stringing due to the added support, it was easily removed, leaving me with a practical and unique addition to my workspace.
Conclusion
This project was an invaluable learning experience. It taught me the importance of careful planning, attention to detail, and the joy of creating something practical from scratch. From ideation to 3D printing, each step had a significant impact on the final outcome. I now have a personal desk accessory that not only aids me in my studies but also serves as a reminder of the importance of creativity and persistence in problem-solving. As I reflect on this project, I am excited to explore more opportunities to remix and create more 3D designs
