Introduction
In project 3, my partner Penelope and I collaborated to solder an alarm clock and design a 3D-printed enclosure for it. The project challenged us to not only assemble the electronic components but also to design an enclosure that met specific functional criteria. In this reflection, I will walk you through our experience, from the ups and downs of soldering to the iterative design process of the enclosure.
Soldering the Alarm Clock
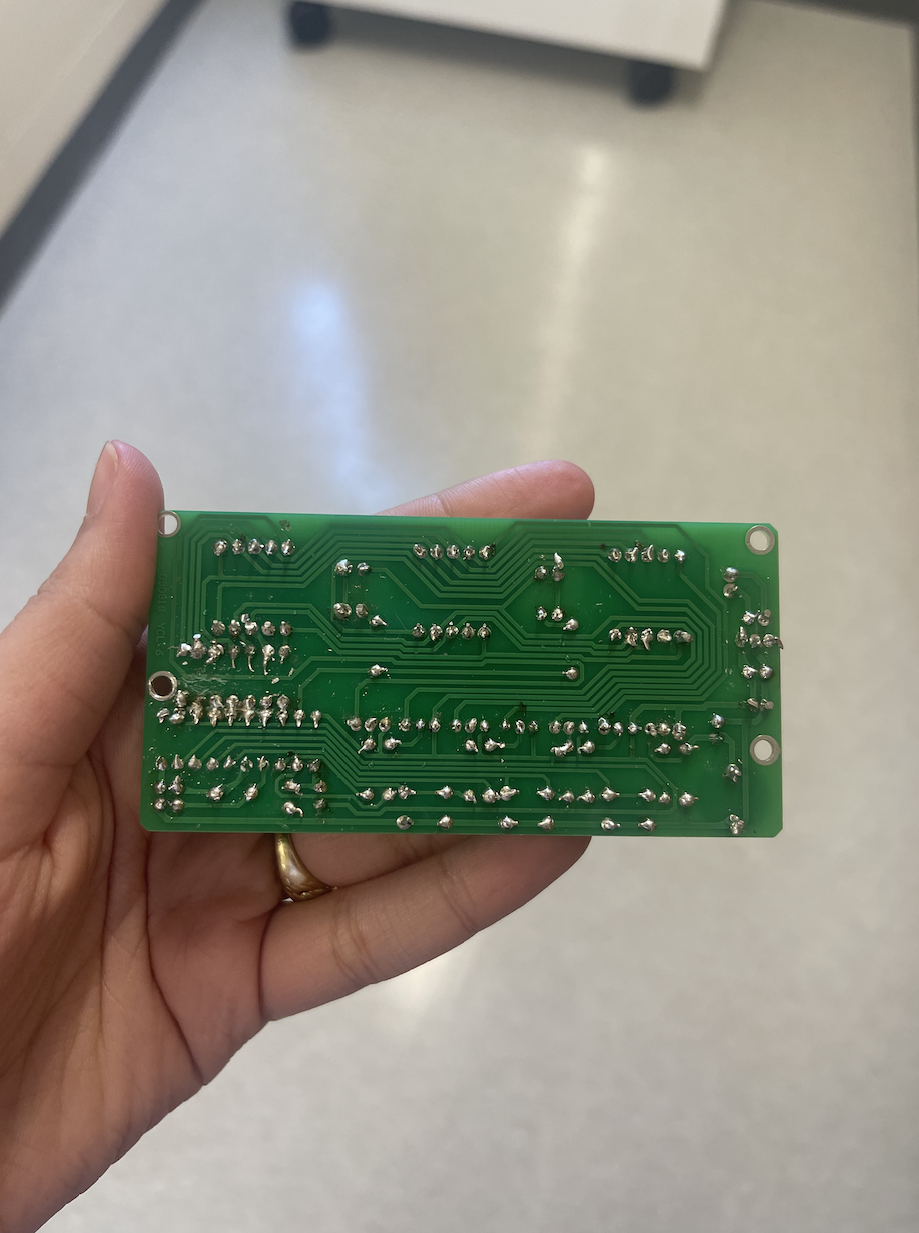
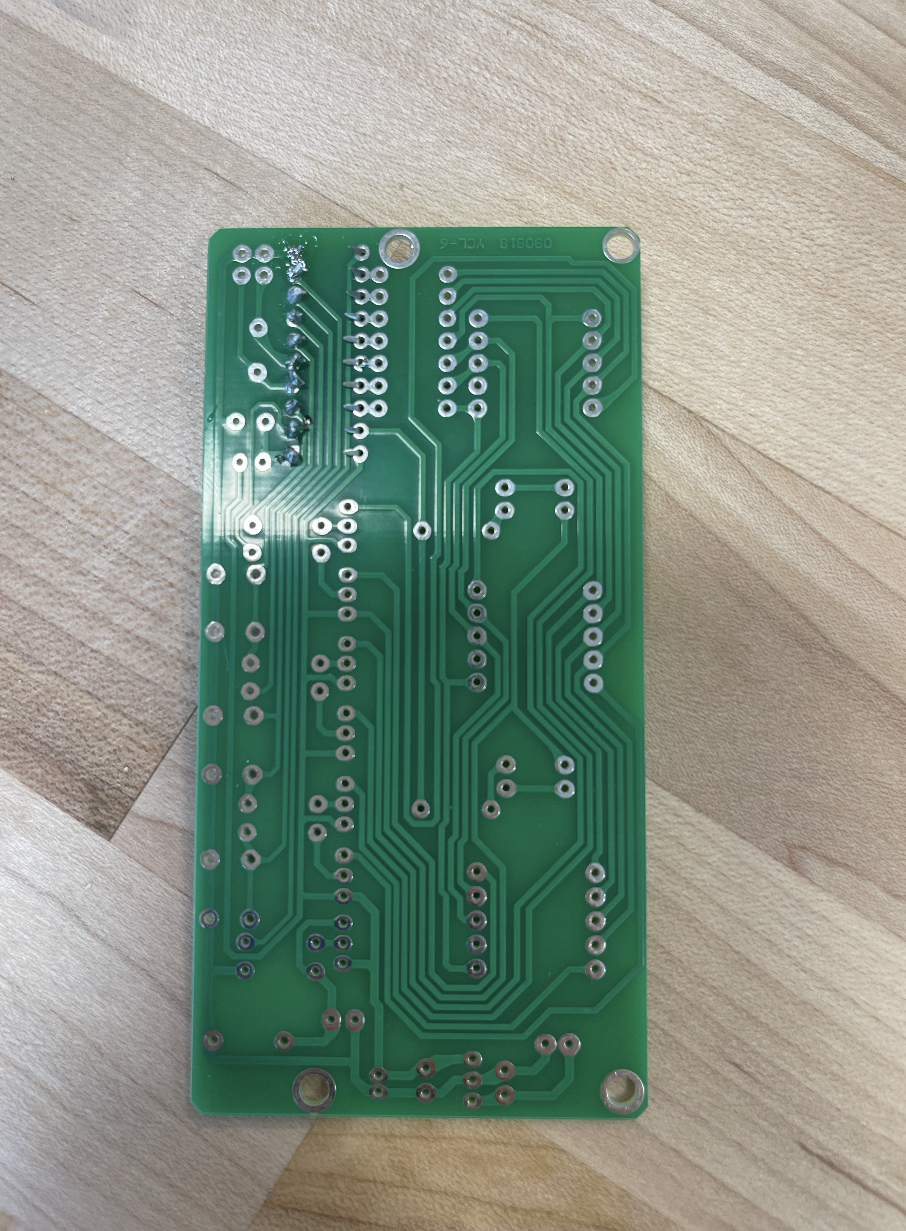
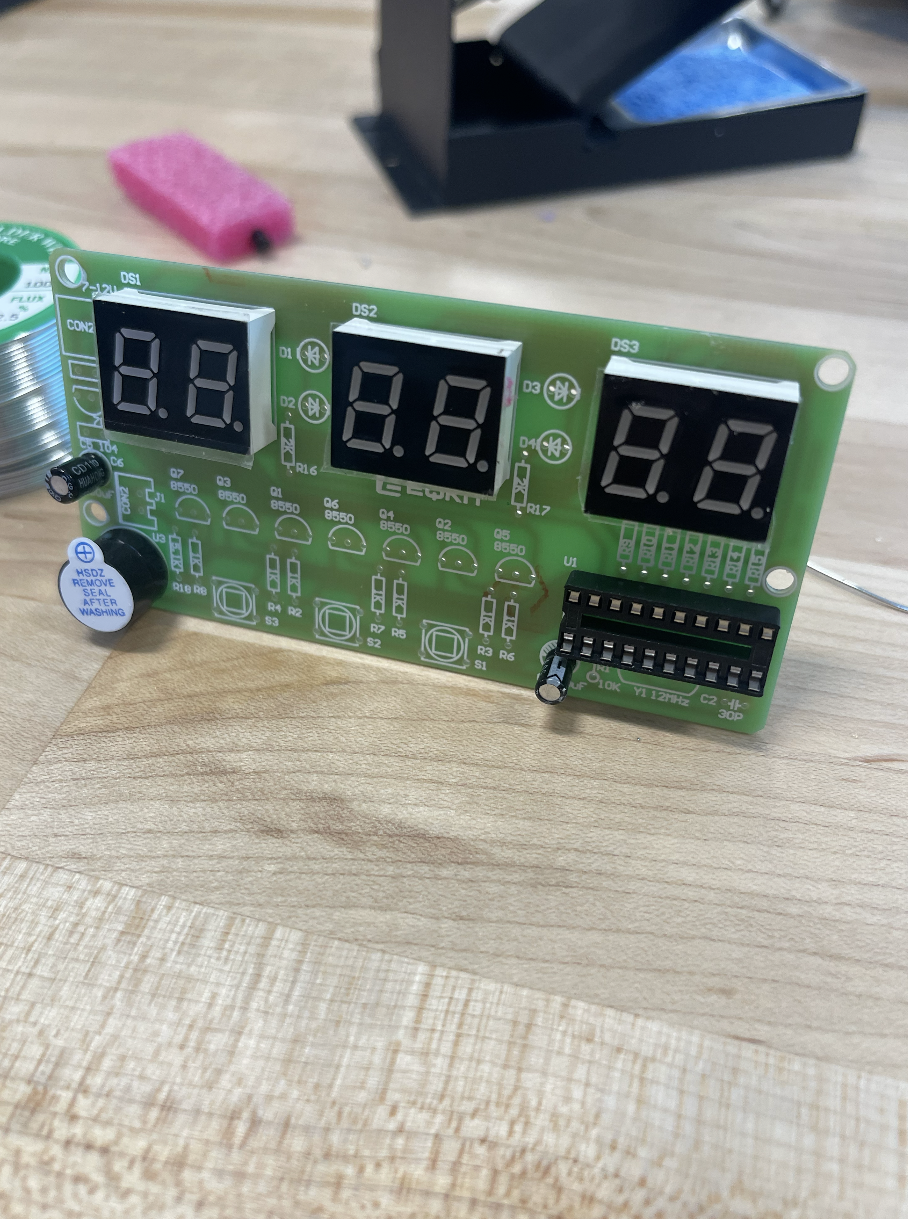
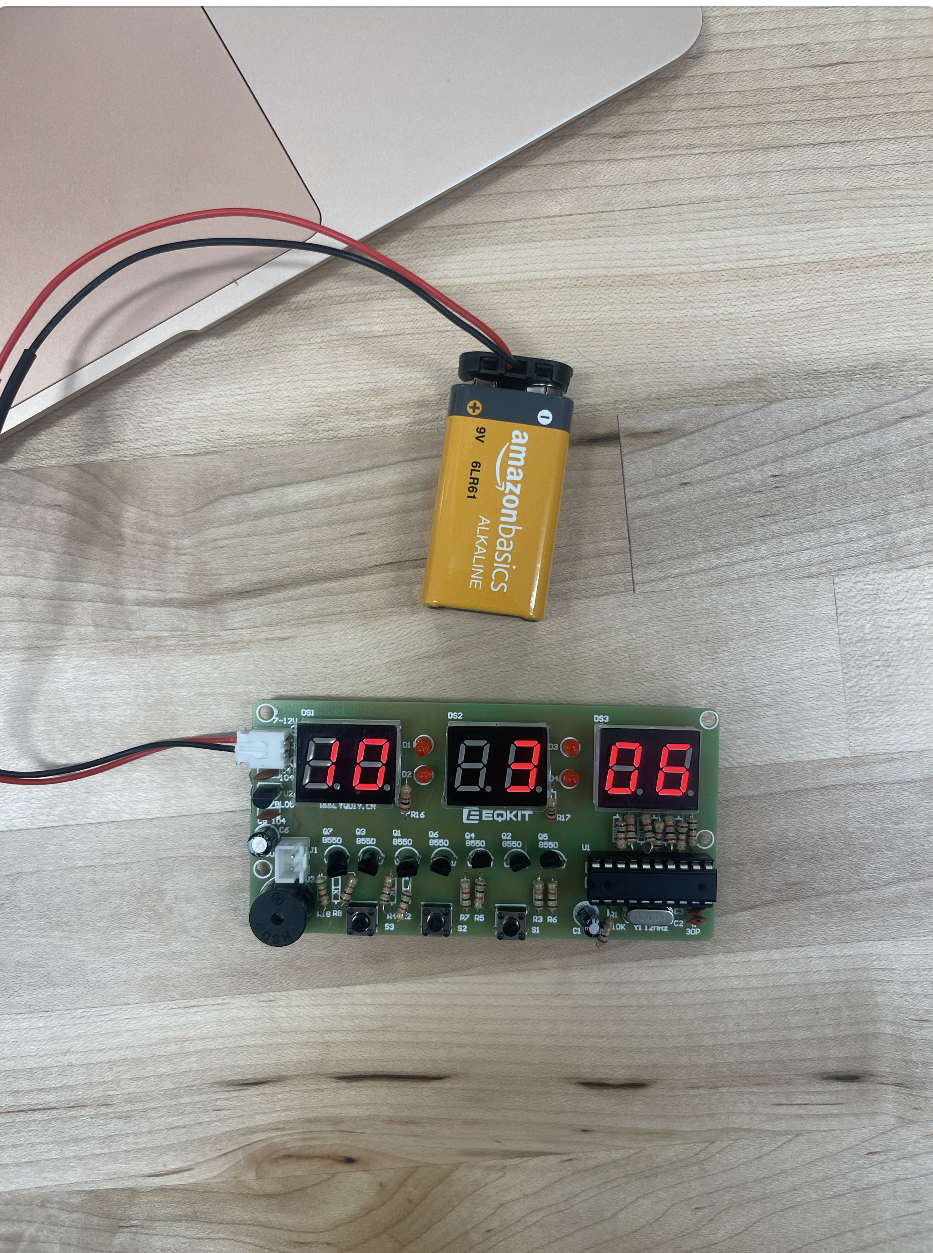
Soldering the alarm clock was the initial step in this project. Working collaboratively with Penelope, we faced a few challenges during the soldering process. At first, it felt like navigating uncharted territory, and we encountered issues that made our initial attempt unsuccessful. We powered the clock with a battery, but unfortunately, our first attempt didn't yield a working clock, possibly due to soldering issues or accidental damage to the electronic components. I tried to fix it by removing all possible bridging, but I might've ended up burning some of the components of the clock.
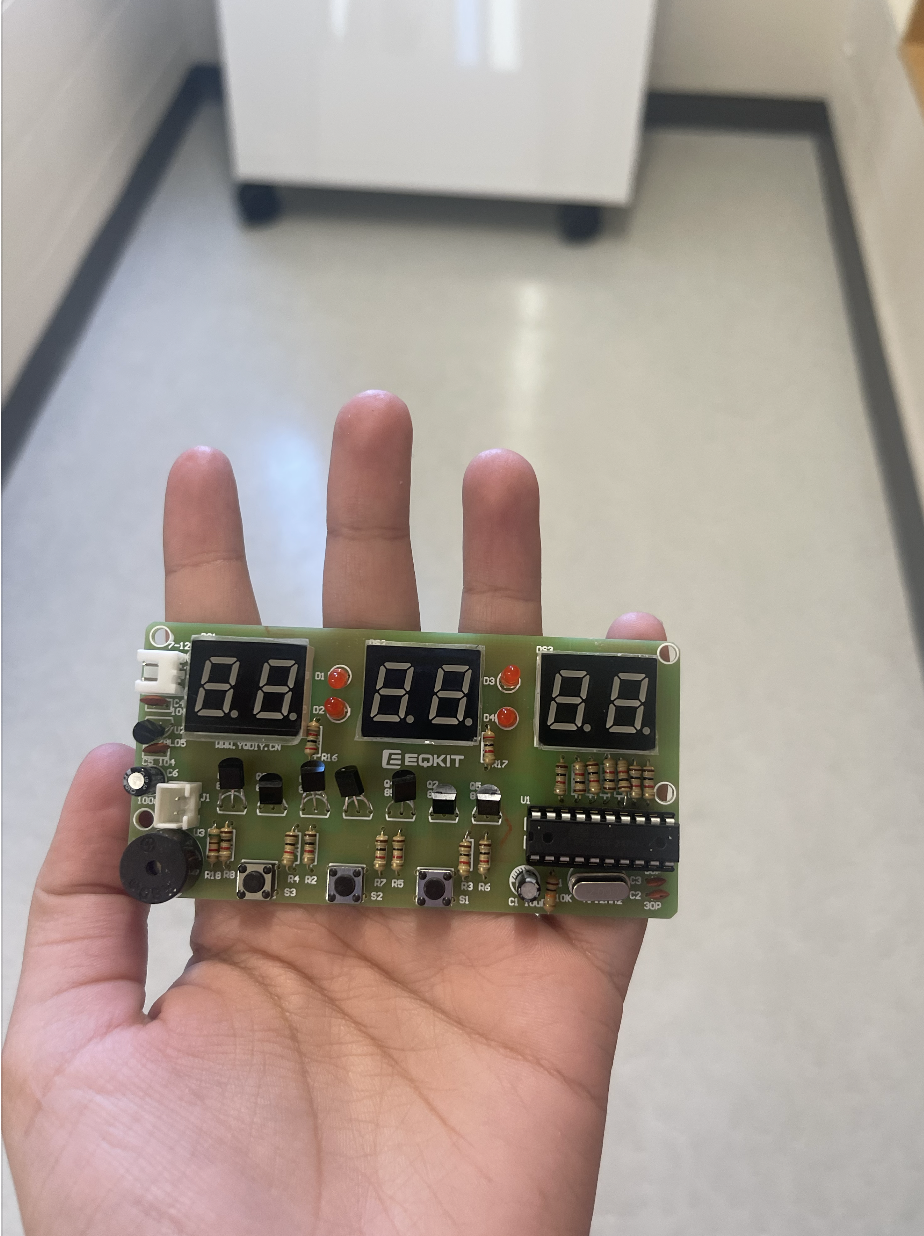
After rectifying the situation by starting from the beginning with a new clock and new components, our second soldering attempt was much smoother, efficient, and faster, resulting in a fully functional alarm clock.
Taking Precise Measurements for the Enclosure
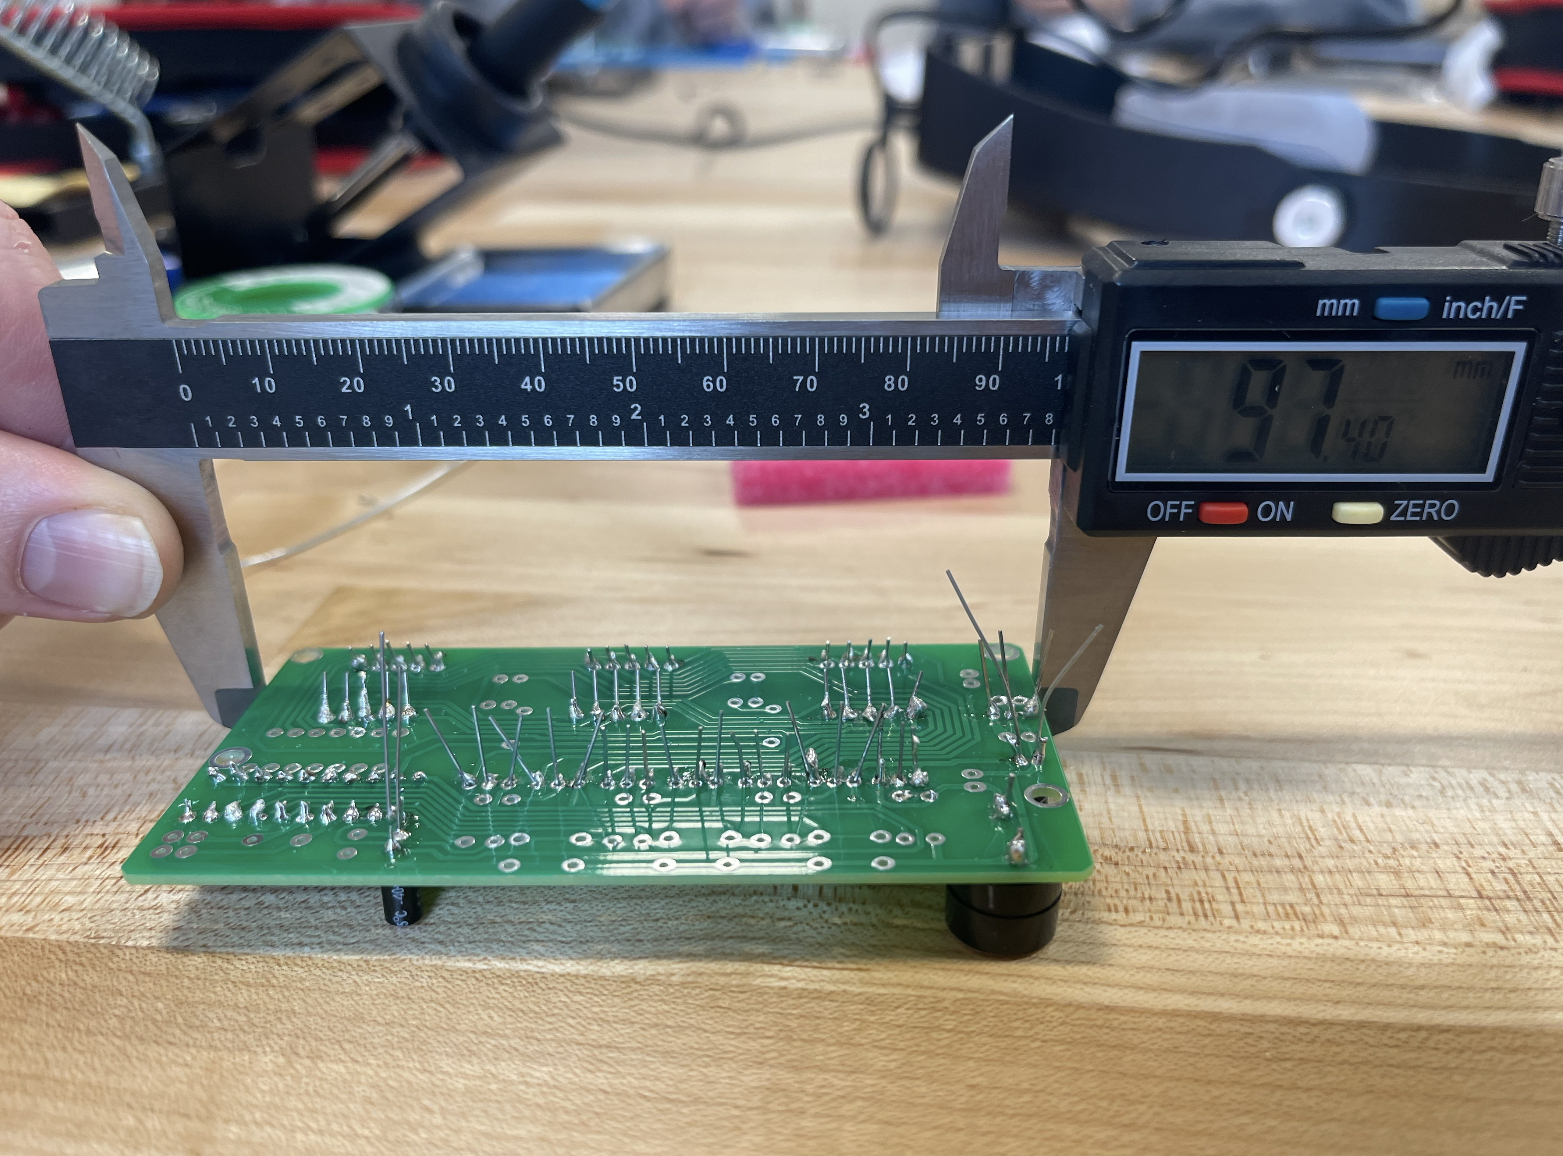
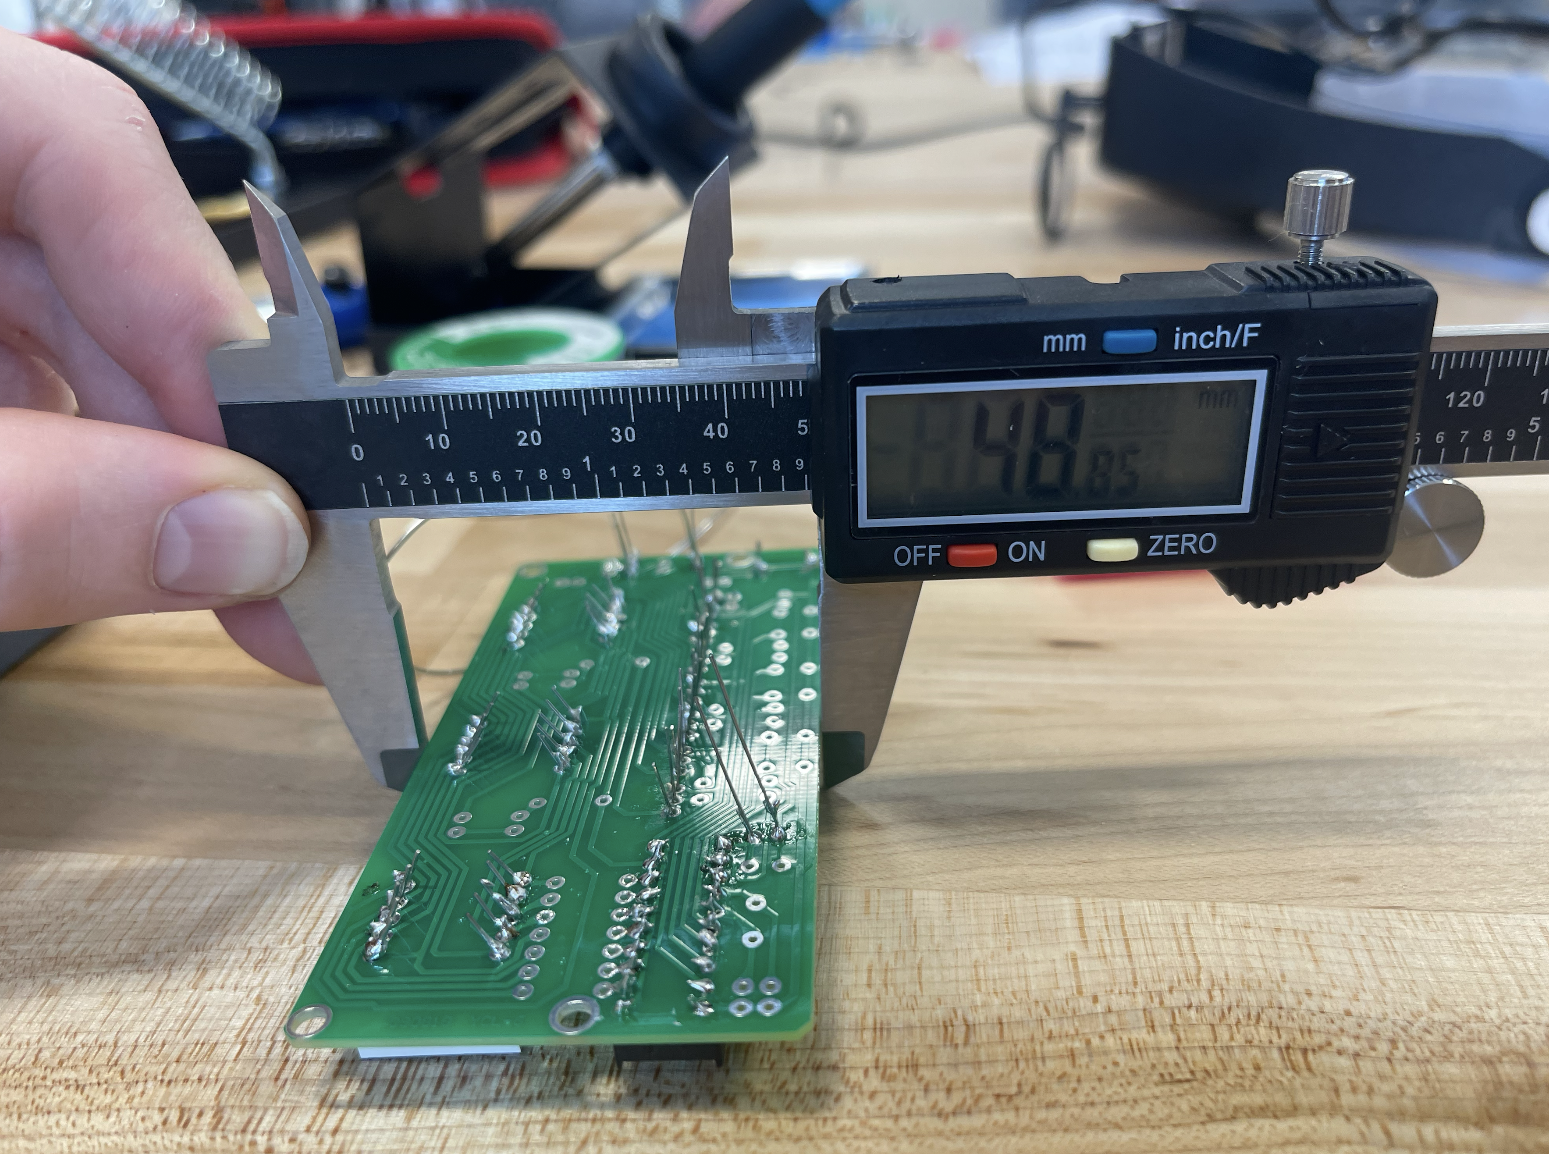
In preparation for designing the 3D-printed enclosure, I took meticulous measurements of the alarm clock using digital calipers. These measurements were recorded in our lab notes, ensuring that we had accurate data to guide our design process. These measurements were crucial in designing an enclosure that not only fit the alarm clock but also allowed access to its key features: to SEE the screen, HEAR the buzzer, TOUCH the buttons, and ACCESS or change the power (a 9v battery).
Designing the Enclosure in Fusion 360
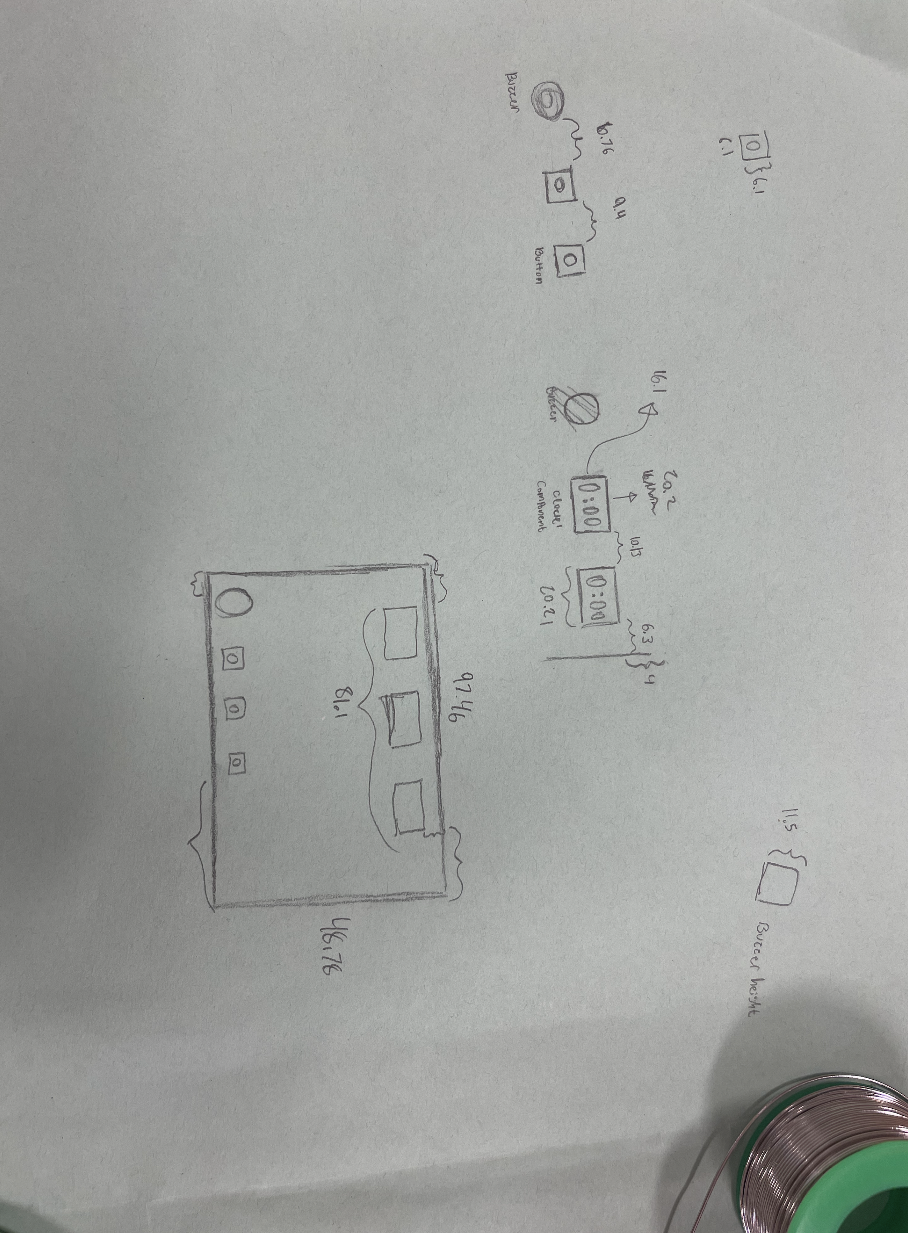
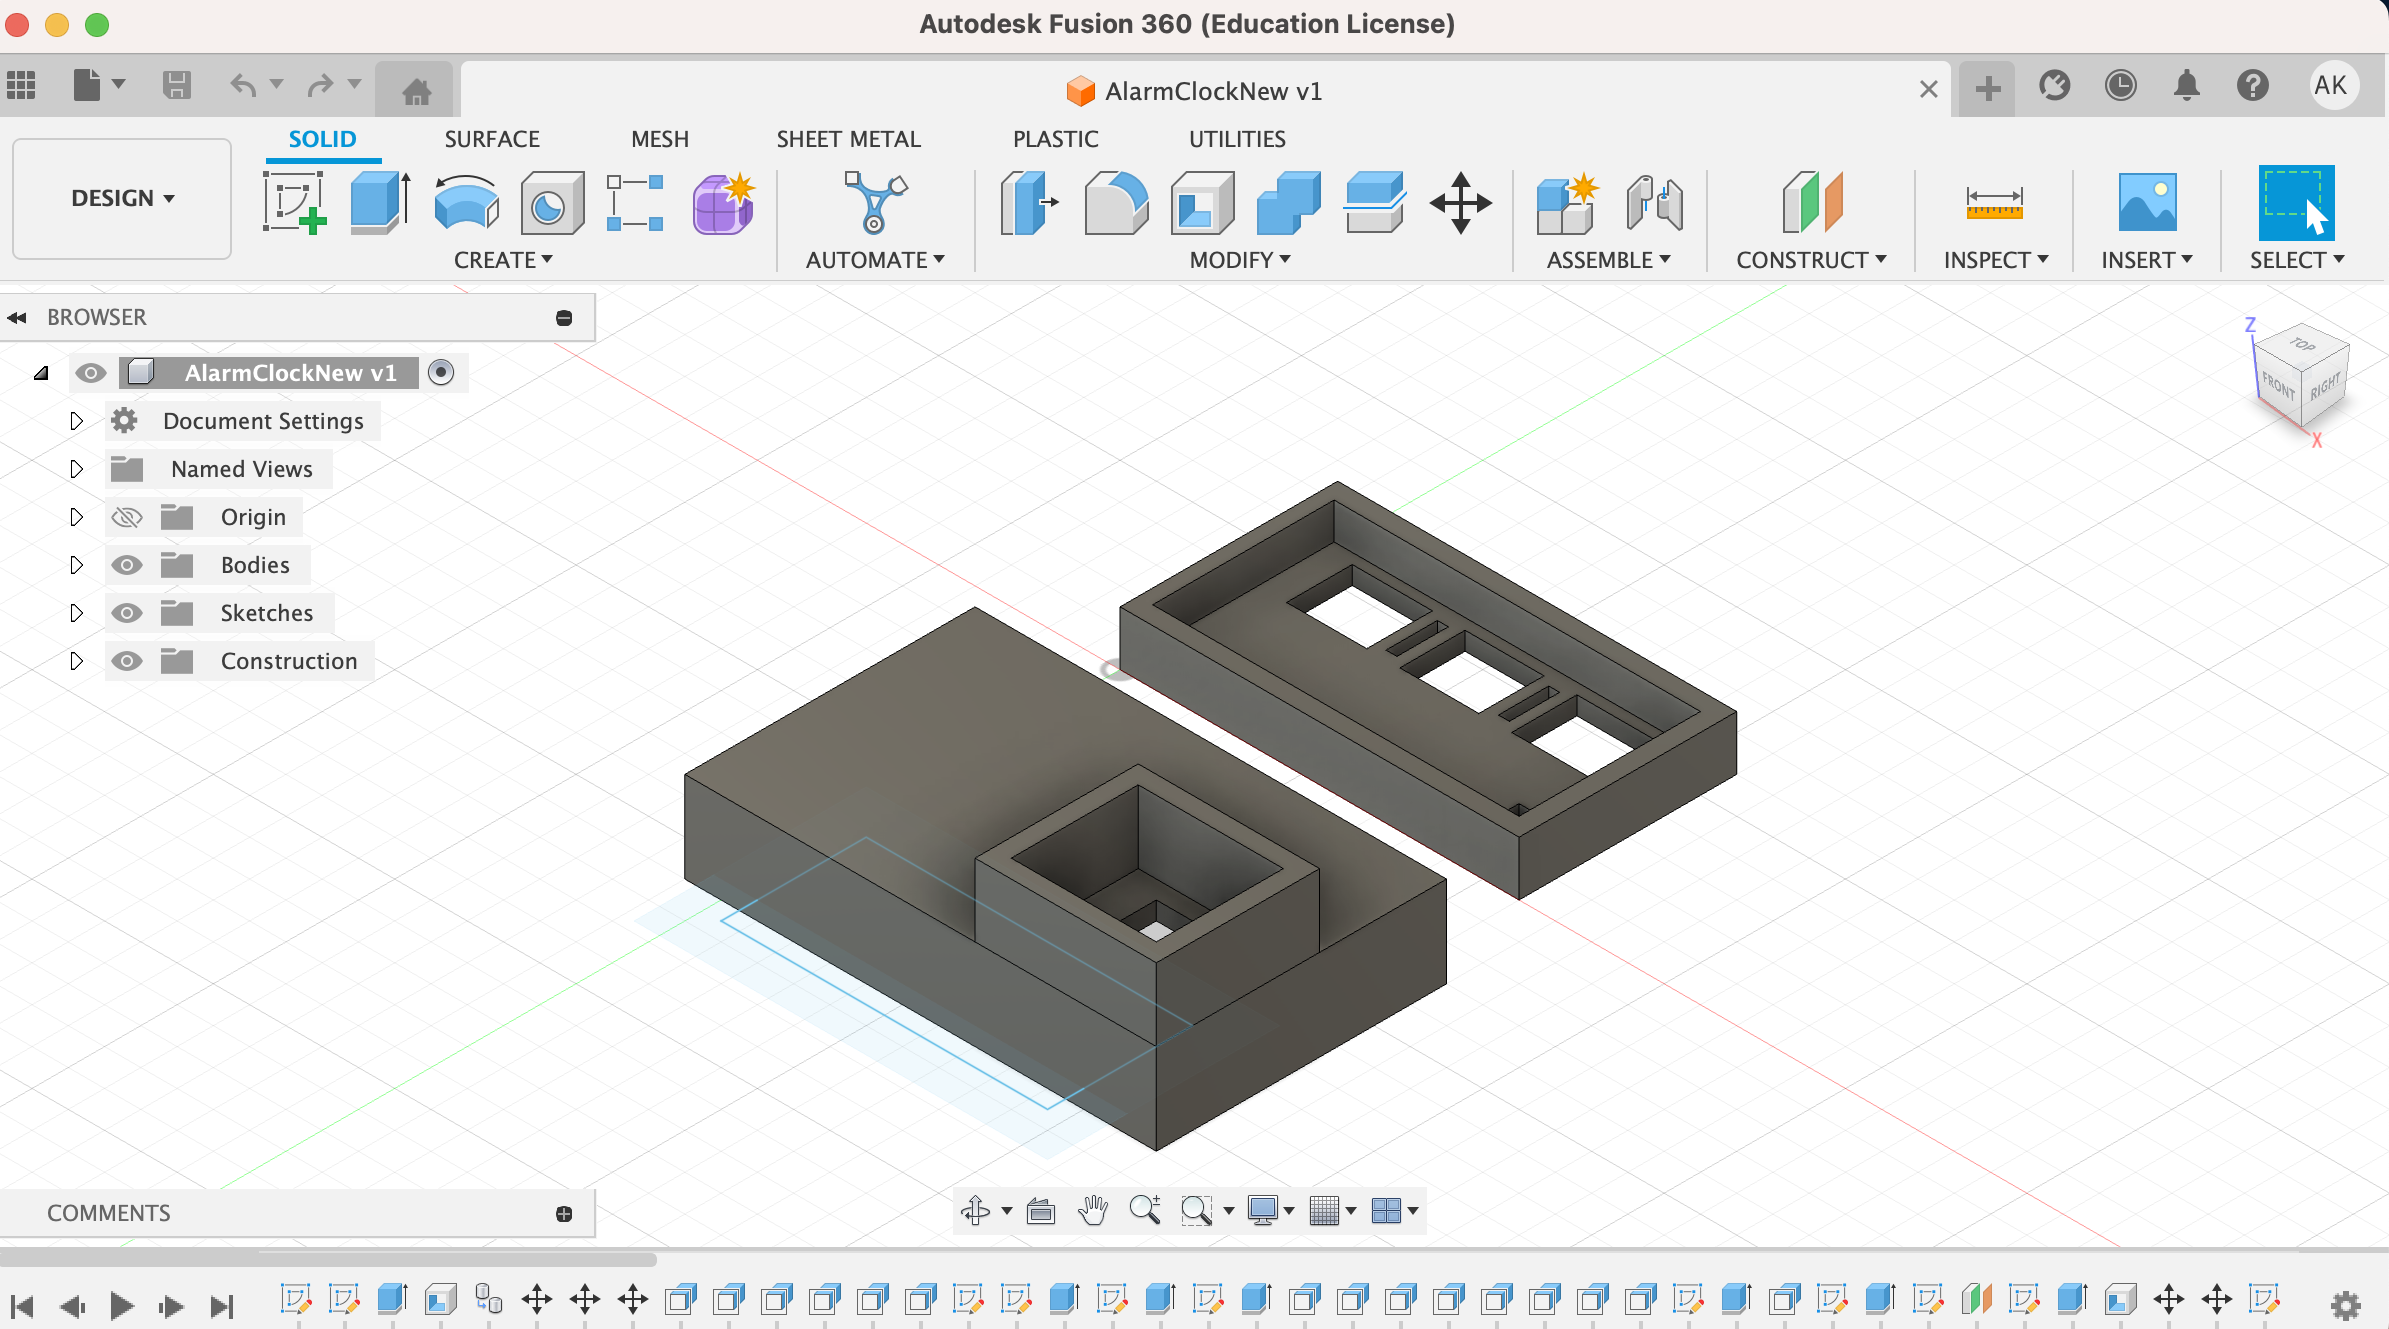
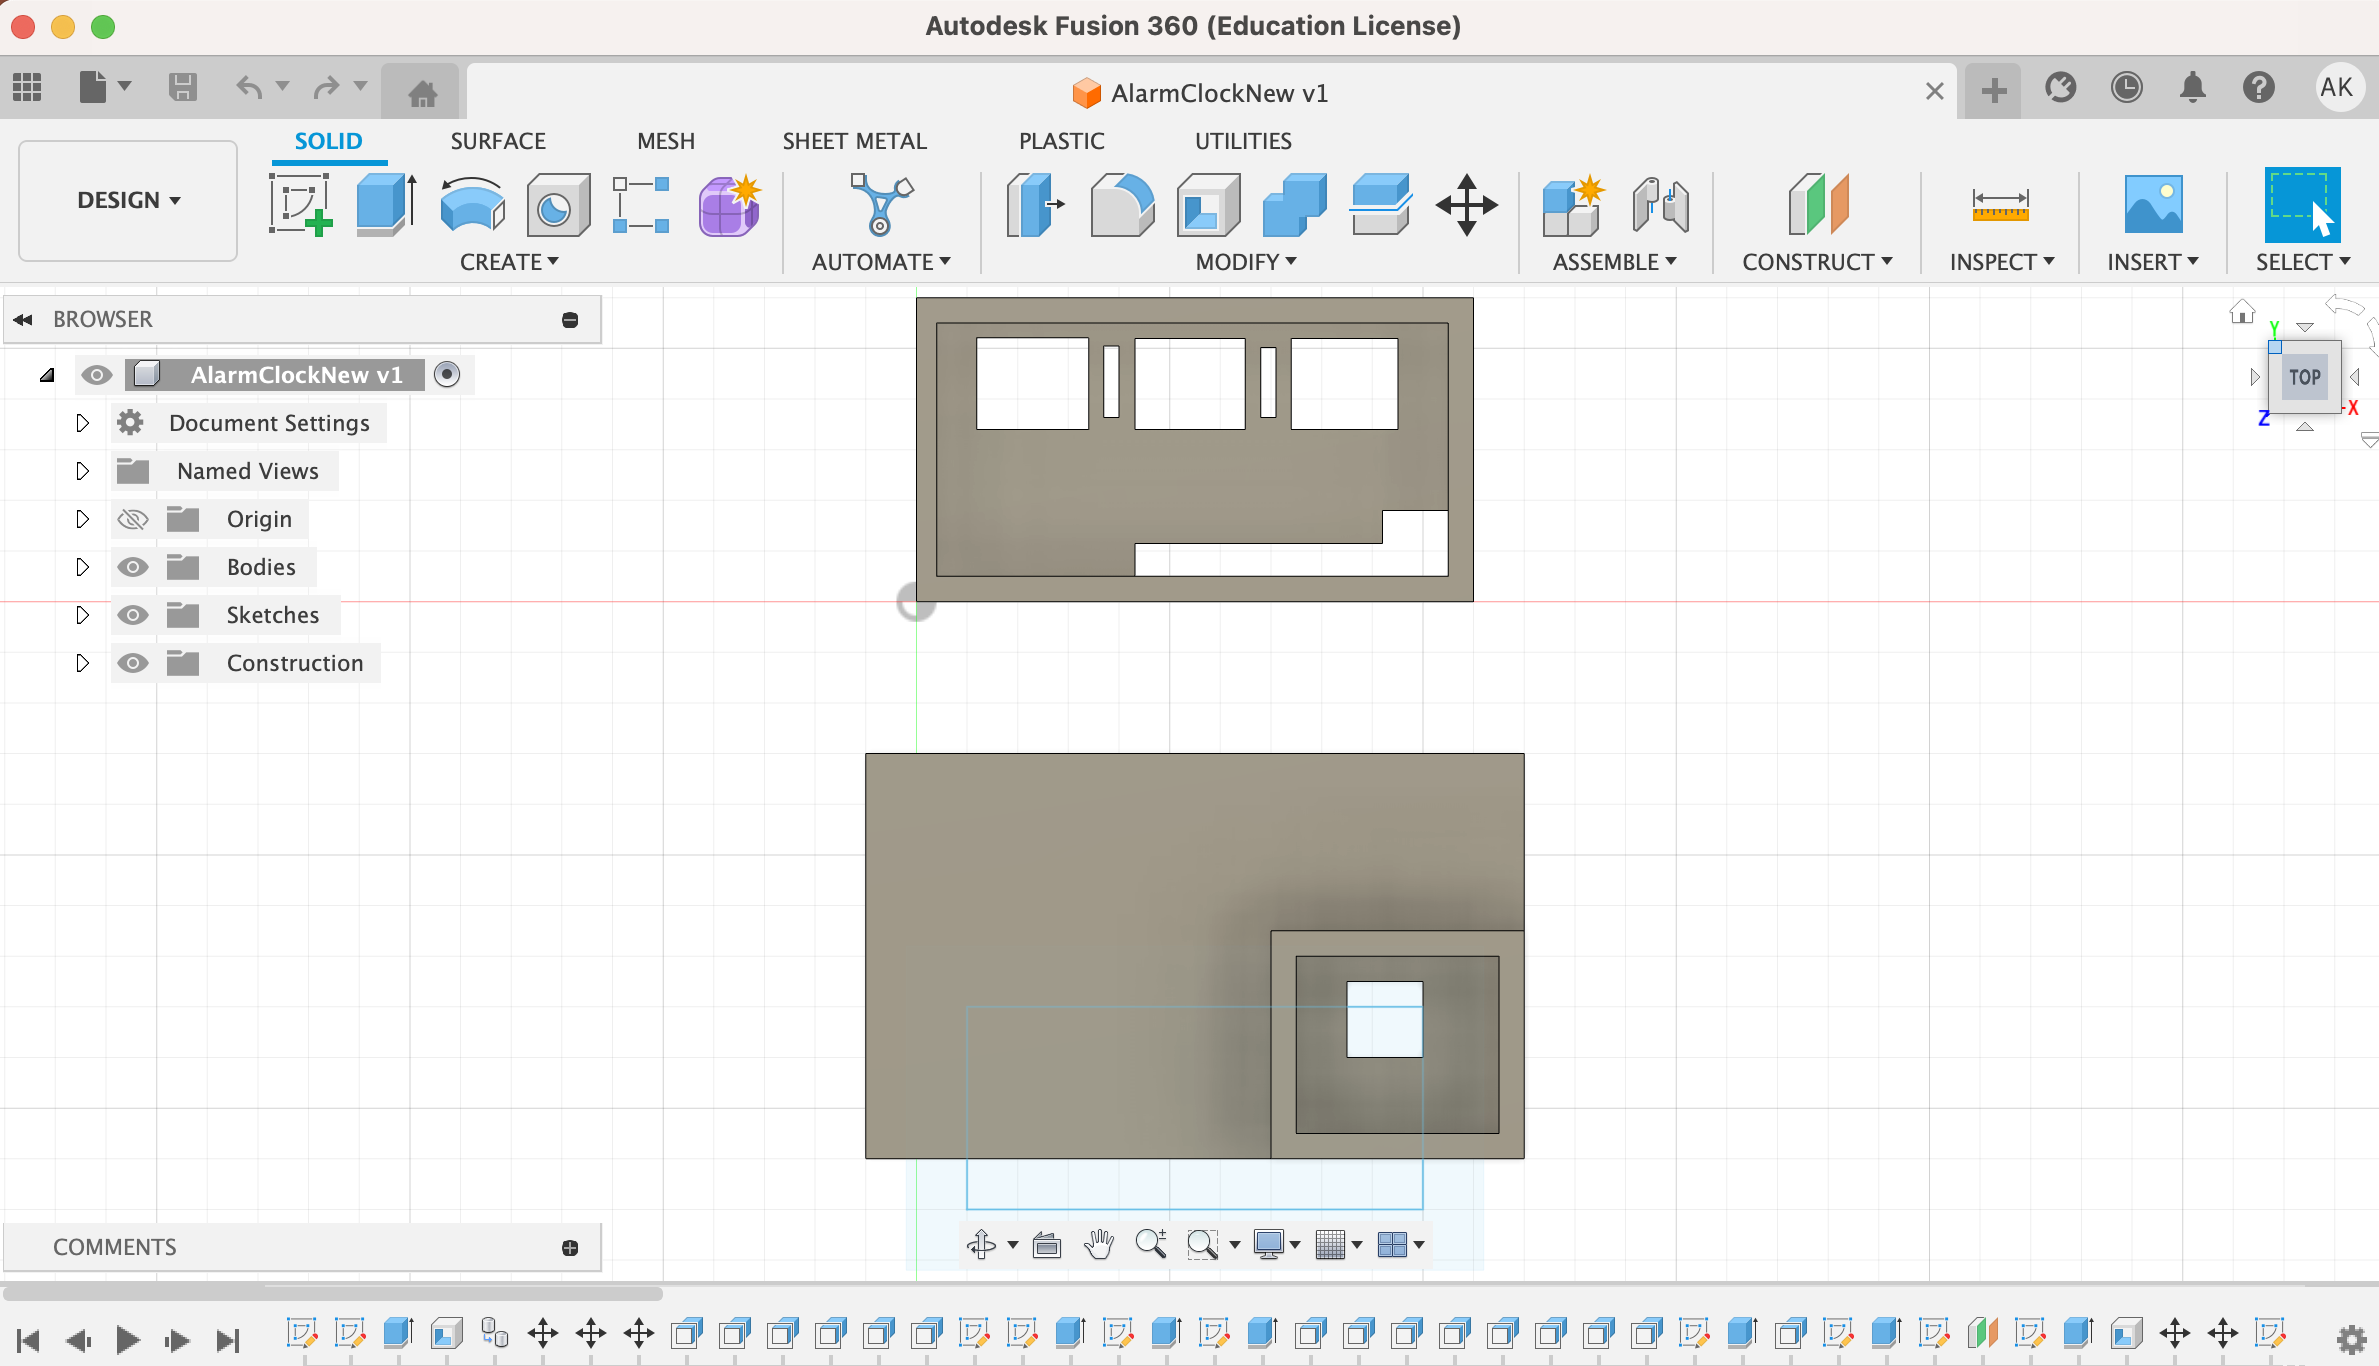
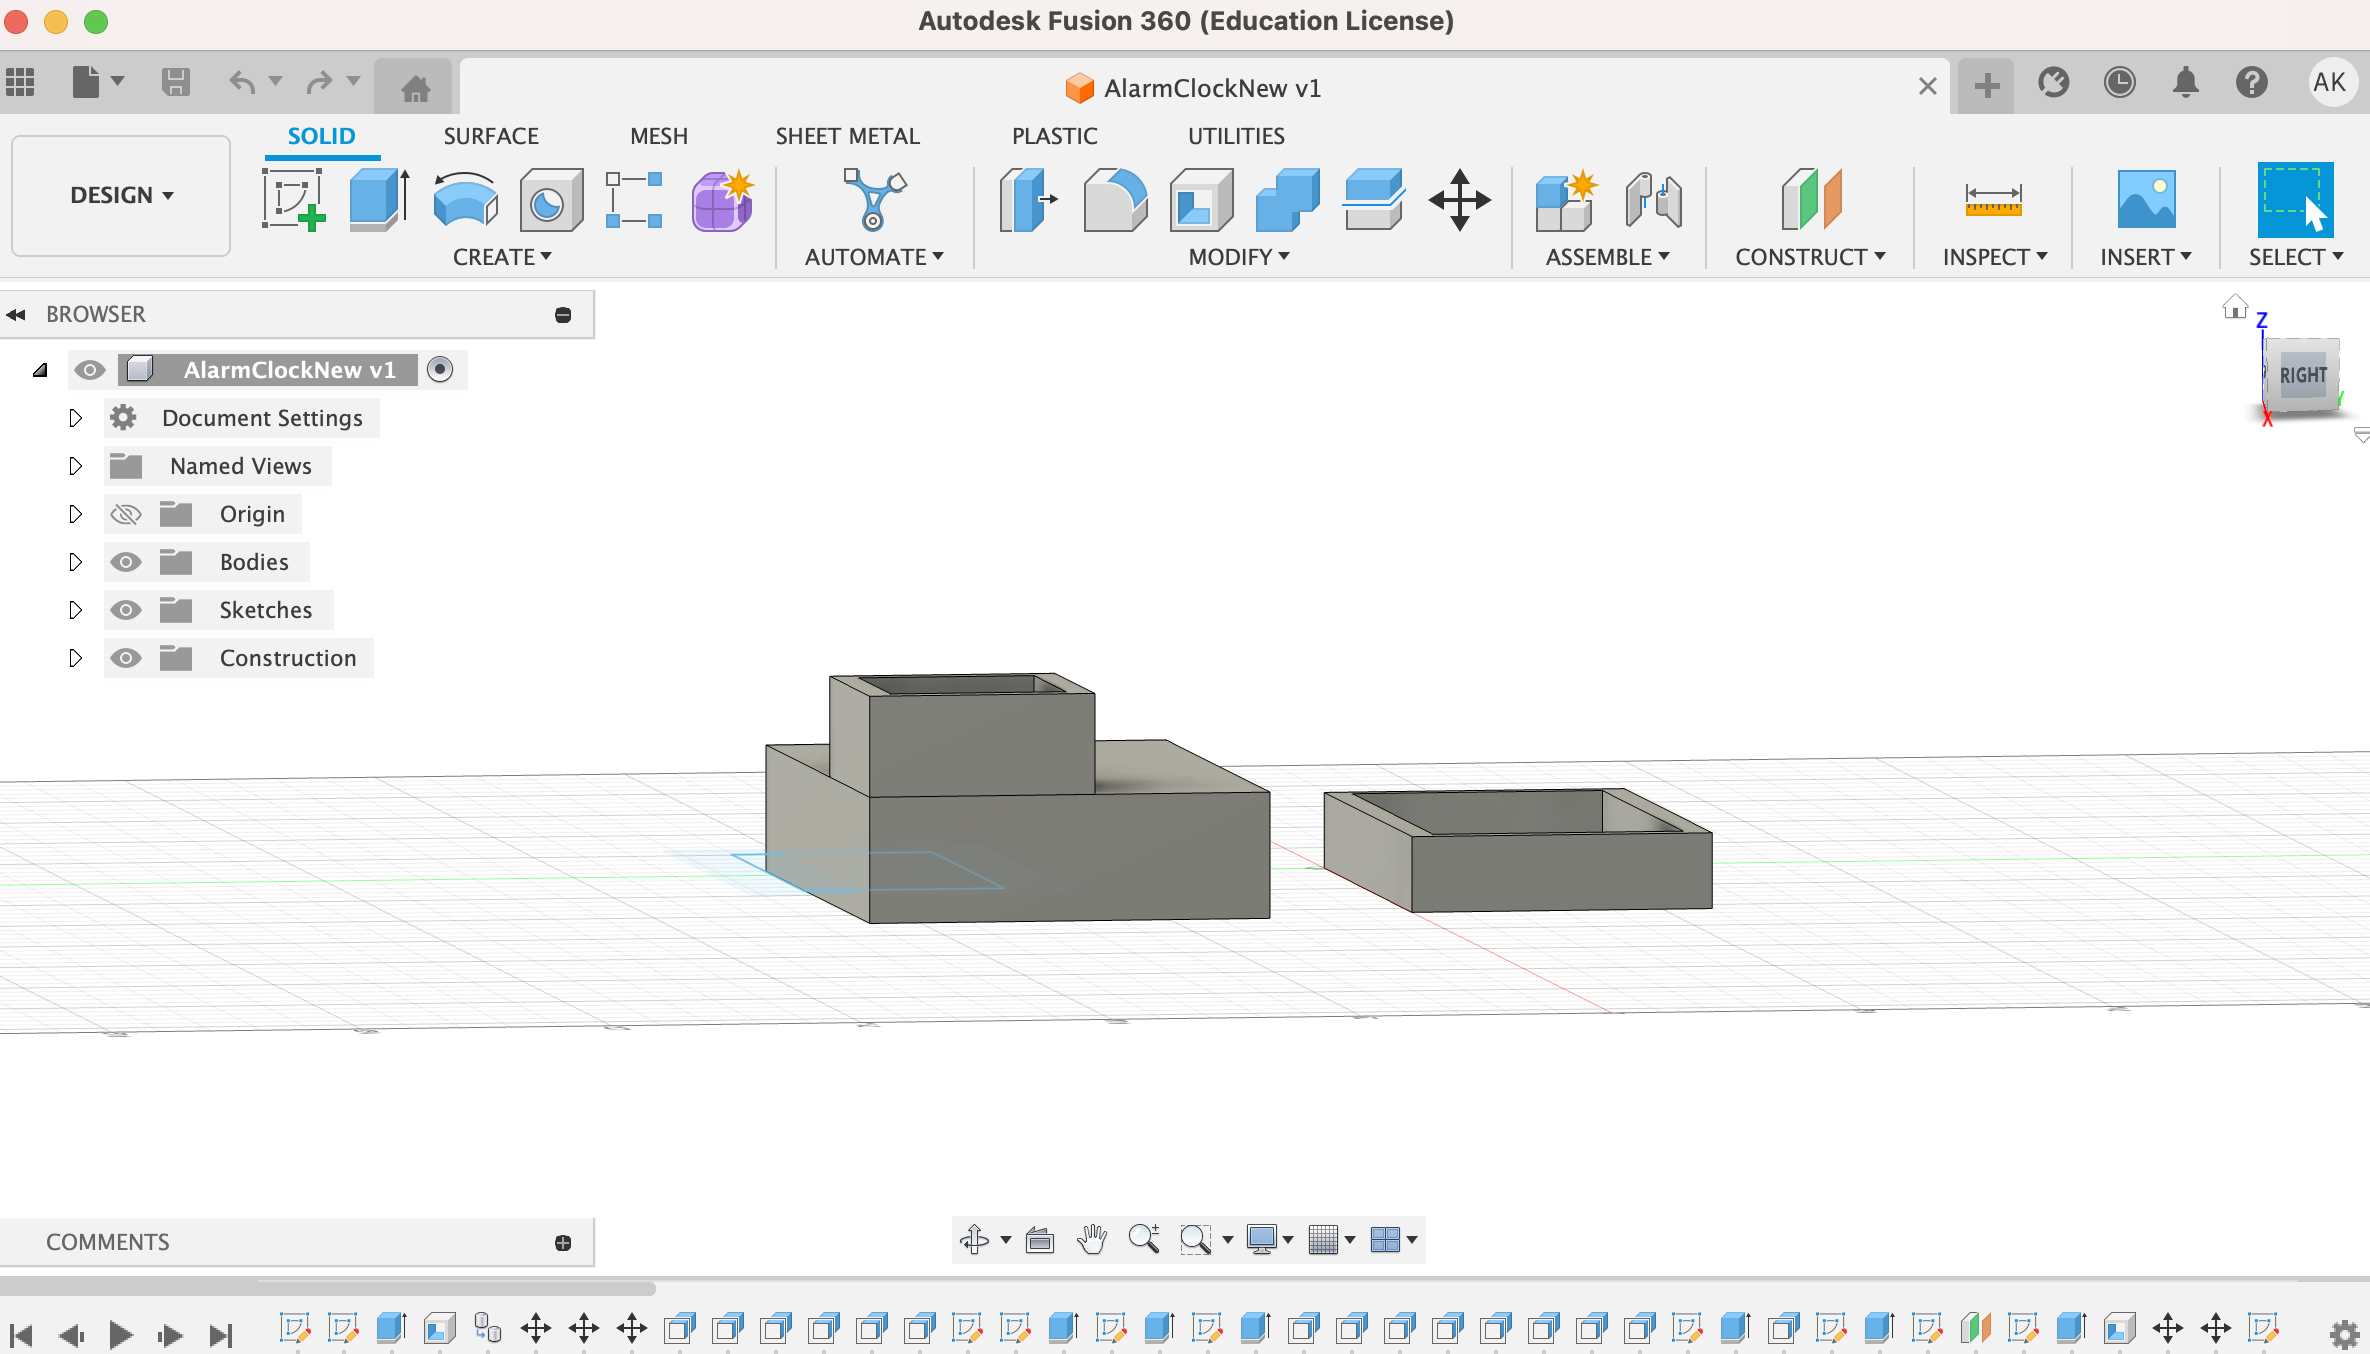
Collaboratively, Penelope and I tackled the challenge of designing an enclosure in Fusion 360. The key objectives were to ensure that our enclosure allowed access to four essential features of the alarm clock by creating holes in the correct places in the enclosure, using the measurements we have, and adding a feature similar to a battery compartment. We used our measurements to brainstorm and draw a design plan on paper, which was then translated into a Fusion 360 project.
The Iterative Design Process
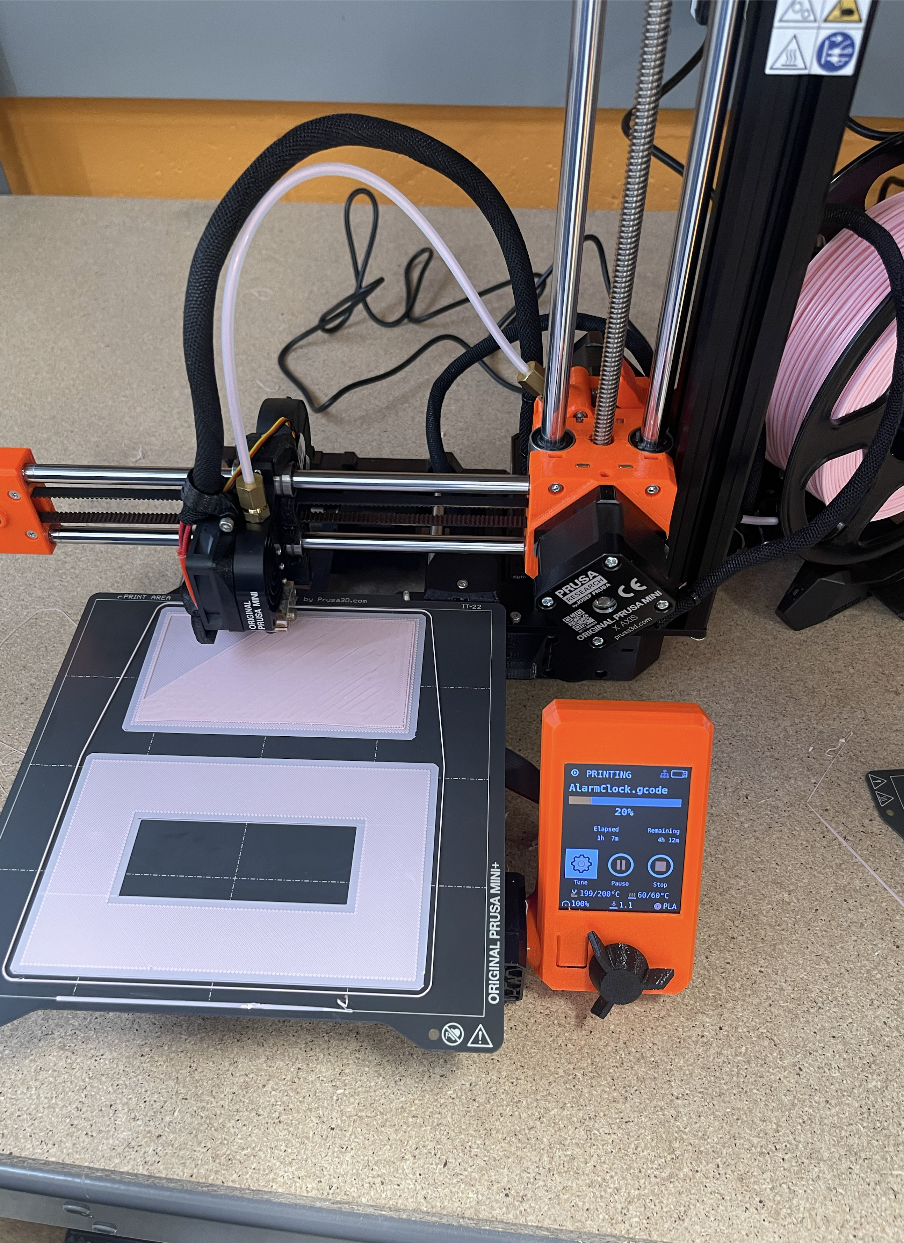
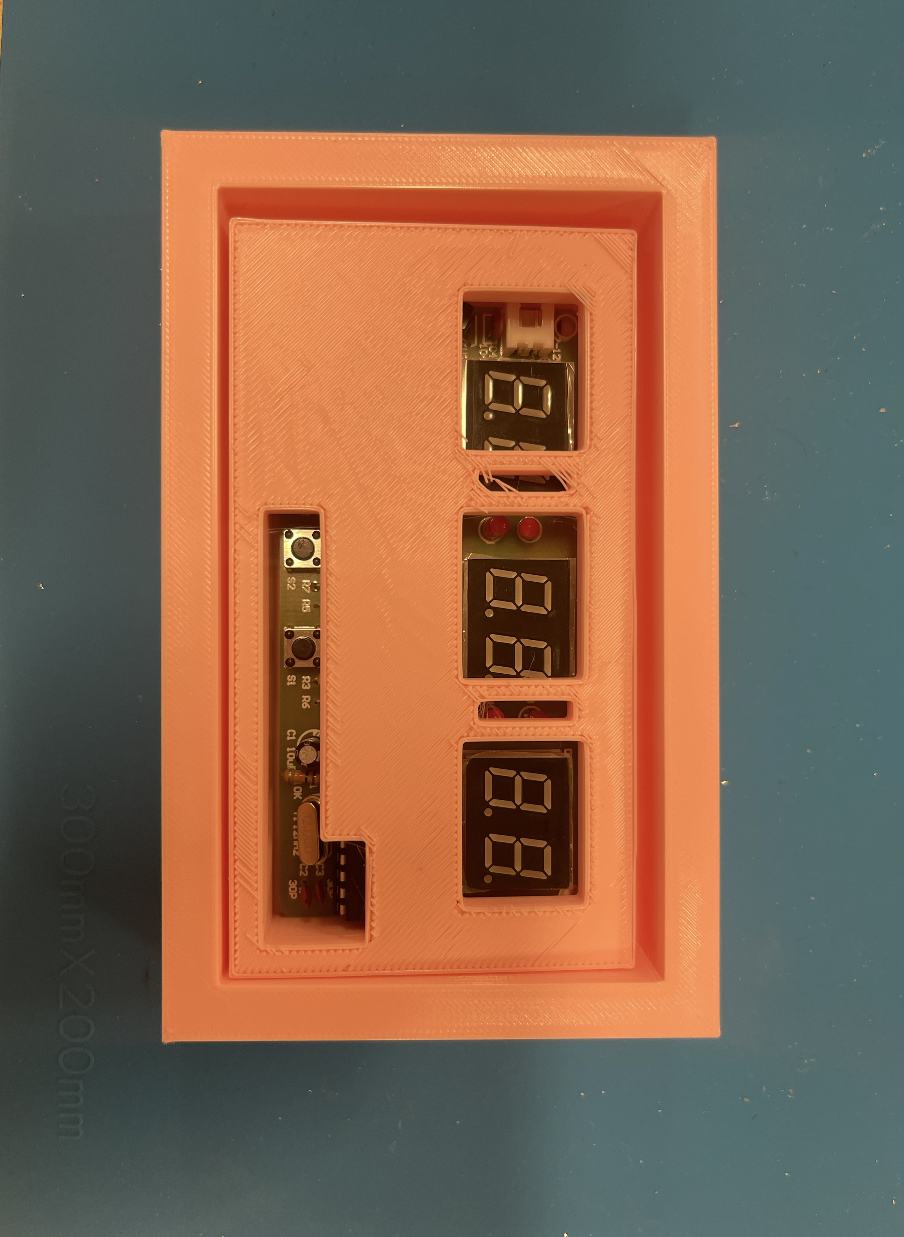
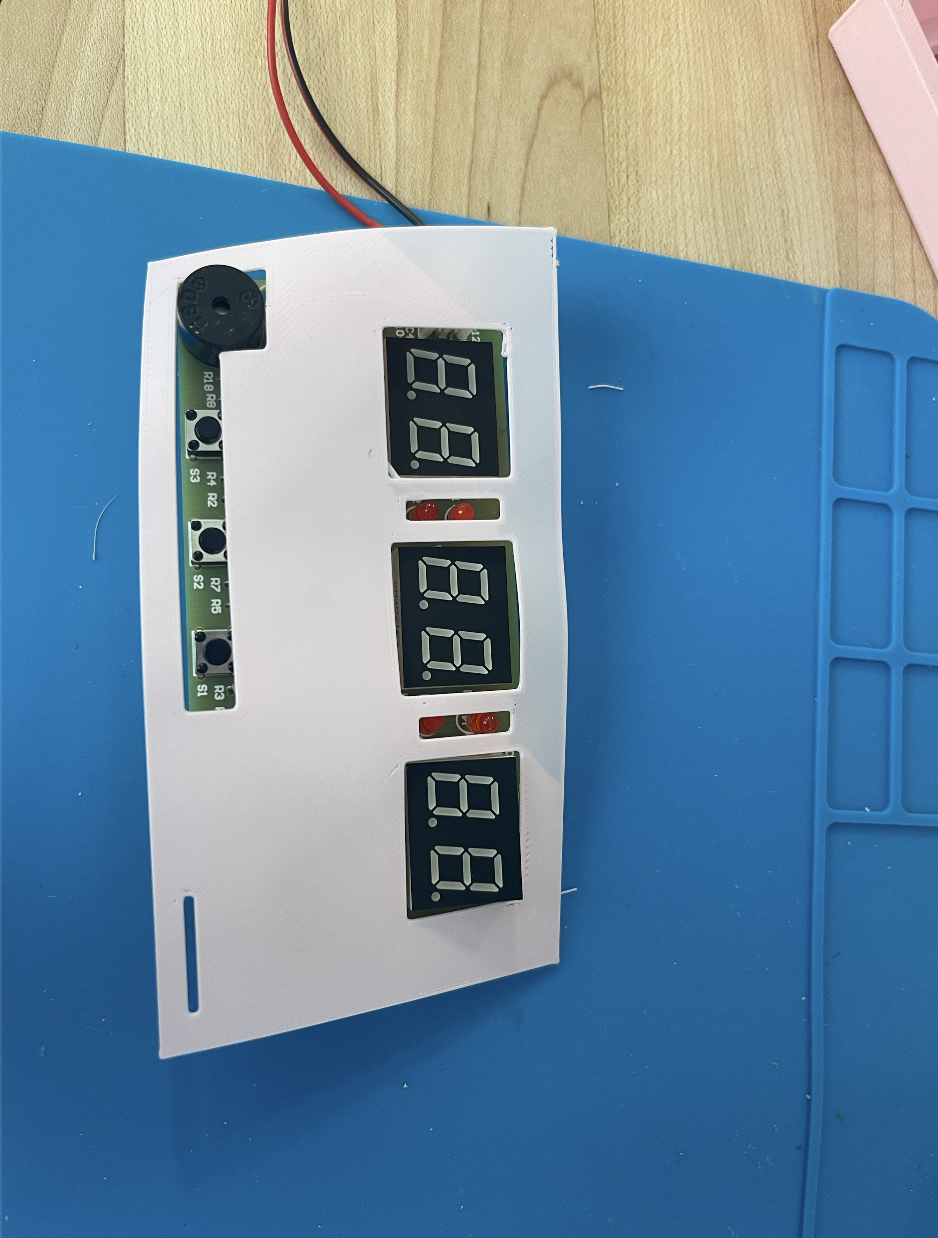
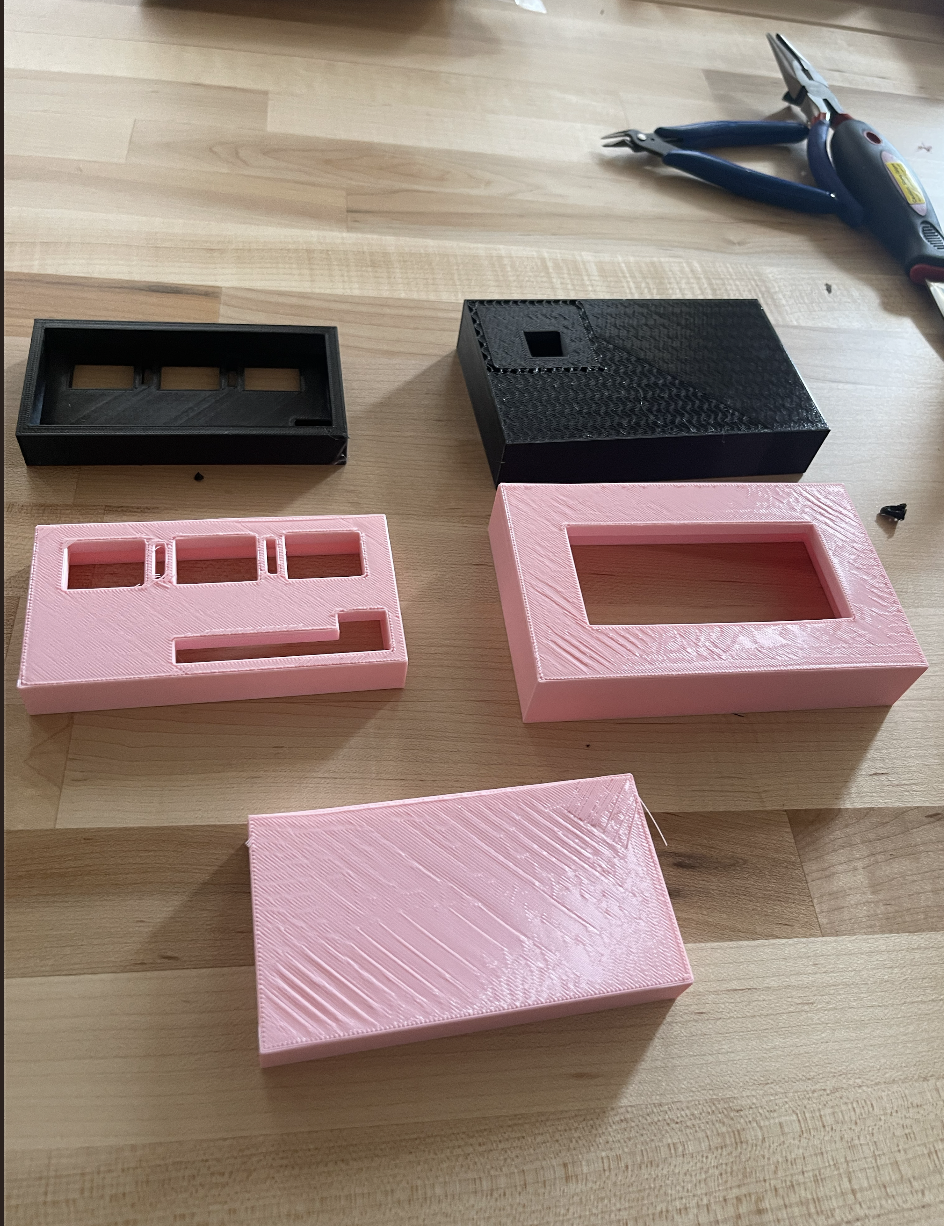
The design of the enclosure underwent an iterative process to ensure that it met all our design goals. The first print, while promising, revealed an oversight in our design. The holes in the enclosure didn't align with the buttons and screen as intended due to an orientation issue. This required us to make modifications to the design. Before proceeding with a full print, we printed a flat first layer to verify that the design changes had been successful. Once confirmed, we sliced the design in Prusa Slicer, ensuring that it was prepared for 3D printing.
Slicer Settings and Print Preview
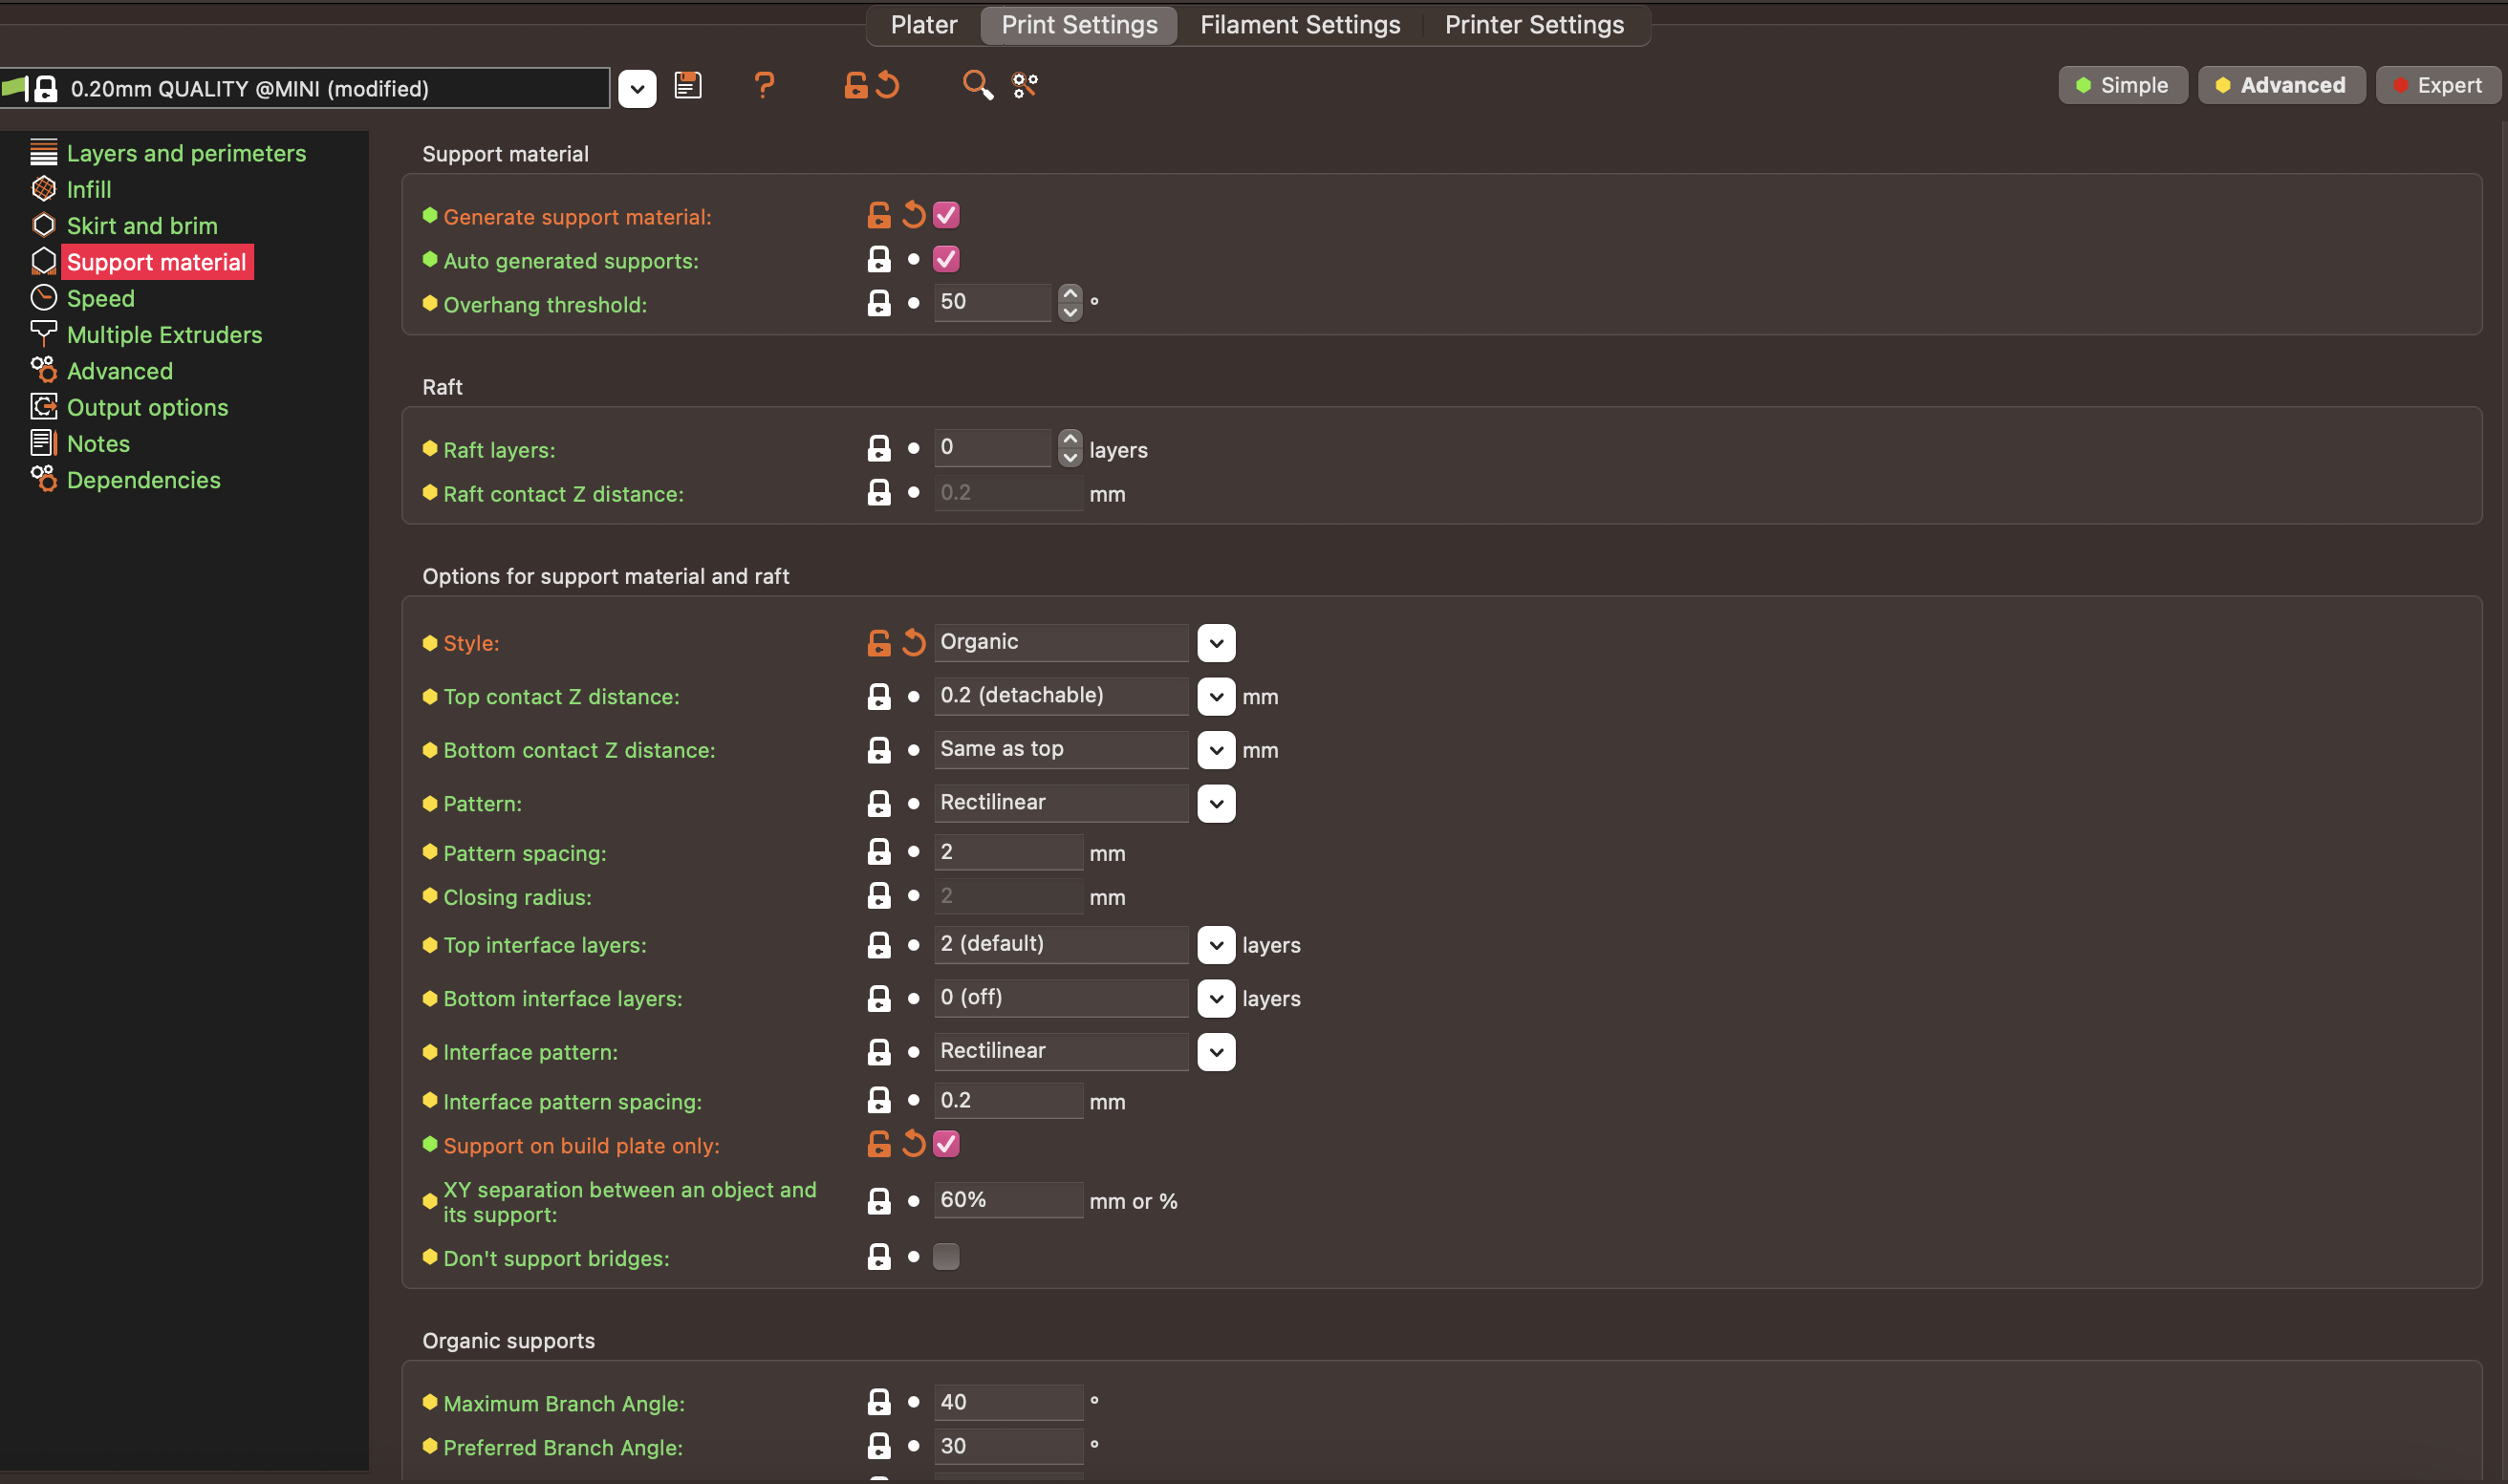
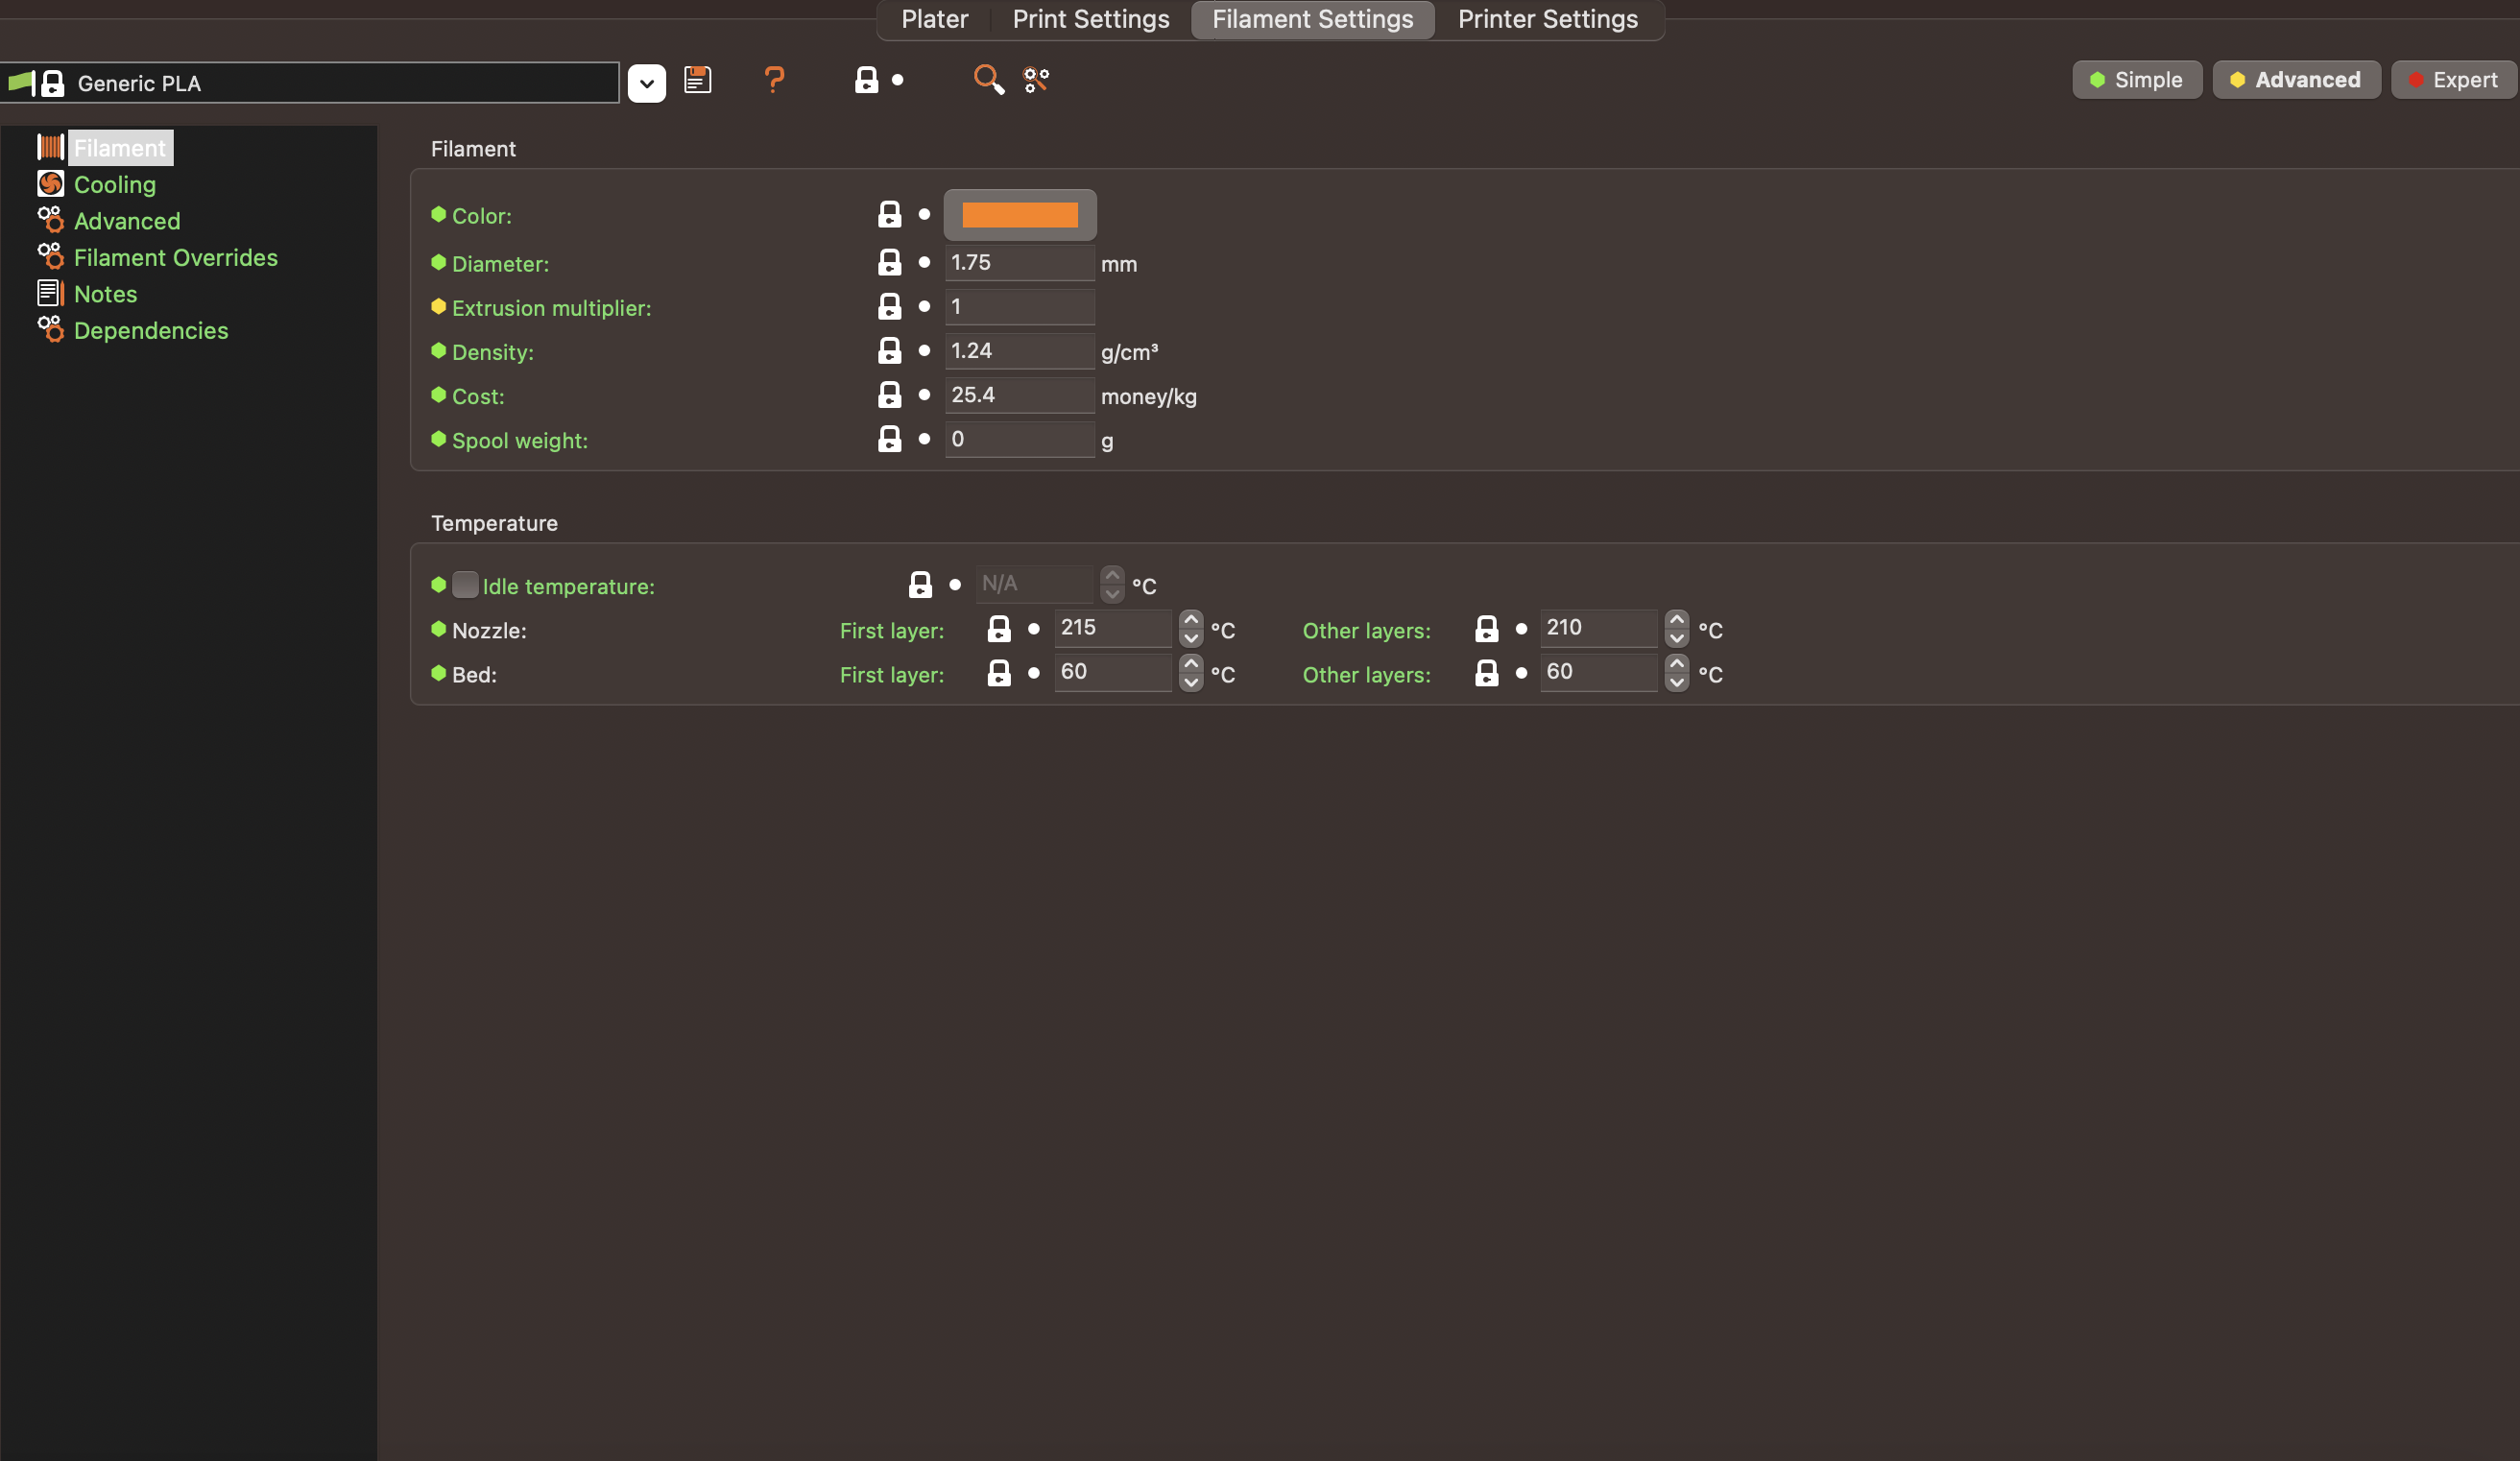
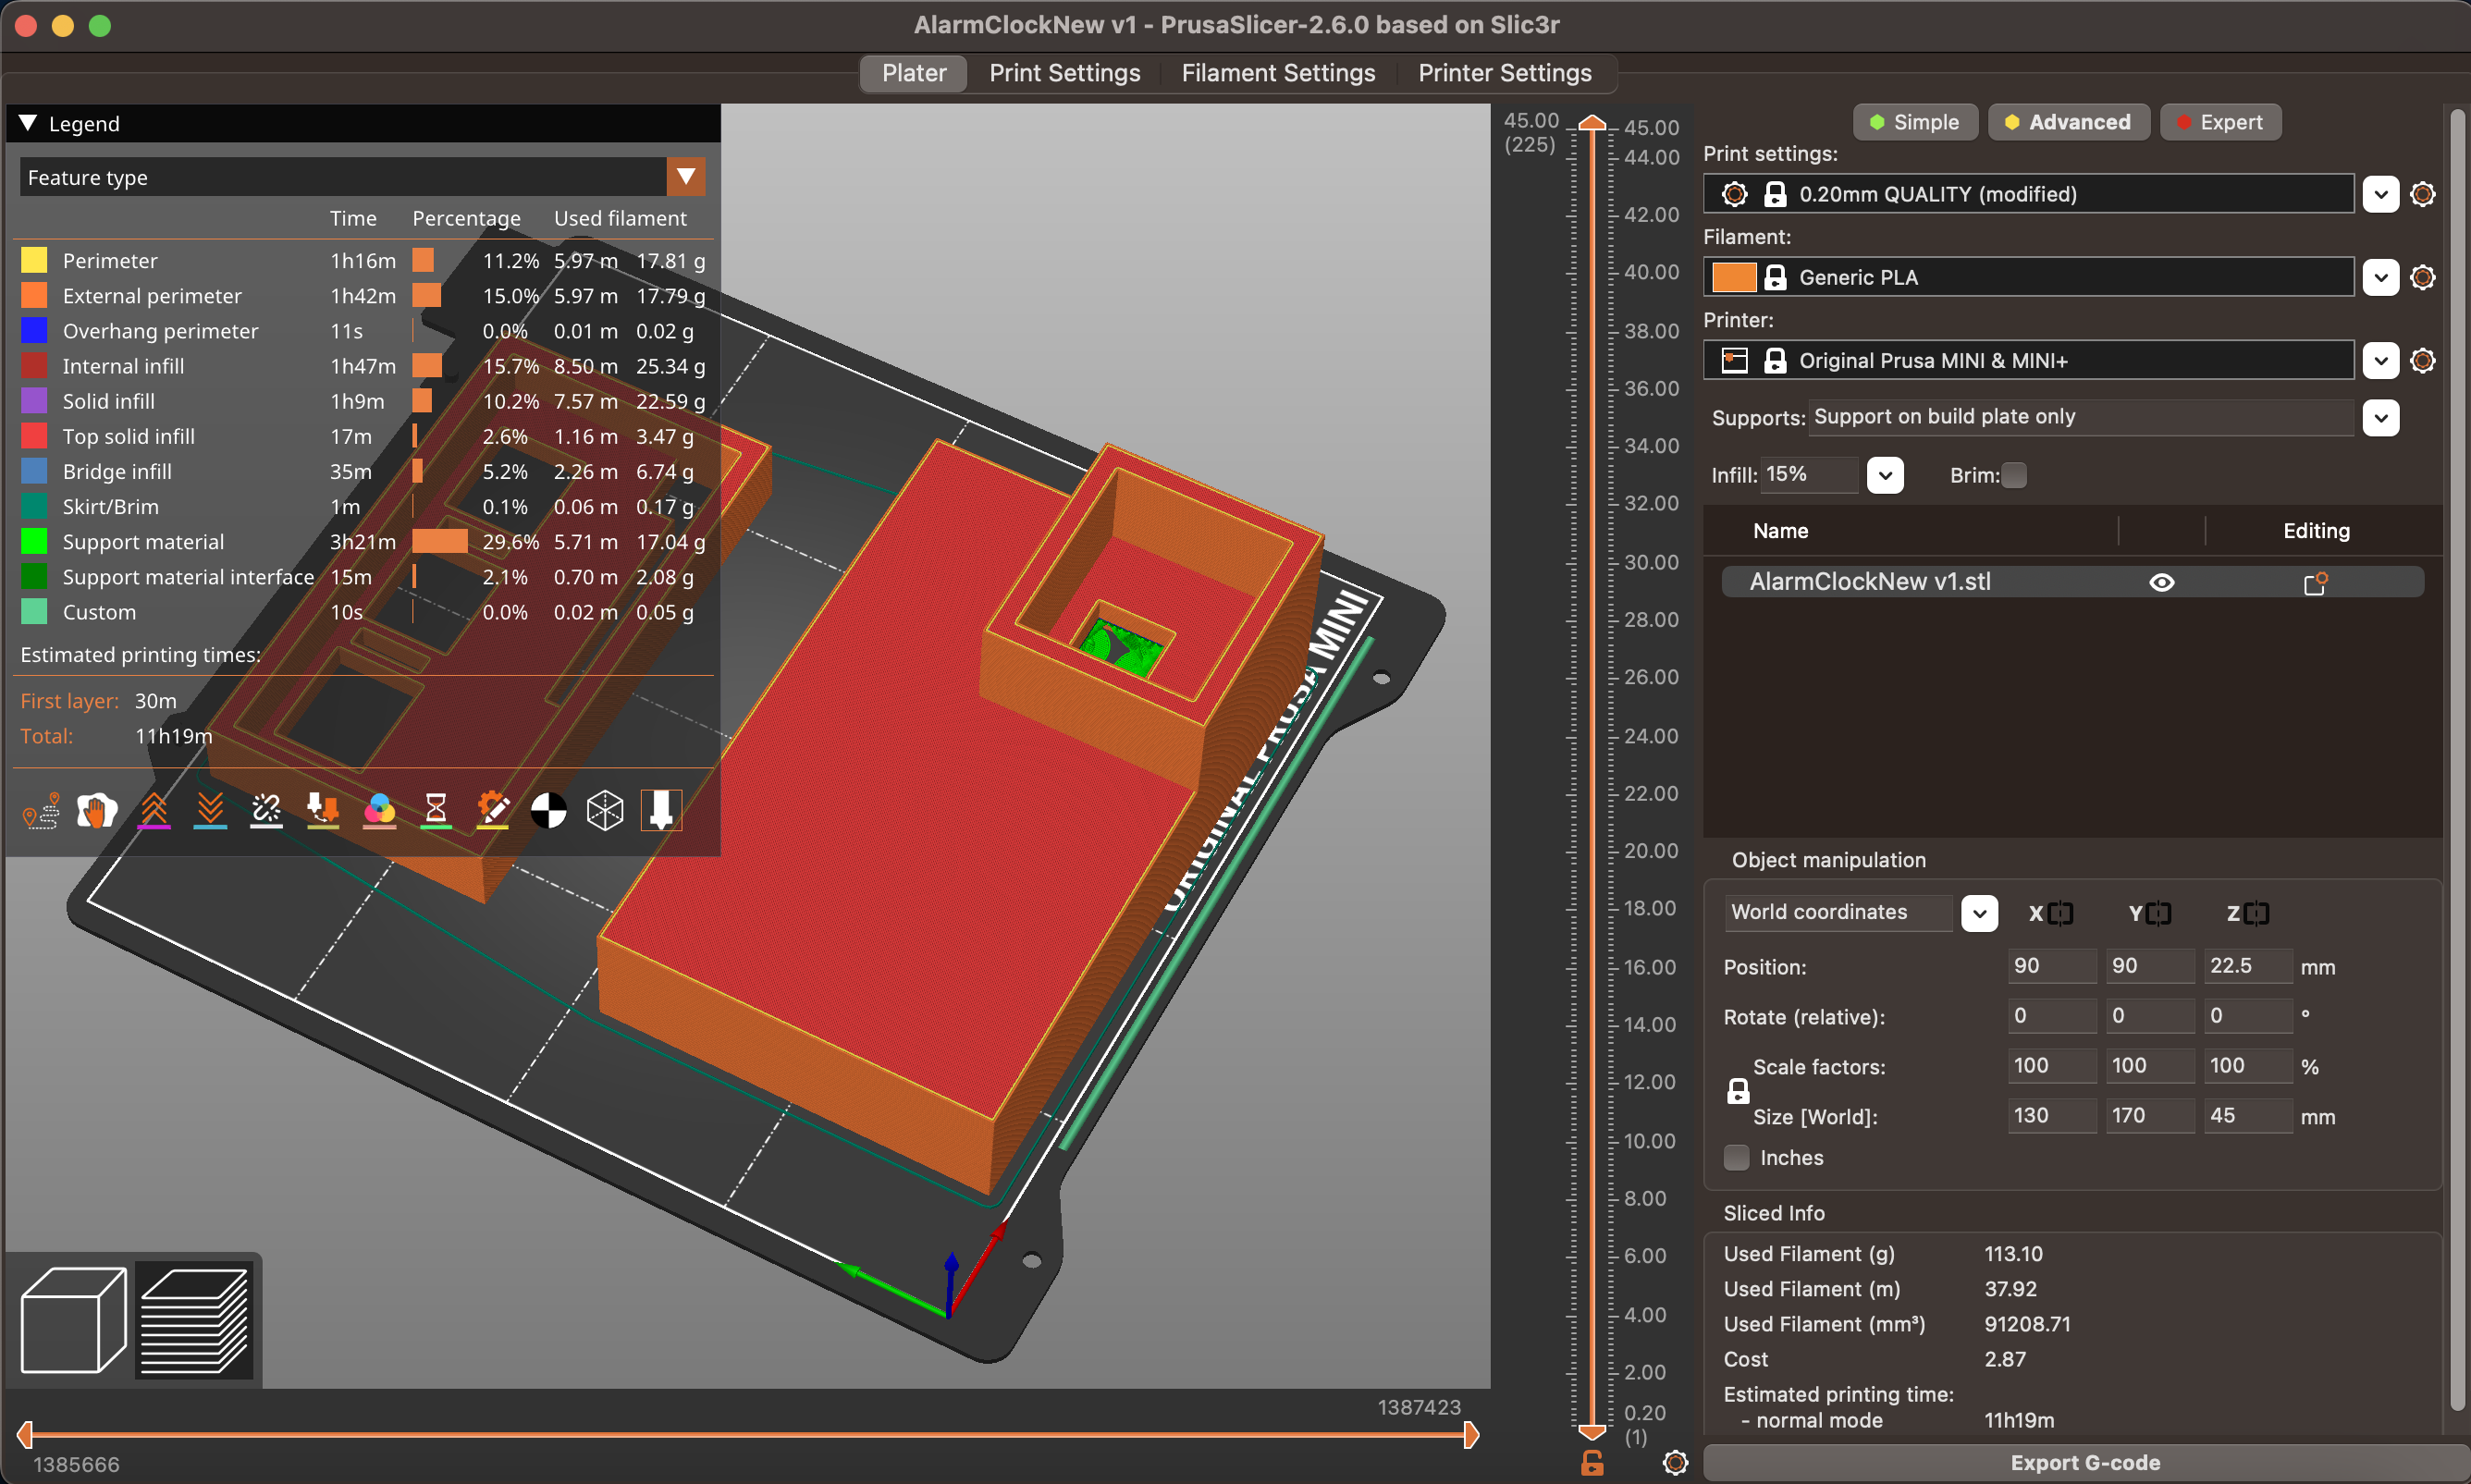
In the 3D printing phase, we used Prusa Slicer to prepare our design for printing. It's important to include the slicer settings used, which influence the quality and accuracy of the final print. In Prusa Slicer, I ensured a successful 3D print by enabling the 'Generate Support Material' option in the Print settings. Additionally, I made specific configurations to optimize the print. I set it to 'Auto-generate support and material,' including a raft, and adjusted the Style setting to 'organic' for a particular visual outcome. To further streamline the printing process, I chose to enable support only on the build plate, ensuring efficient material usage and ease of post-processing.
The Final Result
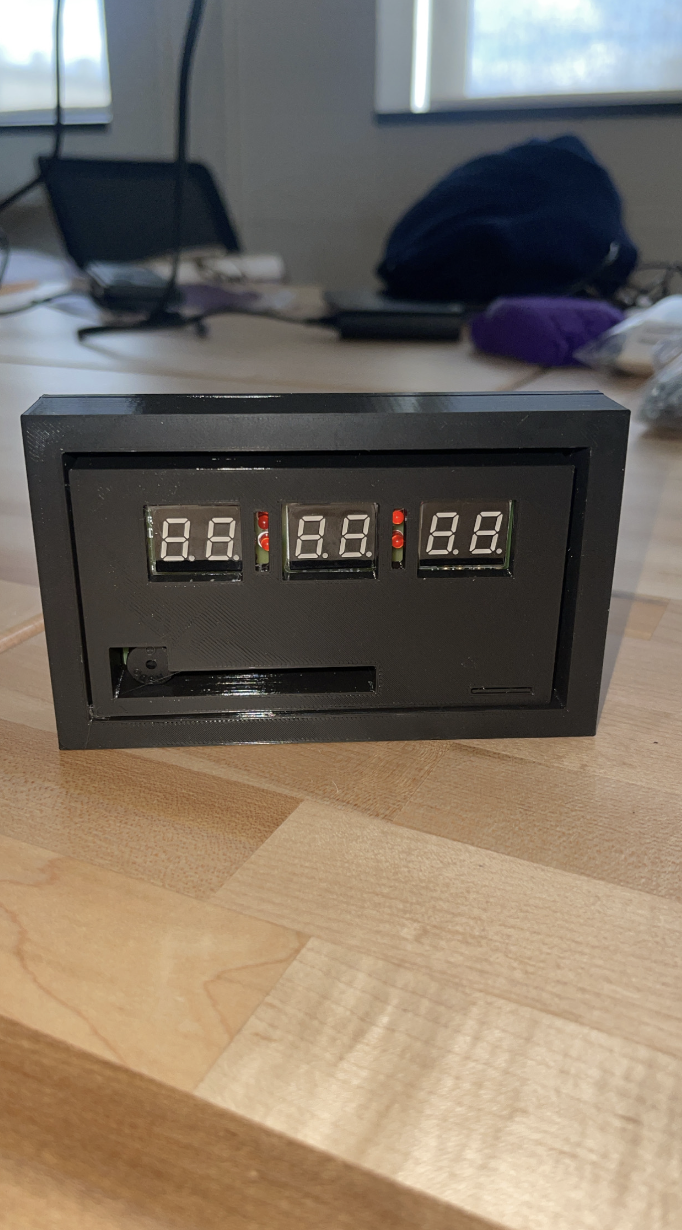
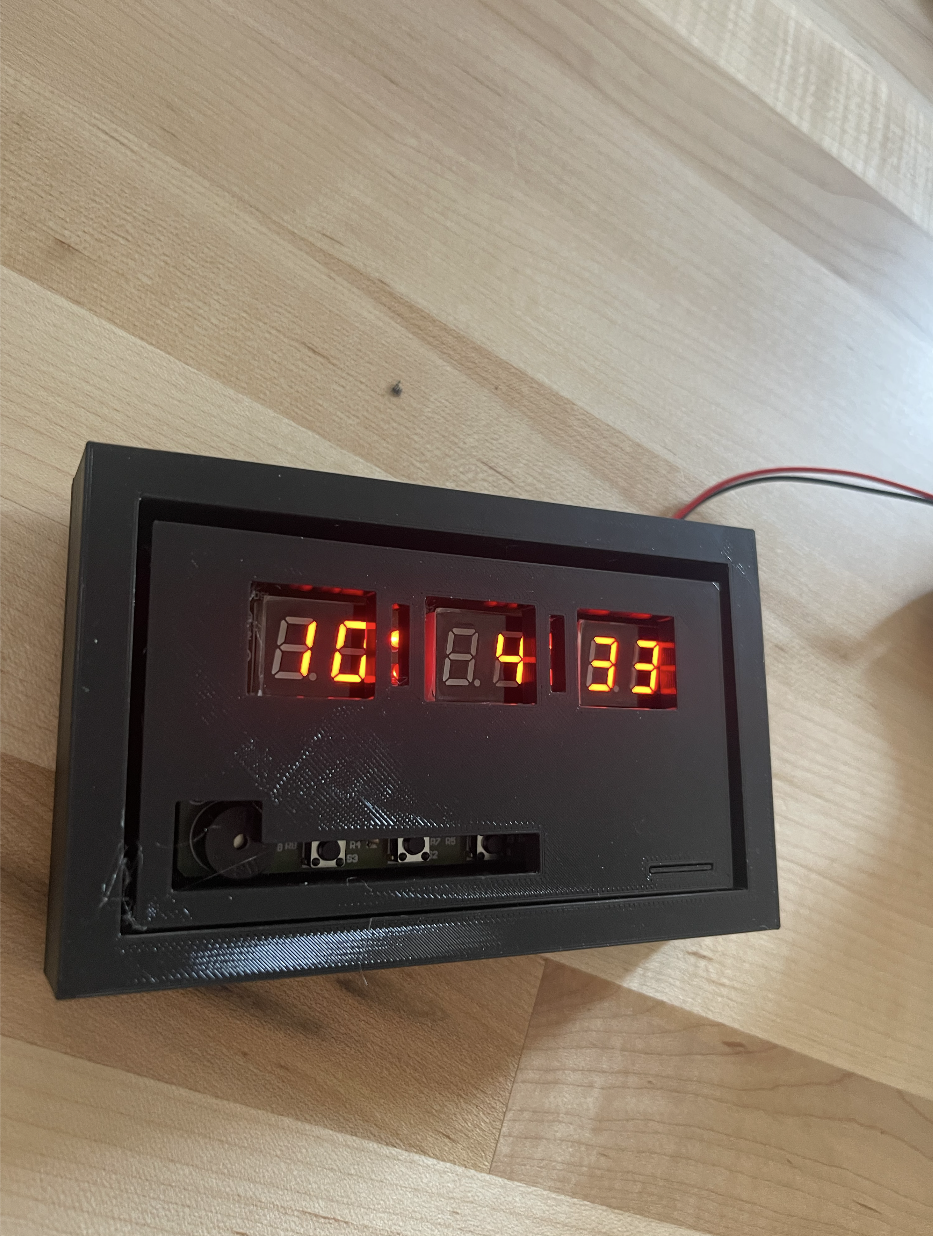
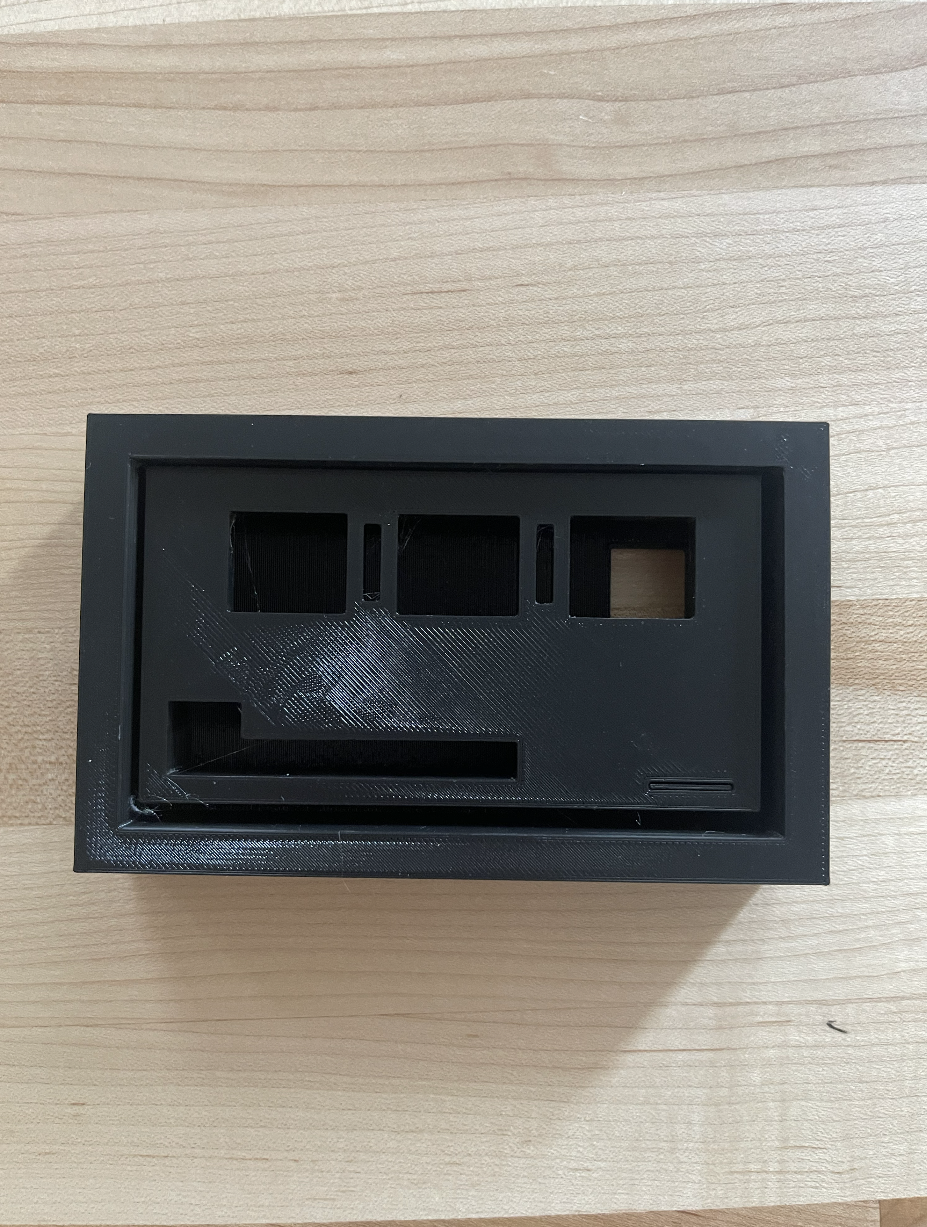
Our project concluded with a fully operational alarm clock comfortably nestled
in a custom-designed 3D-printed enclosure. By taking our time to iterate on the design,
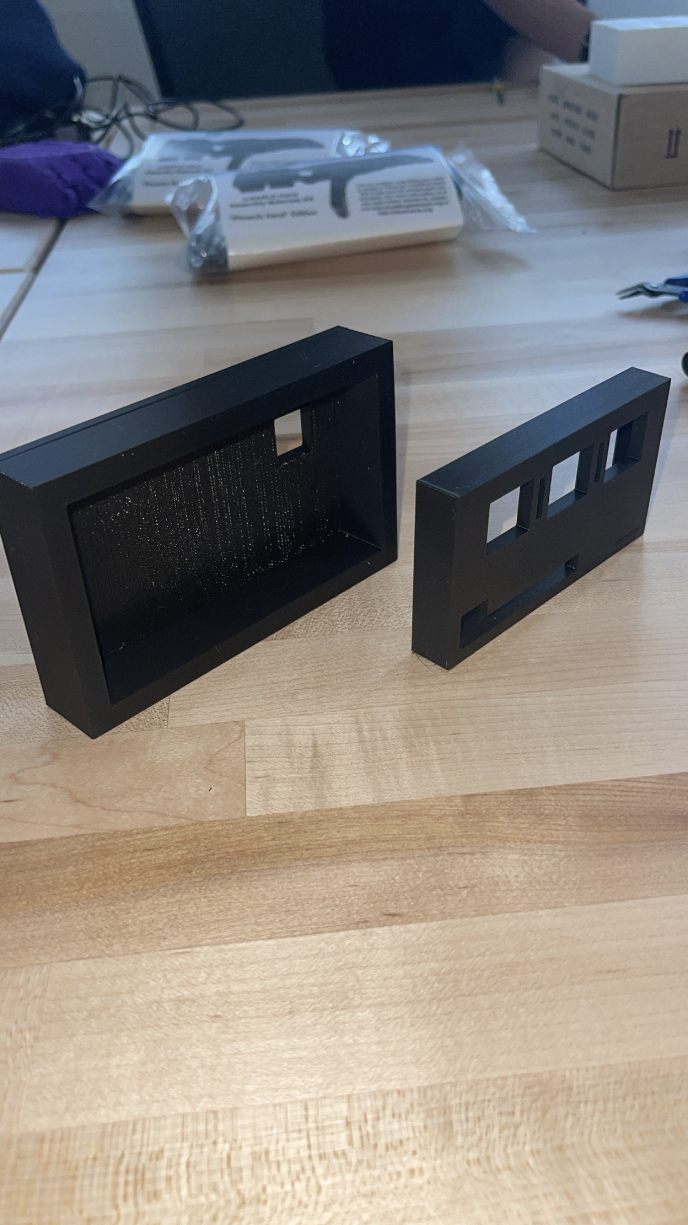
we ensured that the enclosure provided clear access to the alarm clock's screen and button, allowing the user to both see and interact with
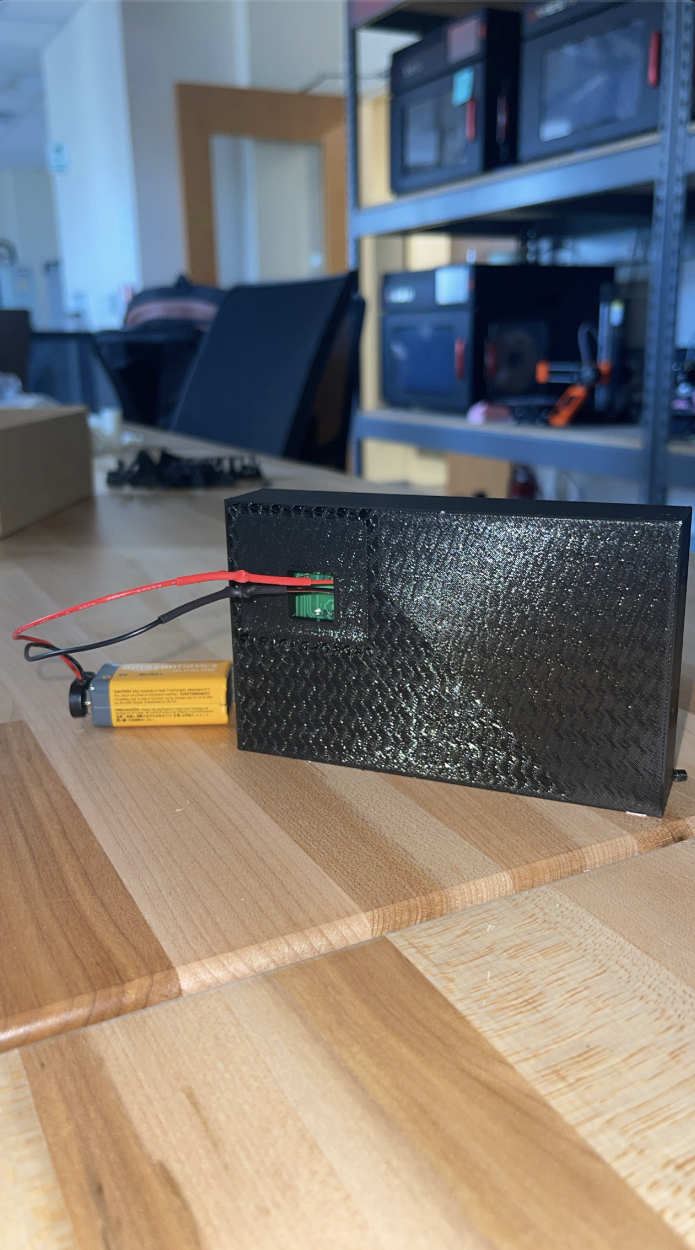
the device. Hearing the buzzer and changing the power supply was also made convenient. However, for some unclear reason, the battery compartment was not printed as intended,
as evidenced by the images in PrusaSlicer. Finally, this project showcased the importance of careful planning, precise measurements, and iterative design in creating a functional 3D-printed enclosure.
Conclusion
Project 3 challenged me to blend my skills in soldering with 3D design and printing, resulting in a tangible and functional product. The process was a journey of learning and collaboration, highlighting the importance of perseverance and attention to detail. I successfully combined my soldering and design skills to create a practical alarm clock with a customized enclosure.
